
Ski and Snowboard Core Profiling and Binding Inserts
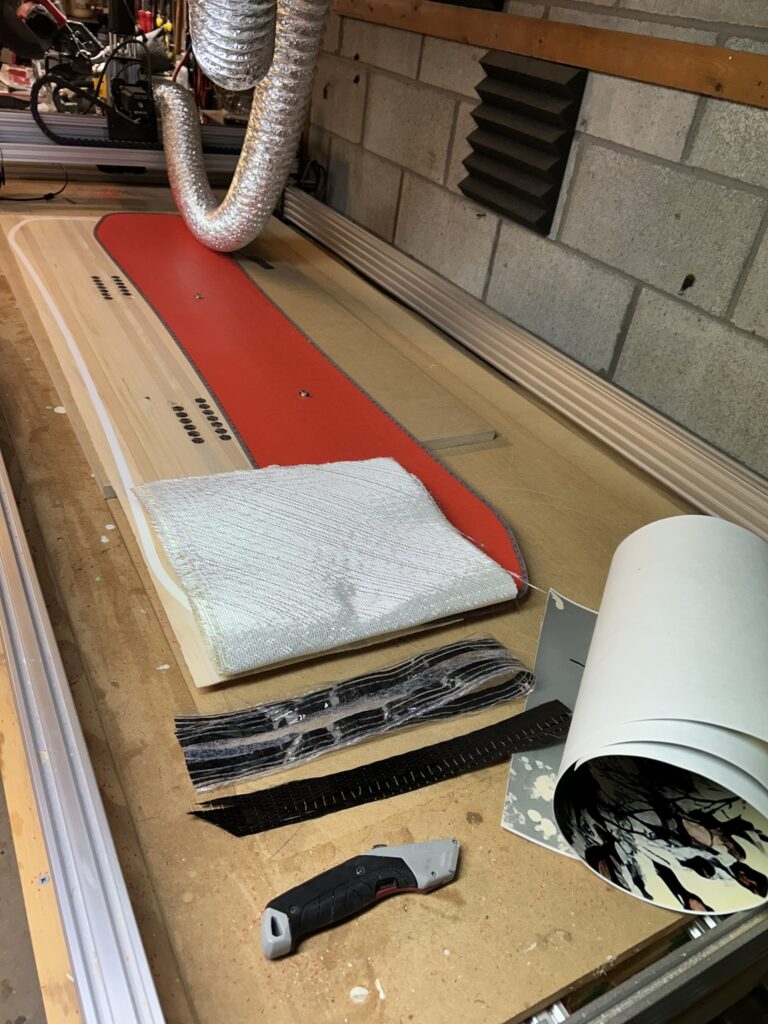
Once your ski or snowboard core is laminated and the sidewalls are installed, the next critical step is to profile it to the correct thickness taper. The core’s thickness distribution determines how your ski flexes and performs on snow. If you’re building a snowboard or splitboard, this is also the stage when you’ll add binding inserts; Skis typically do not include inserts.
Core Profiling Basics
The thickness of a core isn’t uniform — it tapers along its length to create the right flex pattern.
- Alpine Skis
- Thickest underfoot (commonly 8–12 mm at the center of the ski).
- Gradually tapers thinner toward the tip and tail (down to 2–3 mm at the ends).
- This taper gives skis stability underfoot but allows smooth turn initiation and release.
- Snowboards
- Slightly different profile than skis.
- Typically thickest under the bindings (commonly 5–9 mm).
- May thin slightly between the feet to improve torsional flex and feel.
- Tapers toward nose and tail (down to 2-3 mm typically).

Equipment Options for Profiling
There are a few methods builders use to thin and taper their cores:
- CNC Router (My Setup)
- Fully programmable for precise tapers and complex profiles.
- Allows consistent, repeatable results for multiple pairs.
- Best for builders who plan to experiment with flex patterns.
- Router Sled with Adjustable Tapers
- A jig that slides a handheld router across the core.
- Adjustable riser blocks under the sled set the taper height.
- Inexpensive and very effective for small shops.
- Planer with Taper Jigs
- A thickness planer combined with angled sleds or risers.
- Less flexible for complex snowboard profiles.
Binding Inserts for Snowboards & Splitboards
Unlike skis, snowboards and splitboards typically use threaded inserts for mounting bindings. These inserts are set directly into the core before layup.
- Purpose: Provide strong, reusable threads that won’t strip out, even after multiple binding changes.
- Placement: Must match the binding system you plan to use.
- Standard snowboards: 2 cm x 4 cm pattern (the industry standard).
- Splitboards: Varies, often based on Voile, Burton, or other split systems.
- Installation:
- Drill or CNC countersunk holes in the core at the correct spacing.
- Place into place prior to pressing. I like to glue two inserts to the base to prevent relative shifting of the layers during pressing.
- Inserts are sold in a variety of depths. Make sure to use the correct one and ensure they are flush with the top of the core.
Conclusion
From here, your cores are fully prepared for layup in the press, where they’ll be laminated into a finished ski or snowboard.