
How to Prepare your Ski or Snowboard Base and Edges for Layup
Before you move into layup, your bases and edges need to be fully prepped. Here’s how I go from raw P-Tex sheet and steel edge stock to a base/edge assembly ready for pressing.
Step 1: Base Graphics
Start with the graphics. There are two main approaches:
- Sublimation – where graphics are heat-transferred into clear base material.
- Inlays – using a drag knife or die-cutter to cut colored base materials and piece them together like a puzzle.
Once the graphics are applied, you’re ready to flatten out the base material and cut it out.
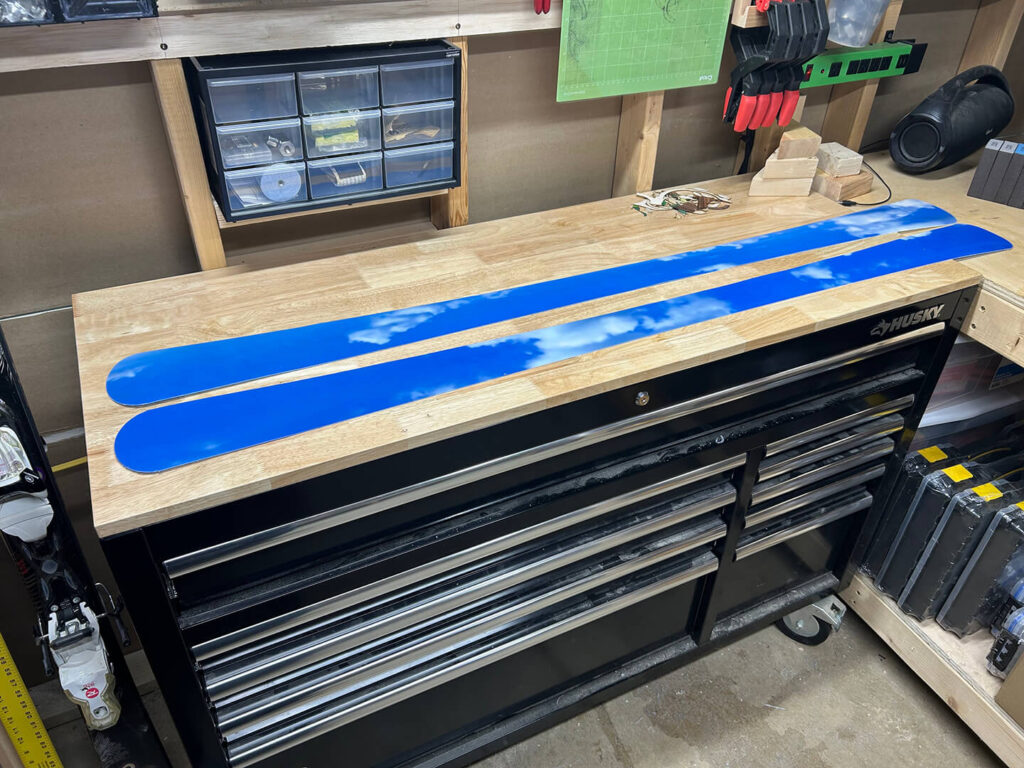
Step 2: Cutting Out the Bases
Use a CNC machine or router template to cut out the base shapes from your P-Tex material. It typically comes shipped in rolls, so you need to weight it down on a flat surface for a couple of days to ensure it sits flat and the CNC gives the cleanest, most consistent results. A router template works just as well.

Step 3: Rough Edge Bending
Take your steel edge roll and cut rough lengths using a Dremel with a grinder or cut-off wheel. Always leave a little extra at the tip and tail — you’ll fine tune later. I like to use the sidewalls of the core as a bending template. Lay the edge stock against the sidecut and gently bend it to match the curve. This gets you close before fine-tuning the fit directly against the base.
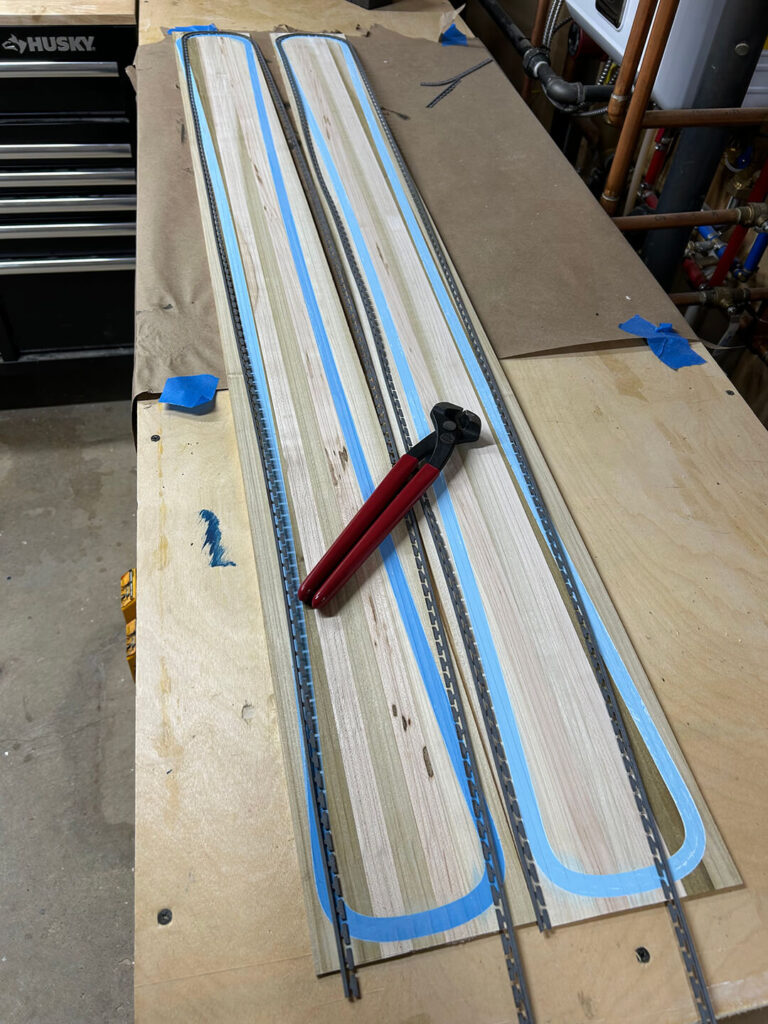
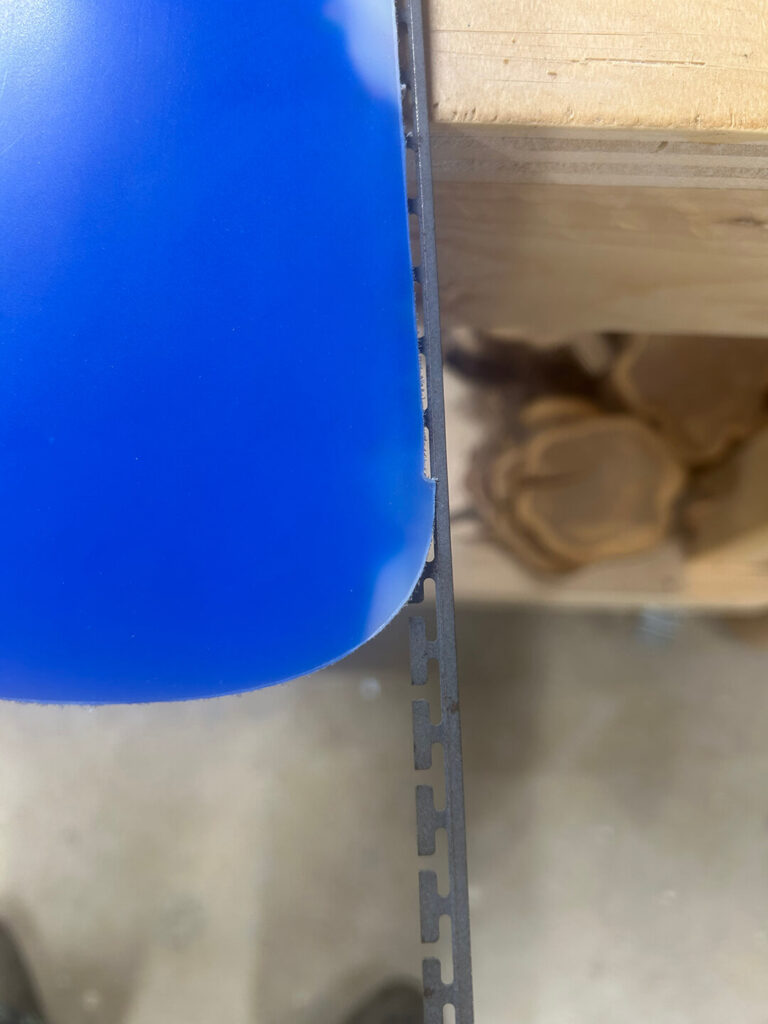
Step 4: Fine-Tuning and Notching
Now carefully fit the edges to the base. You’ll need to notch the base inward by the edge width (2.2 mm in my case, but match to your edges). Where the edge stops, the base notches back out to full ski width.
Step 5: Clamping and Supergluing Edges
Once the edges are shaped, clamp them tightly to the base. Then, place a small bead of super glue every 2–3 tongs to tack the edge in place. Remove the clamps, and the base/edge assembly is ready.
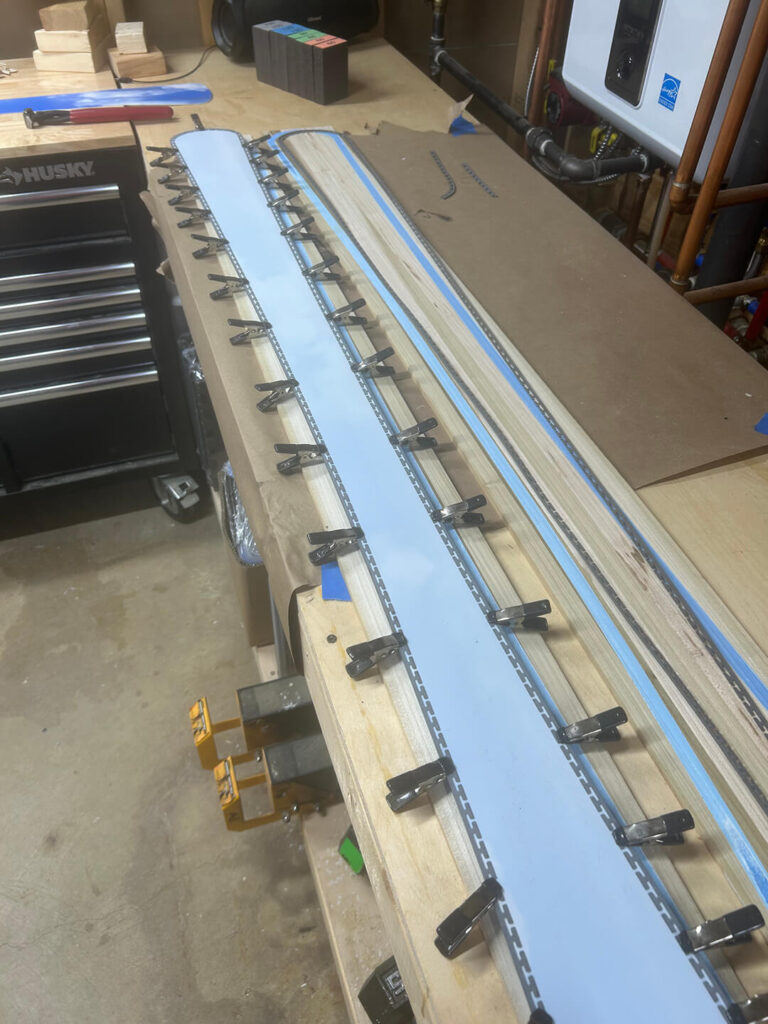
Ready for Layup
At this point, the base and edge assemblies are complete and can be stored for the layup with fiberglass, core, carbon, and topsheet.