
Preparing to Layup your Skis or Snowboard
Before you get into the actual layup of your skis or snowboard, it’s critical to take the time to prepare your workspace, materials, and equipment. Proper preparation ensures a that you’re minimizing the risk of ruining all of your hard work up until this point. Here’s my process for getting everything ready.
Core and Base Alignment
Start by making sure your cores and bases are perfectly aligned. I like to dry-fit everything together with my dowel pin system (skis) or pre glue two binding inserts to the base (snowboard). At this stage, double-check that the edges are seated flush against the sidewalls and that the bases sit flat. Even a slight misalignment can throw off the entire layup.
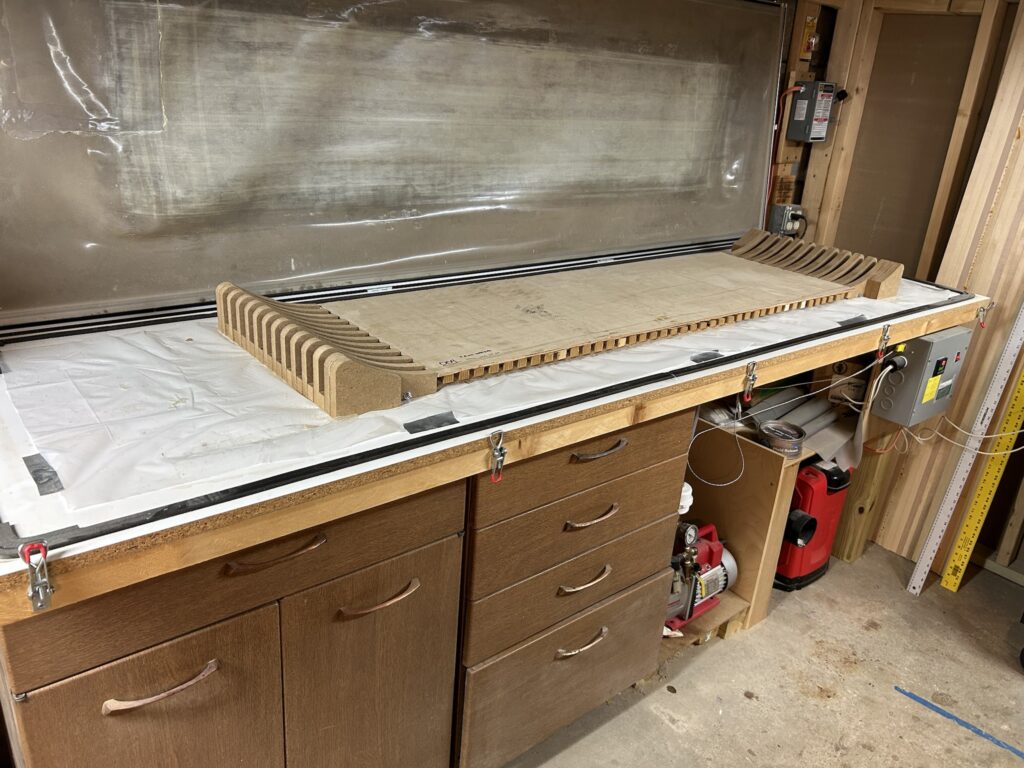
Setting Up the Camber Mold
Next, configure your camber/rocker mold to match the ski or snowboard design. Insert the correct ribs or spacers to dial in the camber and rocker profile, then lay a smooth underlayment (like 5.5 mm plywood or MDF) on top to distribute pressure evenly. This setup gives you the correct ski shape while preventing pressure points.
Protecting the Mold
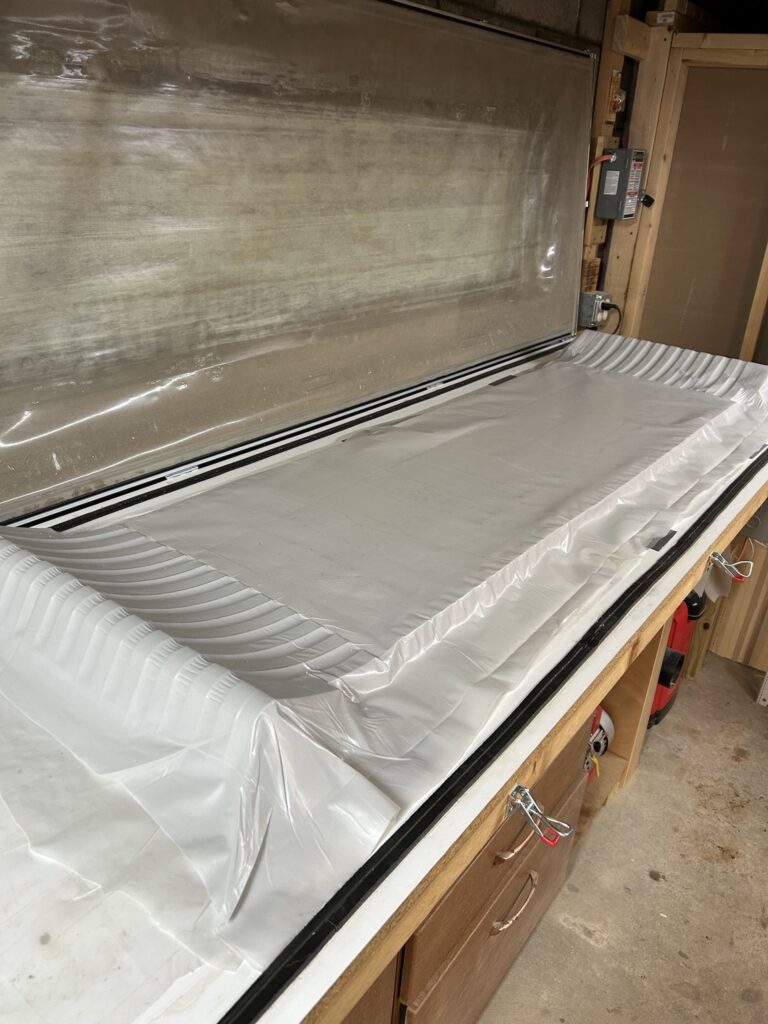
Lay down a sheet of painter’s plastic over the mold surface. This step is easy to overlook, but it makes cleanup much faster and prevents epoxy squeezeout from permanently bonding to your press. Replace the plastic as needed between builds.
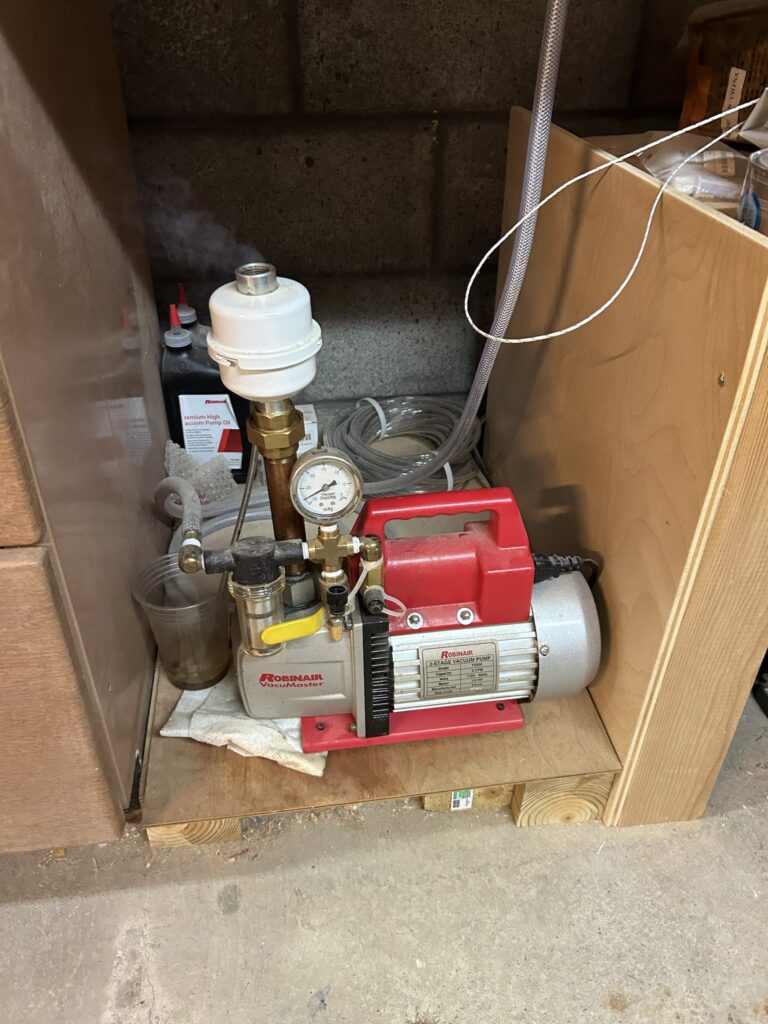
Checking the Vacuum System and Heat Controller
Before pressing, I always check the vacuum pump oil level, coalescing filter, and overall operation of the press. If the oil looks dark or cloudy, swap it out. A clean system will hold a strong vacuum (-28 inHg or better) and prevent smoke or oil mist from blowing into your workspace.
Cleaning the Work Area
Foreign objects such as dirt or wood dust can cause imperfections. Take time to clear the workbench, sweep the floor, and organize tools so everything is clean and in order. A clean workspace helps keep dust and debris out of the epoxy and makes the process a lot less stressful.
Cleaning and Waxing the Cassette
Finally, clean the aluminum cassette with a rag and acetone, then apply mold release wax. This ensures that epoxy doesn’t bond to the cassette and makes it much easier to pull your skis or snowboard out of the press. I usually apply two coats, buffing between each one.
Spray Adhesive to Fix the Base
Once I know everything is aligned, I use a light coat of spray adhesive to tack the base down to the cassette. This keeps the base from shifting during layup, which is especially important once epoxy and fiberglass are involved. Don’t go overboard with adhesive — just enough to hold it securely in place.
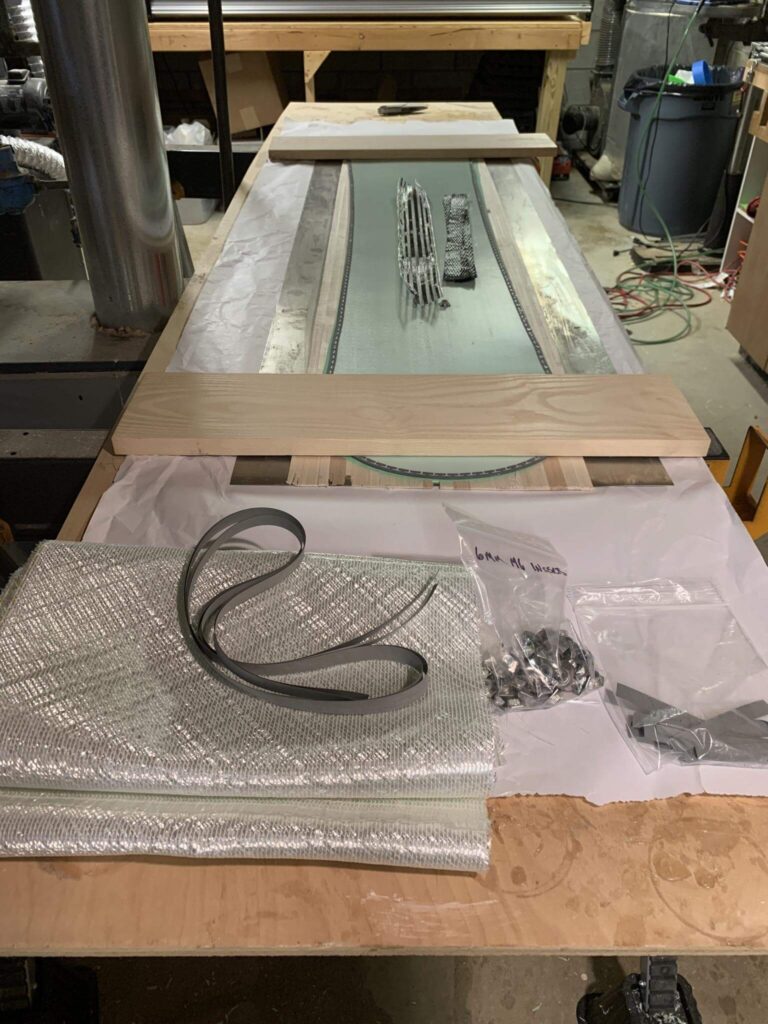
Precut and Lay Out Composites
Finally, precut all your fiberglass, carbon, VDS rubber strips, and veil to size. Lay them out in order on a clean table so you can grab each layer quickly. Doing this ahead of time keeps the process moving and avoids rushing with sticky gloves on.
Final Thoughts
By aligning your cores and bases, tacking the base with spray adhesive, precutting all composites and VDS strips, protecting your mold, and making sure the vacuum system, heat system and workspace are dialed in, you’ll be ready to execute the layup smoothly.