Laser-Cut Veneer Inlay Experiment – Lessons on Focus and Kerf Adjustment
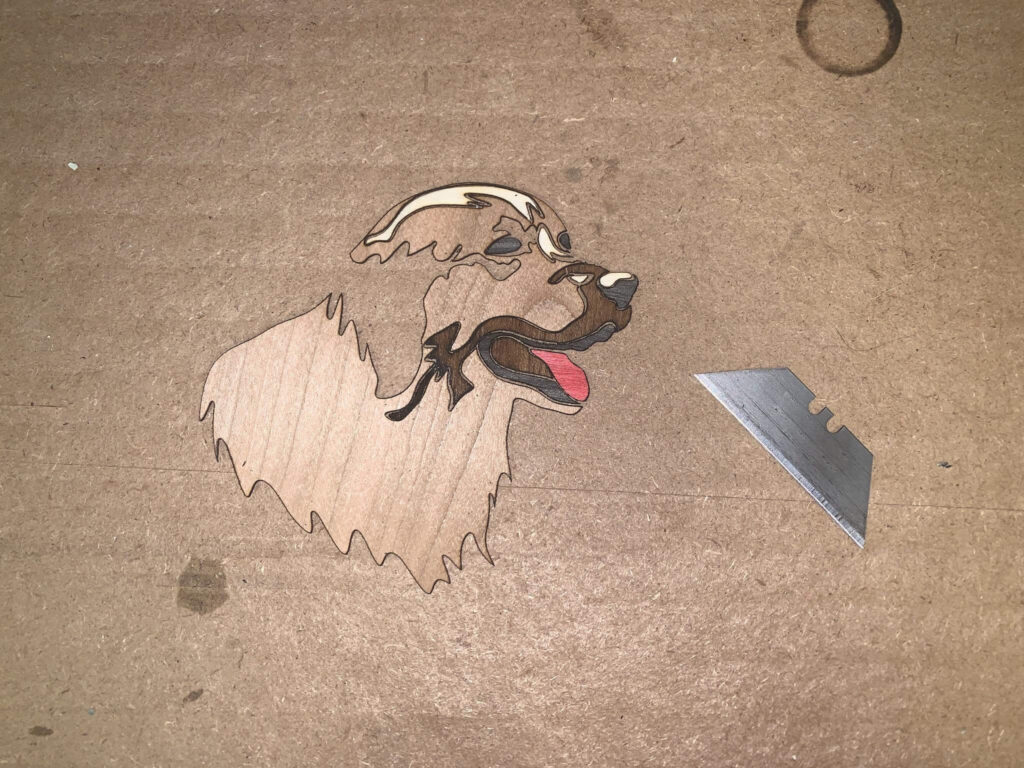
Today I ran some experiments with very small veneer inlays — some of the pieces were only 1 mm wide in places and I ran into a familiar problem: gaps between the inlay pieces that were bigger than I’d like.
I first noticed this on my rose ski topsheets, and at the time I thought the main issue was the veneer not laying perfectly flat. But in today’s test, the veneer was absolutely flat and I still saw gaps.
That’s got me thinking the problem might be:
- Laser focus (possibly slightly off for precision cutting)
- Kerf width (the material the laser burns away) not accounted for in my design
- Or maybe both
Why Focus Matters More for Cutting Than Engraving
When engraving, I haven’t noticed focus issues — probably because engraving uses lower power and less heat, so the cut line is less affected. But with full depth cutting passes, even a slight focus error can make the beam wider, increasing the kerf and creating visible gaps in tight-fitting designs.
Community Feedback – Laser Cutting Subreddit Tips
I posted my results to the lasercutting subreddit, and here are the main takeaways I’m going to try next:
- Mirror the Engraving
- Flip the vector so the back of the veneer becomes the visible front of the inlay.
- This hides burn marks because the charring ends up on the underside.
- Measure and Account for Kerf
- Use a caliper to measure the laser’s kerf width (burn line thickness).
- Offset inside piece vectors by this amount so they fit snugly into the background veneer.
- Reduce Power and Increase Passes
- Lower laser power and adjust speed to reduce charring.
- If needed, make multiple passes to achieve a clean cut without burning the edges.
Next Steps
I’m going to run a series of small inlay tests with:
- Controlled focus adjustments
- Different kerf compensation values
- Power/speed tweaks to minimize burn marks
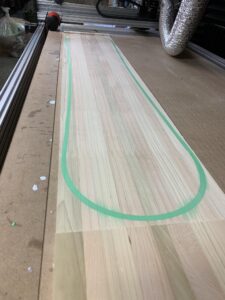
If I can dial in the laser to consistently cut 1 mm detail without visible gaps, it’ll open up a lot of possibilities for more complex ski topsheet inlays like the one I attempted here: