Powder Skis Build – Wide Skis, Camber Success, and a Few Lessons
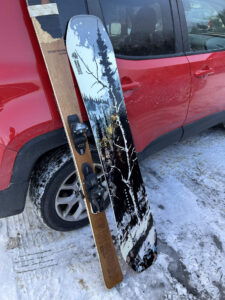
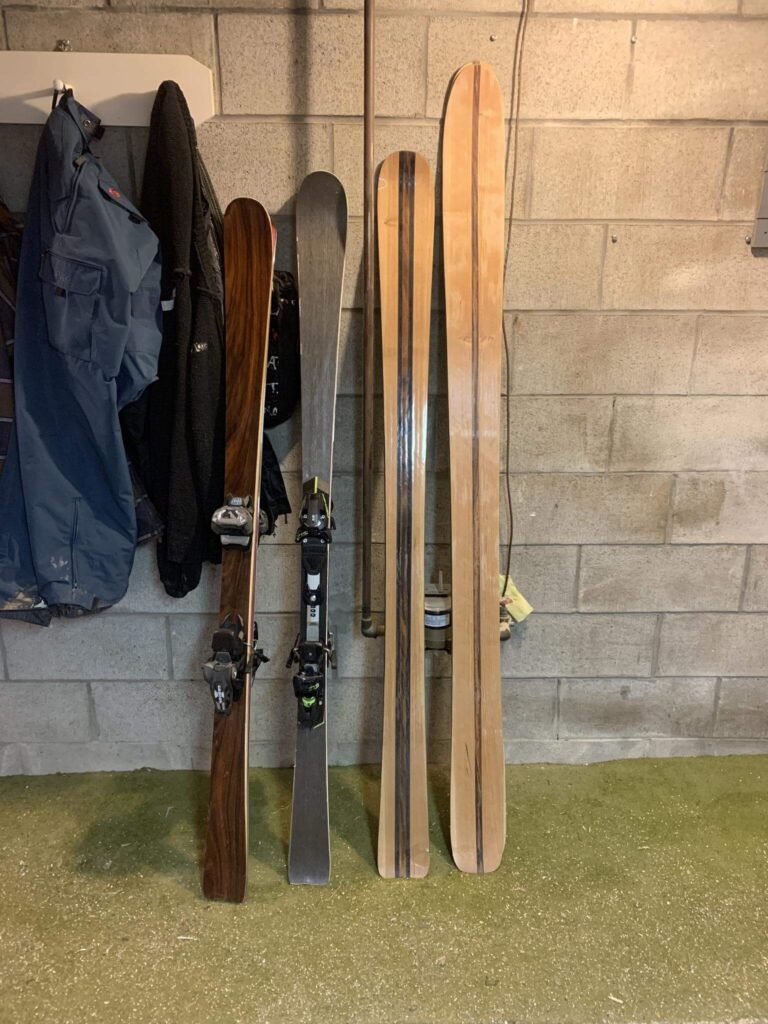
It’s been a busy few weeks in the shop and this time, I went big. I just pressed my first set of full-on powder skis with a 140 mm tip, 115 mm waist, and 128 mm tail. These are wide, floaty, early-rise beasts meant for deep snow days.
Everything didn’t go perfectly (more on that below), so I’ll be redoing the set — but there’s plenty to take away from the first attempt.
Specs for This Build
- Length: 187 cm
- Dimensions: 140-115-128 mm
- Core: 2.5/11.5/2.5 mm ash core with two 19 mm maple stringers
- Glass: 20 oz triax fiberglass top and bottom
- Binding reinforcement: 500 mm fiberglass mount pad
- Flex: 47.7 N/cm (measured)
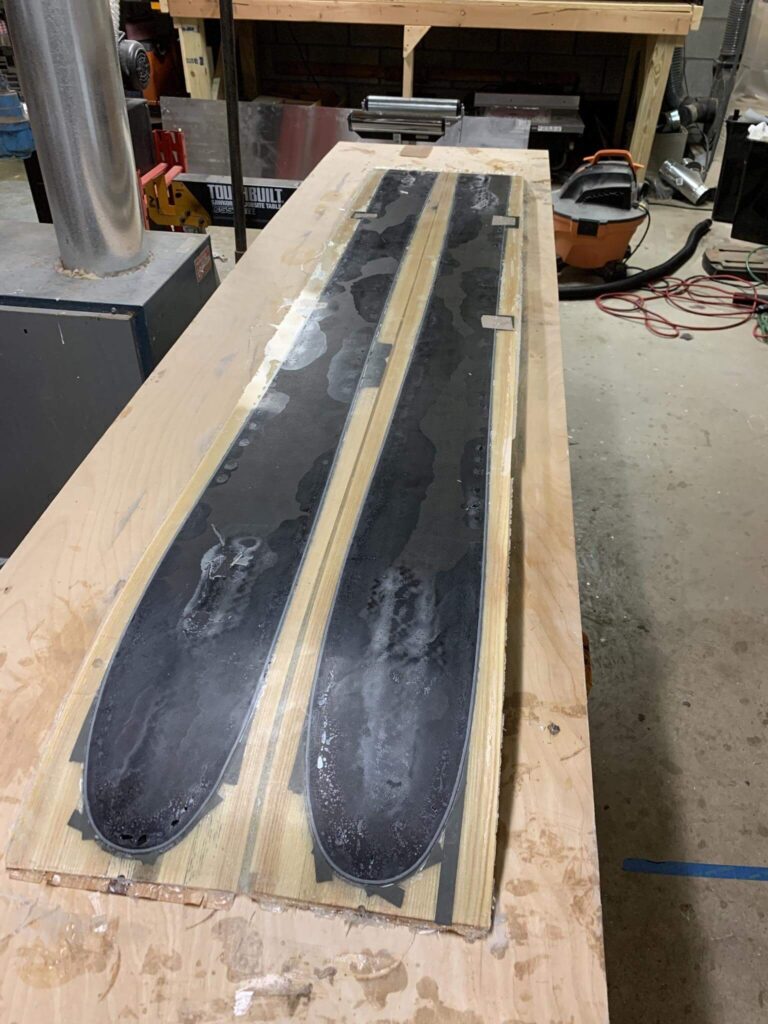
- Top sheet: Cherry with rosewood center (will revise layout for V2)
What Went Well
Camber Profile Prediction
This was my best camber result yet using top-only heat pressing. I’ve been refining my method by exaggerating camber in the mold just enough to account for spring back. The skis finished with the rocker and camber profile I intended.
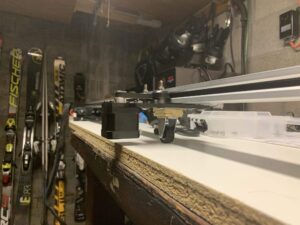
Tip-Wrap Edge Success
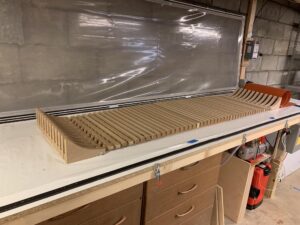
I was also really happy with how the tip-wrapped steel edges came out. The process is tedious (and yes, I still curse through it), but the result looks clean and feels solid. For wide skis like this, wrapping those long early-rise tips was a true test of patience.
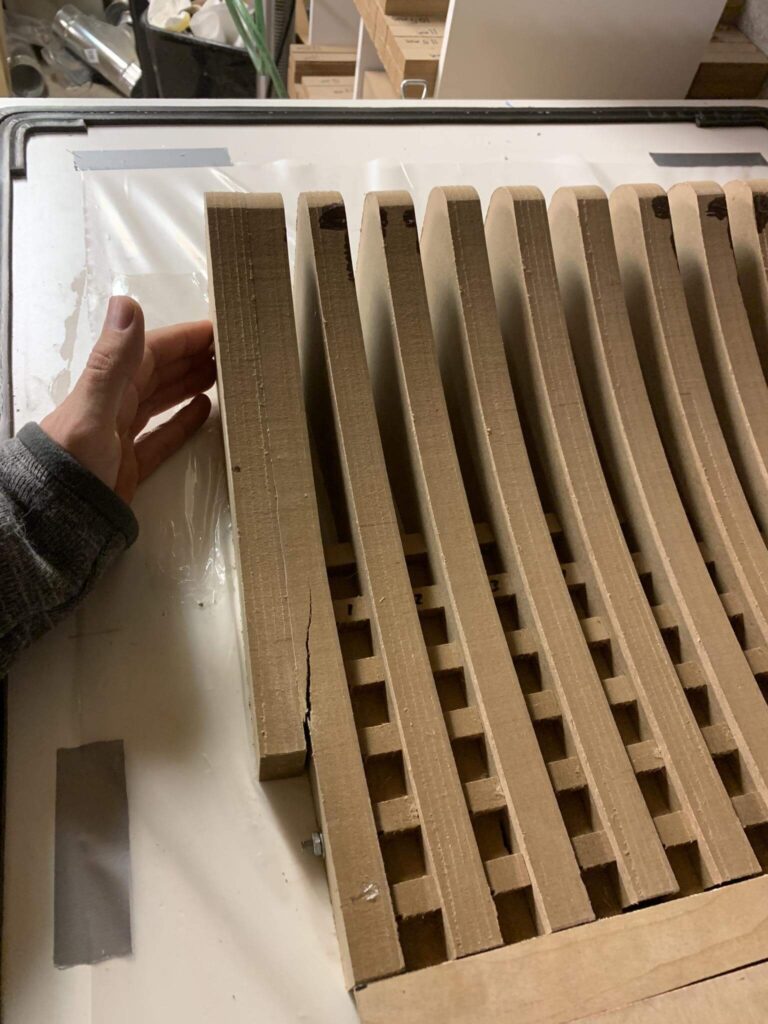
Here’s how the edges looked when I was bending them:
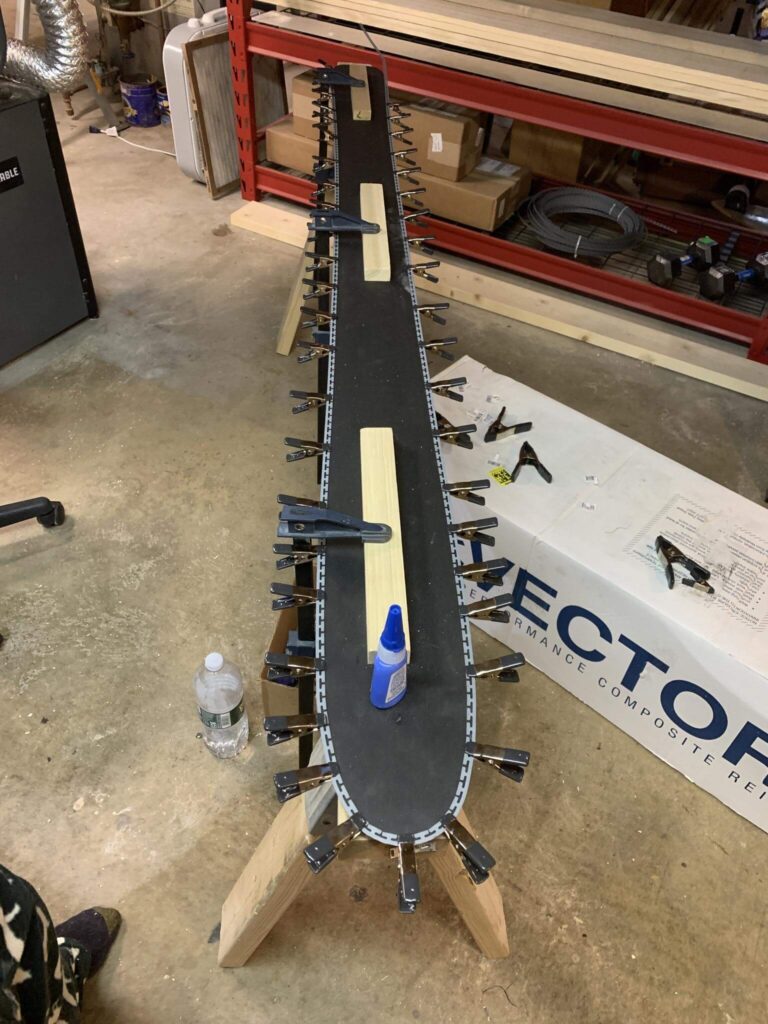
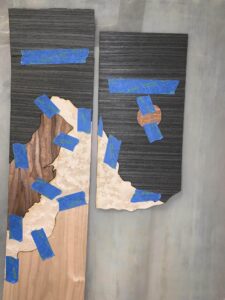
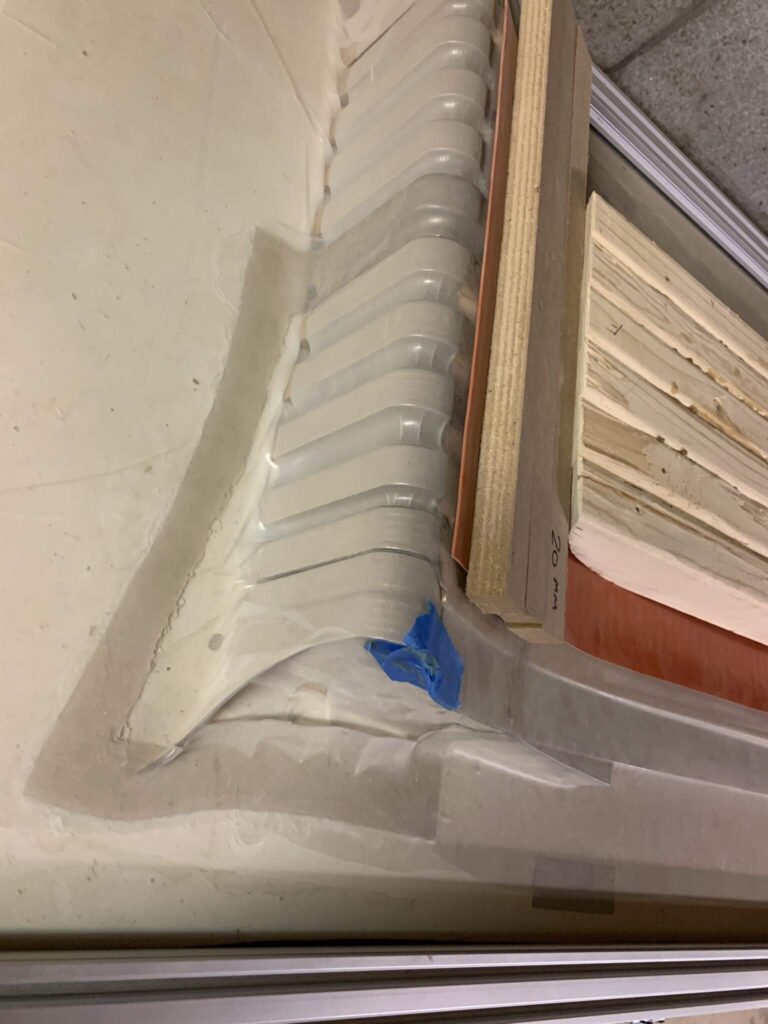
And here’s out of the press – the edges have a nice and tight wrap all the way around:
What Went Wrong (And What I’ll Fix Next Time)
Mold Damage from Tip Block Pressure
Because of the ski’s long early-rise rocker, I had to fabricate new, taller tip and tail blocks and drop them into my adjustable mold rig. Unfortunately, these tip blocks were so big that the vacuum pulled them inward during pressing — enough to crack one of the blocks.
Worse, when the mold collapsed inward, the aluminum cassette edge contacted the silicone sheet, tearing it. I managed to save the build by slapping some tape over the tear and held a vacuum at ~28 inHg, but yeah — definitely not ideal. I will need to place pieces of wood between the tip blocks in the future to act as spacers.
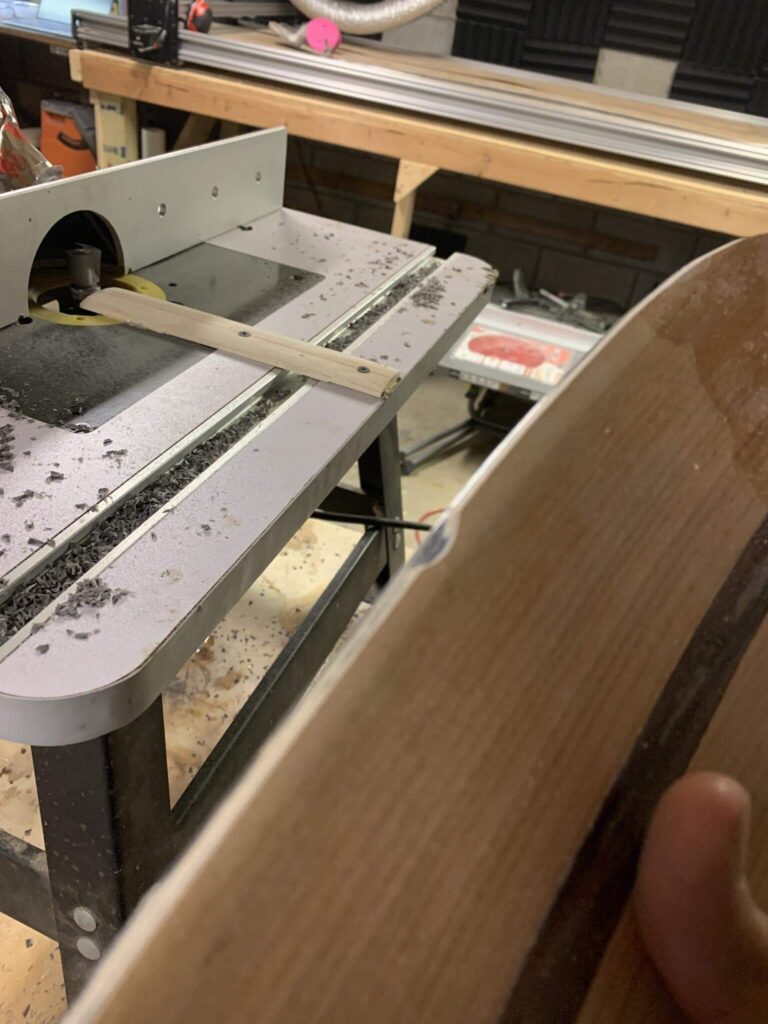
Sidewall Router Jig Misfire
I tried out my new sidewall beveling router jig on these skis — and while it worked beautifully in some sections, I ran into a major issue.
Because the ski is only contacting the top bearing by ~1 mm, there’s no hold-down pressure, a couple times, the ski caught and jumped, leading to gouges in the sidewall.

Fixes I’m Considering:
- Add a hold-down wheel to keep the ski pressed to the bit
- Just use a handheld router instead
Where it worked, the jig gave a beautiful stepped sidewall profile — just like production skis. But until I can stabilize the pass, it’s not reliable enough for final builds.

Looking Ahead: Powder Ski V2
I’m already working on the replacement version of these skis with the following updates:
- Wider rosewood center stripe in the veneer top to match the ski’s proportions
- Rebuilt tip and tail blocks with reinforcement
- Fully reliable sidewall router with safety features
- New silicone sheet on the way (RIP to the current one)
Despite the setbacks, I’m really excited about the potential of this shape. If these ride anything like they’re shaped to, they’ll be a blast in deep snow and soft spring conditions.
Closing Thoughts
Every build teaches me something — and this one taught me about the limits of my mold system and sidewall routing jig, and how to handle minor emergencies mid-press. The next pair will be better for it.