Adjustable Ski Camber Mold Construction
This week I took a big step toward my custom ski builds — designing and cutting my first adjustable camber mold! The goal is to have a flexible press mold that can handle different camber, rocker, and length combos without building a whole new mold for every shape.
When you’re building custom skis or snowboards in a small shop, mold setup is one of the biggest time drains. Every new profile or length usually means a new mold. My concept solves that:
- Quick camber changes with interchangeable “ribs.”
- Length adjustability by sliding the base frame in or out and locking in place.
- Tip/tail molds still swap out, but the base camber is modular.
This means I can make multiple unique shapes for friends or experiments — without spending days making a fresh mold every time.
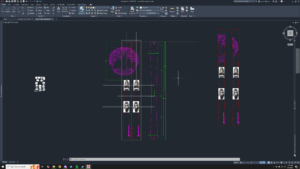
This weekend I sketched up my concept for an adjustable camber mold! it’s designed to sit right on the table I’m using, and allows quick camber changes by inserting the correct sized “ribs” in the racks that go lengthwise. The basis of material is 3/4″ sheet wood or mdf. The tip and tail molds are held in place with threaded rod and there’s going to be holes spaced every 50mm down the length, and five holes spaced 10mm at the tail, allowing any length in 1cm steps . The tip and tail molds will still need to be created for each ski / board style, but I’m hoping this will cut down tremendously on the amount of mold making to create various camber/rocker / length boards and skis for my friends & I. here’s the sketches:
Assembly drawing with parts list. Part 22 and 23 are mcmaster carr part #s, one’s a washer and one’s a nylock nut:
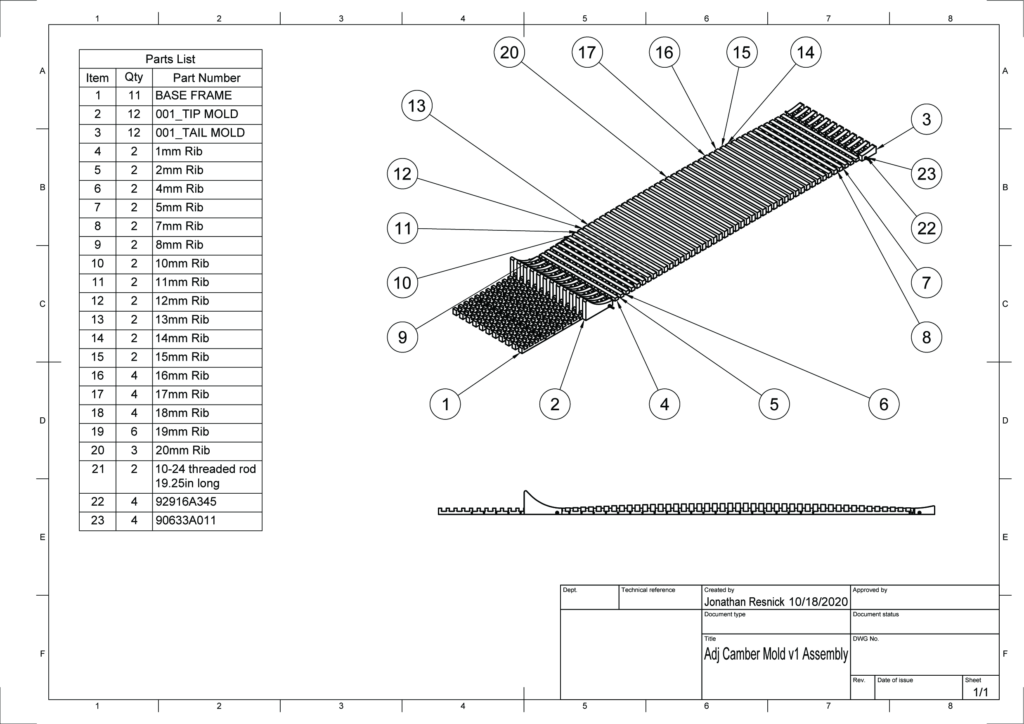
The dimension for each rib is just how far it sticks out the top of the base – so add 12.7 to each for the full height of it..
Base “rack” detail:
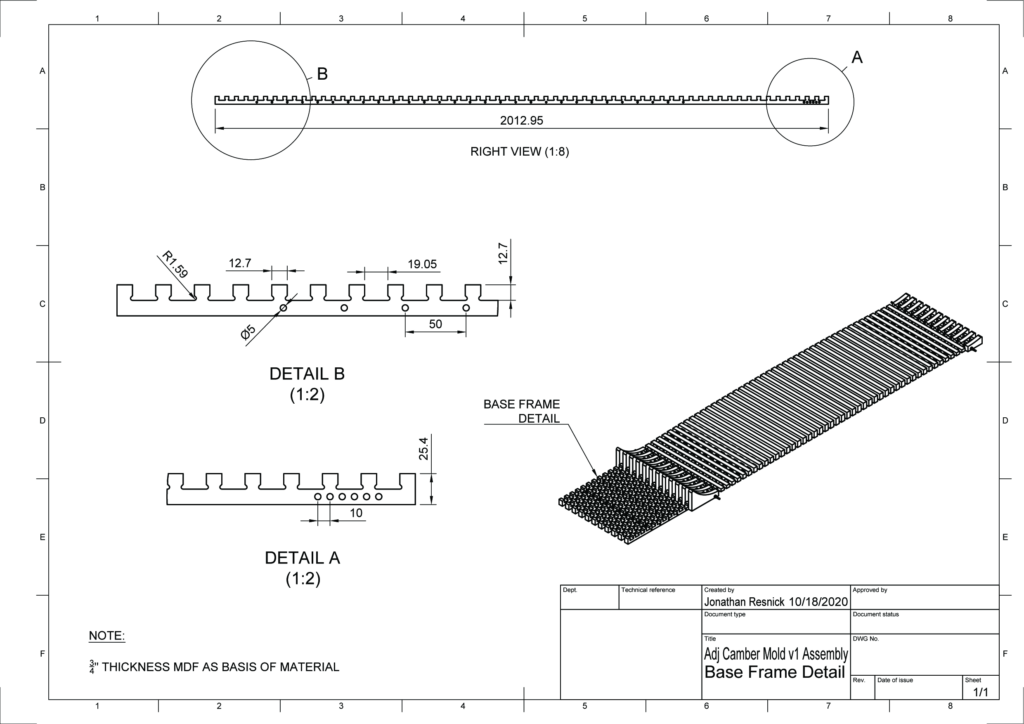
The radius in the bottom of each slot is just because the CNC won’t be able to cut a 90 degree inside angle so it allows room for the bit to create a flat surface for the rib to sit on.
Ultimately, I went with a modified version of it that collapses in on itself like so:
Here’s some progress I made today:
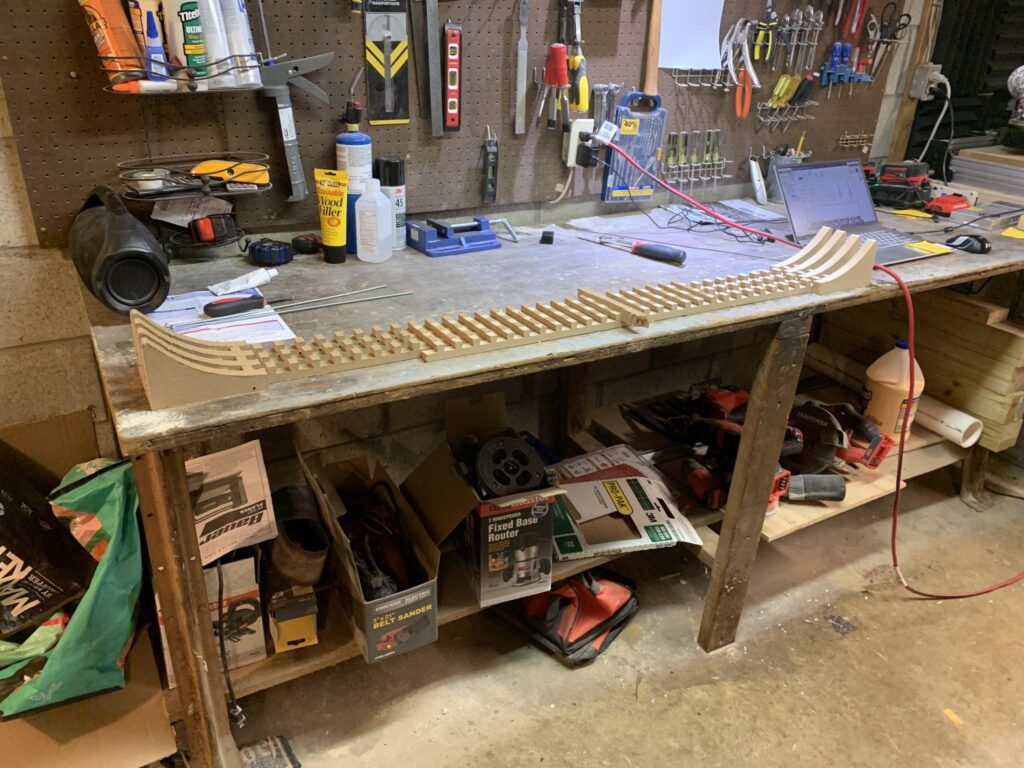
After finalizing the CAD, I set up the CNC with a 1/4″ end mill and cut the slots, ribs, and side rails from MDF sheet. It took a few hours but came out super clean. I filmed a short timelapse — seeing the slots and ribs cut one after another is satisfying!
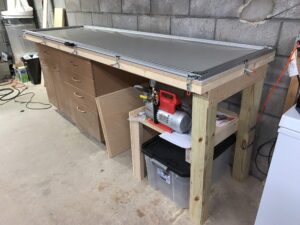
You can see the finished mold sitting on my vacuum press table — the base slides in/out for length adjustments, and the ribs pop in/out for camber tweaks.
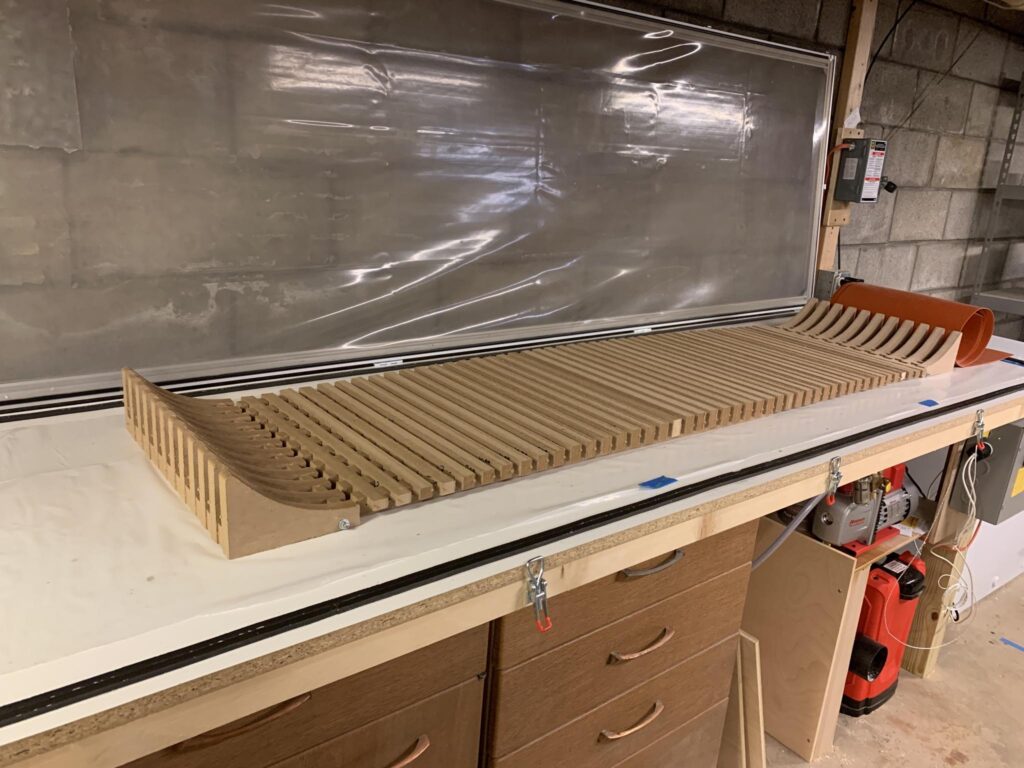
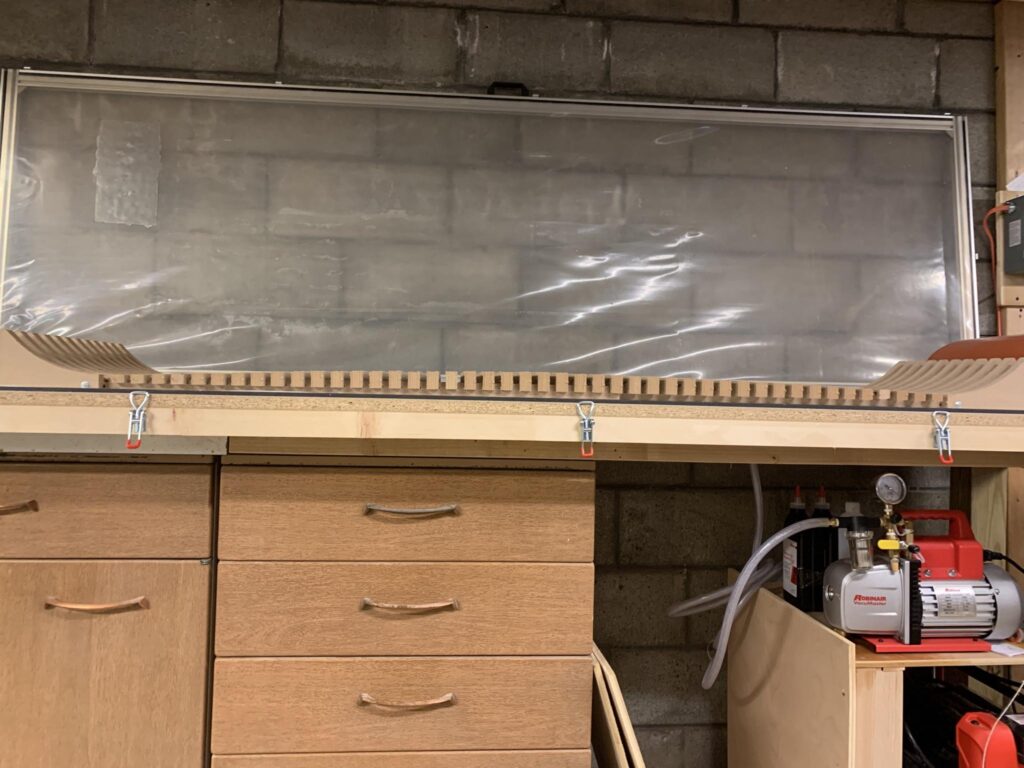
Right now, the ribs slot into the base tightly, and the whole mold is pinned together using threaded rods running through the tip/tail molds and the base frame. Lock washers and nylock nuts keep the setup secure while pressing.
For each new ski shape, I’ll add the correct tip/tail mold shape, lock the threaded rods to hold it square, pick the ribs that match the desired camber profile, insert them at the right slots for the ski length.
The adjustable mold is ready — next up is prepping the first non-test pair using this system. I’ll profile the core, lay up the base, cut edges, and then drop the ski layup into the new mold for pressing.