Designing Skis for My Wife
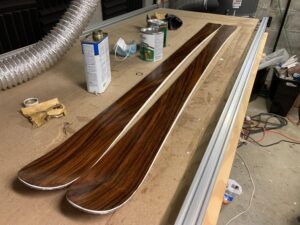
The next project in the shop is a special one, a pair of skis for my wife. I’ve started with the CAD design and graphics setup before moving on to preparing the core, layers, and laser-cut topsheet inlay.
Ski Dimensions & Spec
- Reinforcement: 1″ wide unidirectional carbon fiber strip lengthwise down the center
- Length: 146 cm
- Running Length: 137 cm
- Tip / Waist / Tail Widths: 121 / 77 / 111 mm
- Stance Setback: 85 mm
- Sidecut Radius: 12 m
- Composite Layup: 20 oz Vectorply triaxial fiberglass
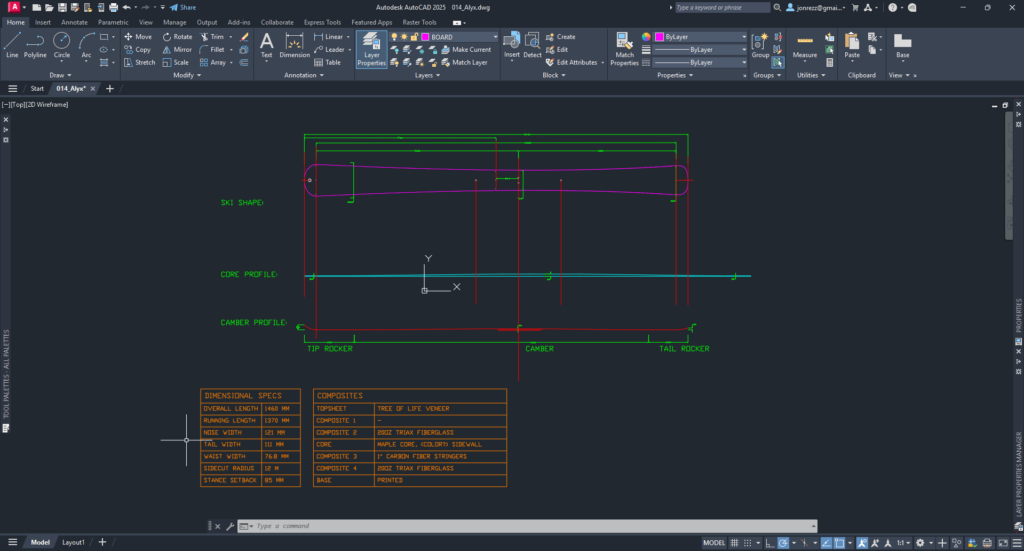
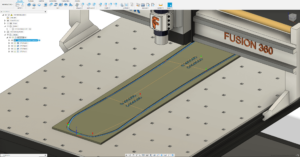
CAD & Graphic Layout
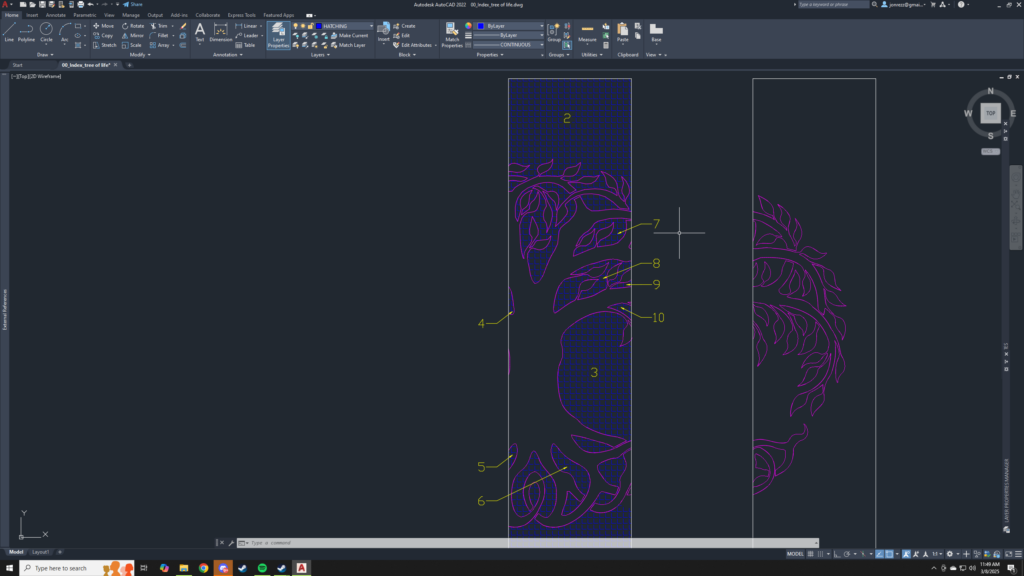
In AutoCAD, the ski outline (magenta) is the top-down shape. The blue and red linework will become the core profile and camber/rocker profile once complete.
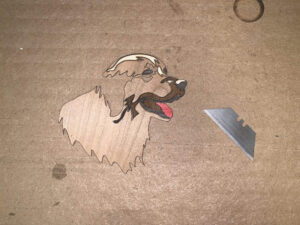
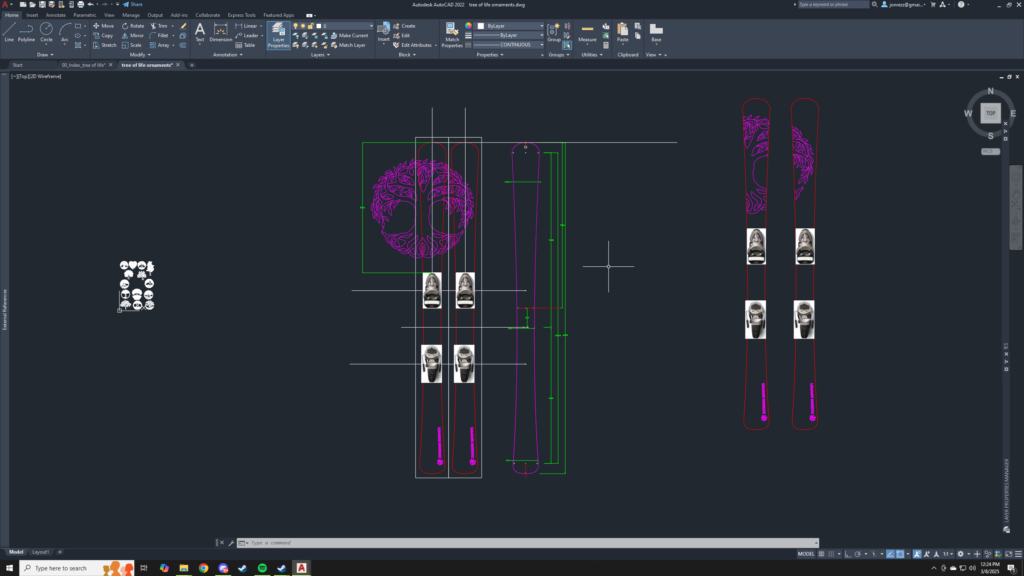
Tree of Life Inlay Design
The topsheet is going to be a tree of life inlay, made from rosewood and green-dyed veneer on a lighter cherry (or similar) background. The design was scaled, positioned, and adjusted to fit the ski template while leaving extra veneer width and length for layup tolerance. I placed bindings to visualize stance and logo placement, then trimmed the final design to the ski shape with all alignment lines removed.
I found inspiration and vector files on 3axis.co, which offers a variety of free DXF designs. I downloaded about a dozen different tree of life styles before my wife chose her favorite.
Laser Engraver Preparation
Before cutting, I’ll:
- Clean up the linework in CAD.
- Convert splines to polylines.
- Ensure all shapes are closed paths.
- Offset the vectors to account for the laser kerf.
While many sources suggest ~0.02 mm offset, I’ll run a test cut and measure with calipers to determine the exact adjustment for my setup.
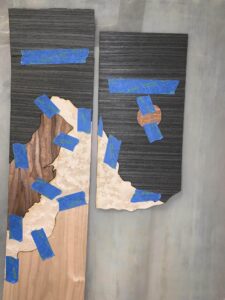
Veneer Cutting & Assembly
Each section of the design (e.g., the blue-hatched background areas) will be cut from individual sheets of veneer. I’ll then:
- Assemble them like a puzzle.
- Use veneer tape to hold everything together.
Once the inlay is complete, I’ll move on to core shaping, edge bending and the rest of the layup process.