First Snowboard…Redo! 145 cm Freestyle Board with Olive Ash Veneer Topsheet
Remember that first snowboard attempt I botched a while back? This one’s the successful redo — a 145 cm freestyle snowboard with serrated edges, hybrid camber, and a beautifully finished olive ash veneer topsheet.
This board is designed for a 5’6″ rider weighing around 120 lbs. Here’s the full build recap from core shaping to laser-engraved top layer.
Snowboard Specs:
- Length: 145 cm
- Profile: Hybrid camber
- Core Thickness: 2.5 mm tip/tail, 6 mm underfoot, 5 mm midsection
- Core Materials: Poplar & Maple
- Reinforcement:
- 6 parallel carbon tows between the feet
- 1″ wide carbon strips from inserts to ends
- Edges: Serrated steel edges
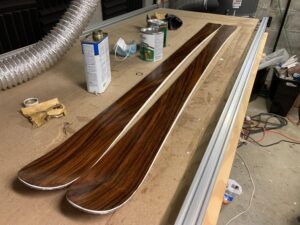
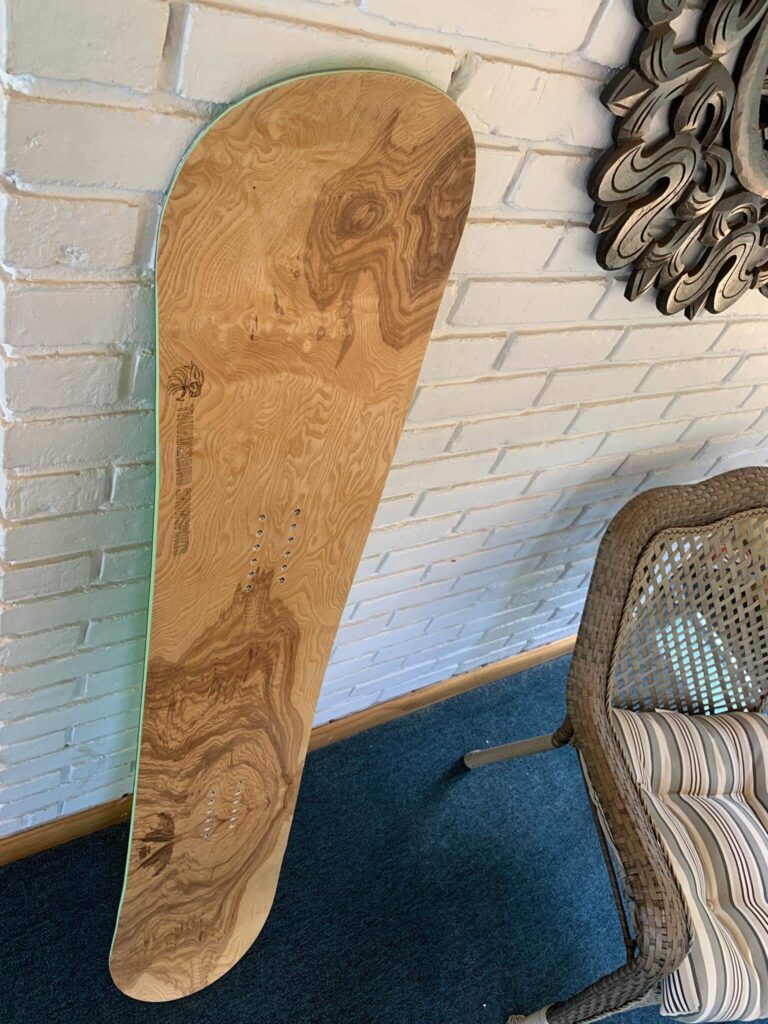
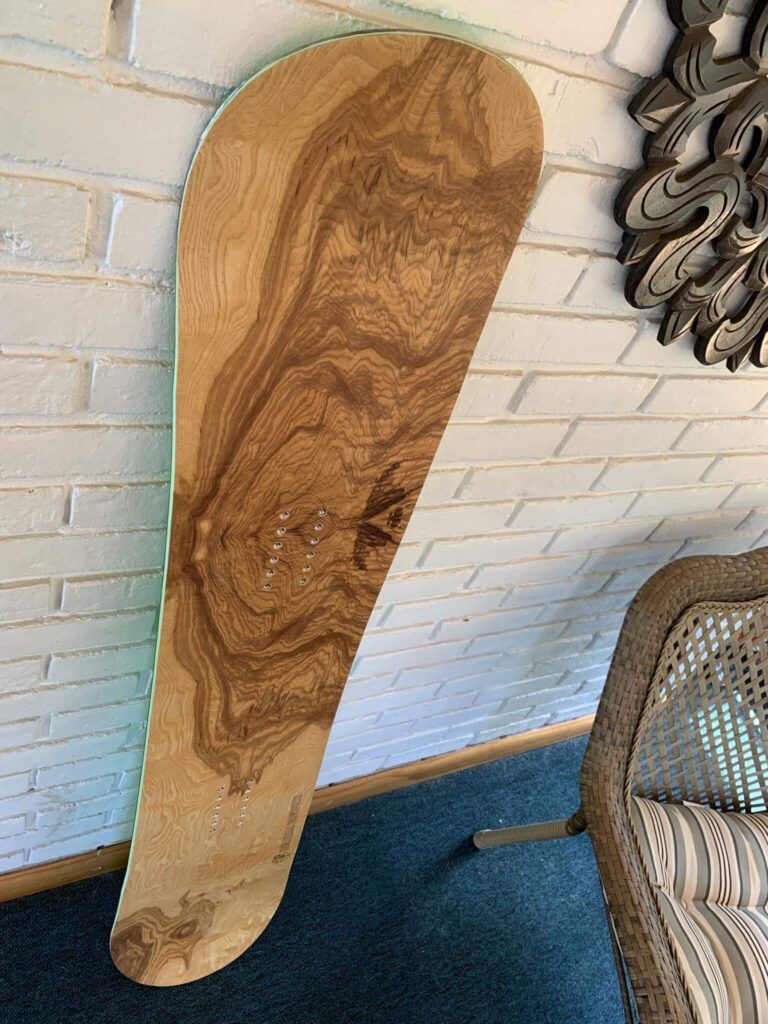
- Topsheet: Olive ash veneer, finished in teak oil + polyurethane
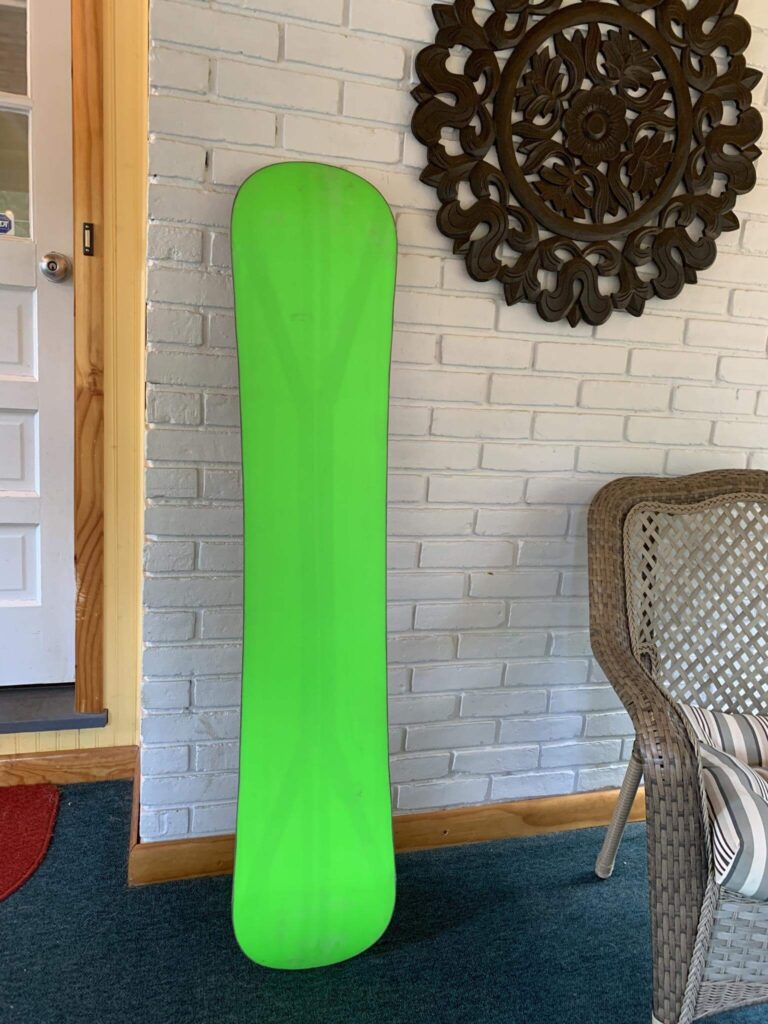
- Base: Green sintered P-Tex
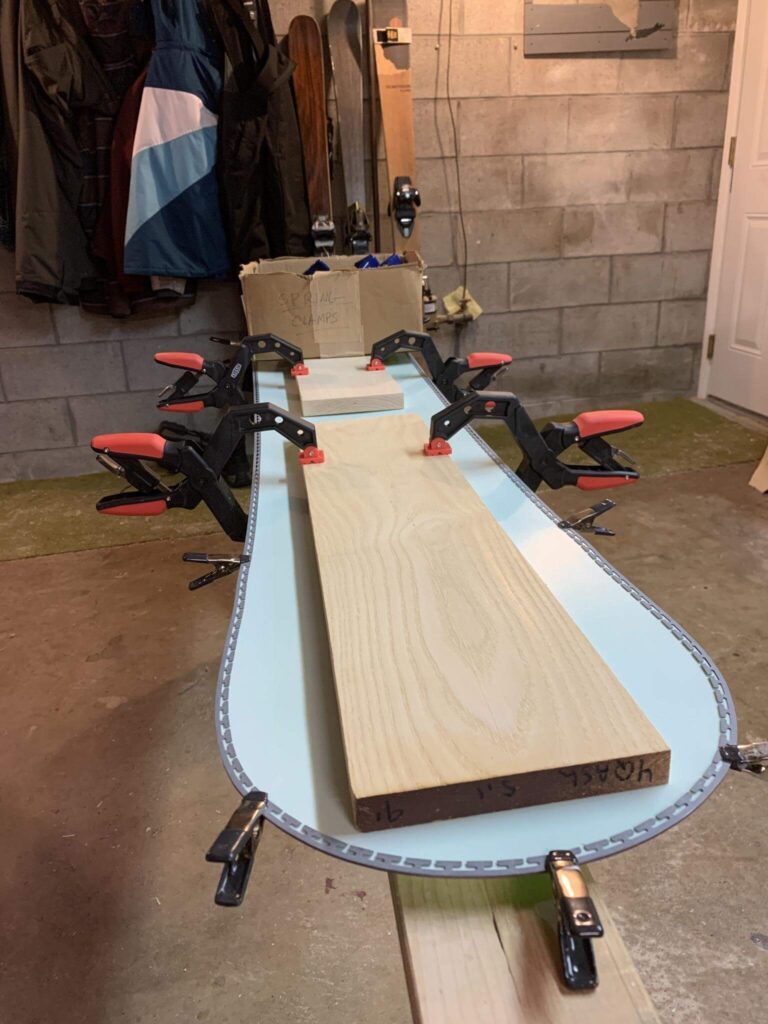
Core Shaping & Edge Prep
I shaped the core to taper sat both ends. Before gluing the edges to the bases, I pre-bent them face up so that when flipped for attachment to the base, only minor tweaking was needed.
here’s the edges going on:
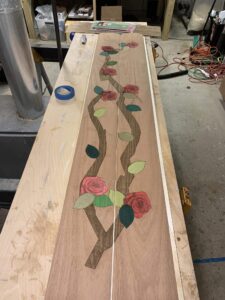
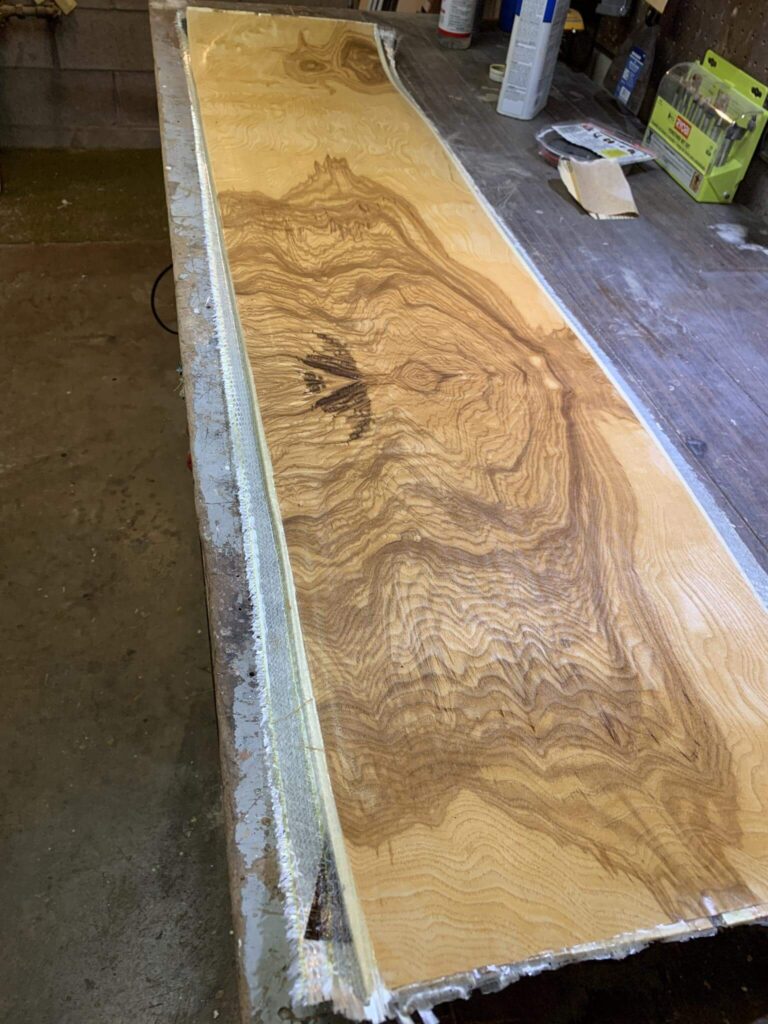
Veneer Flattening – Olive Ash
The veneer came in with a pretty nasty curls and not flat at all. I used SuperSoft 2 veneer softener and left it clamped up for 4 days:

This was my flattening setup – I clamped it between a bunch of scrap plywood with paper towels to absorb the moisture from the supersoft:
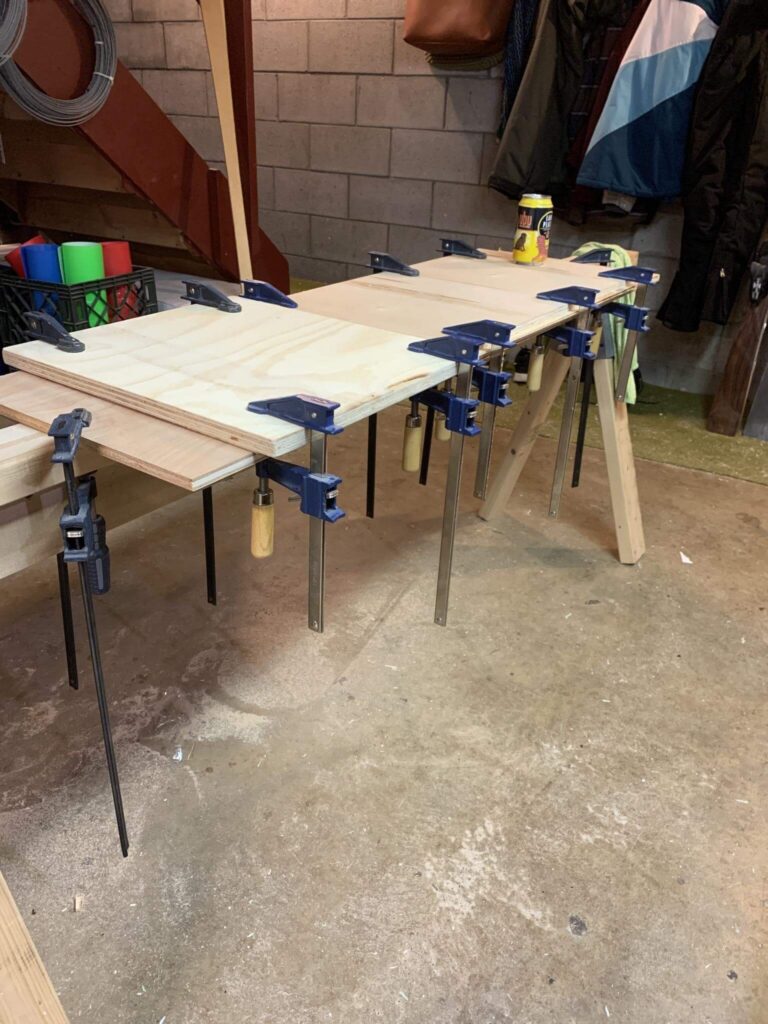
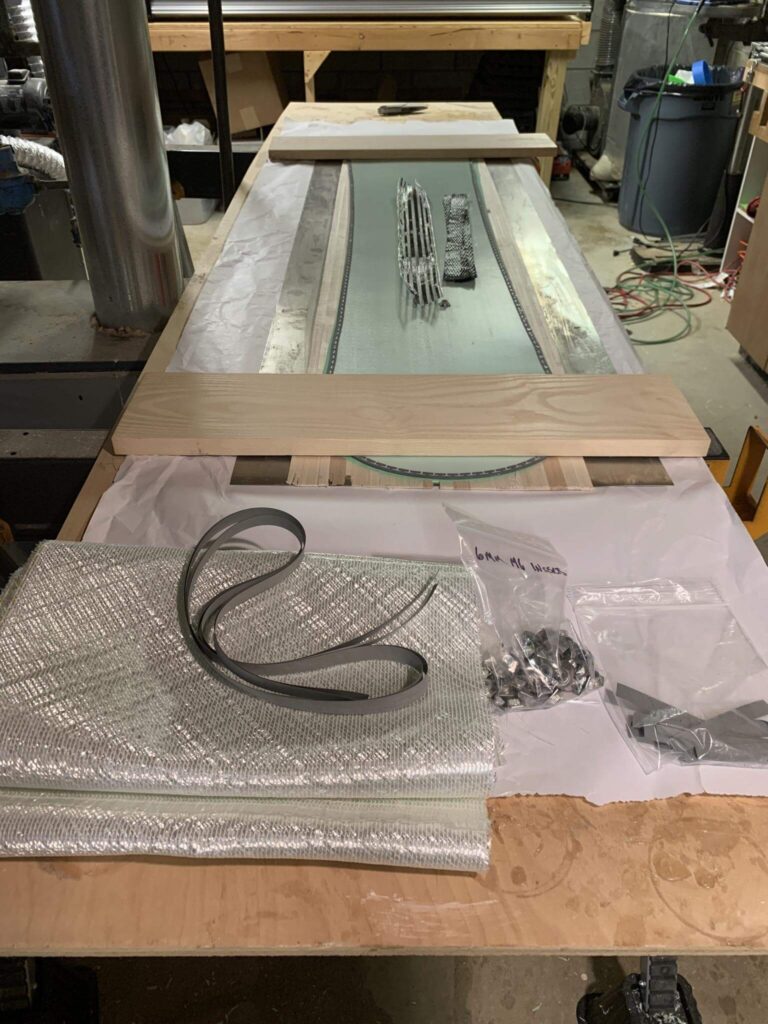
Material Layup and Pressing
Here’s all the materials layed out and ready for assembly: base with edges on it, strips of carbon fiber, vds rubber, inserts, fiberglass and the topsheet is still clamped up. I will take the topsheet out of the clamp right before I need it so it doesnt have a chance to spring back to its very un-flat state..
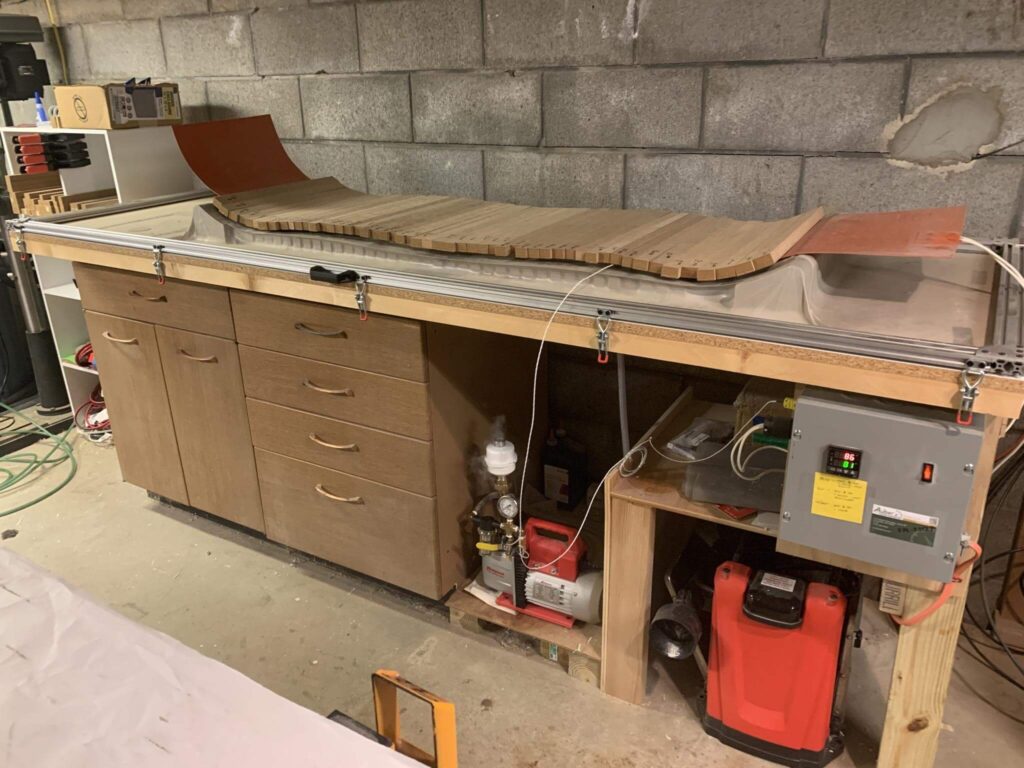
here it is in the press! I need to replace the exhaust filter on my vacuum pump:
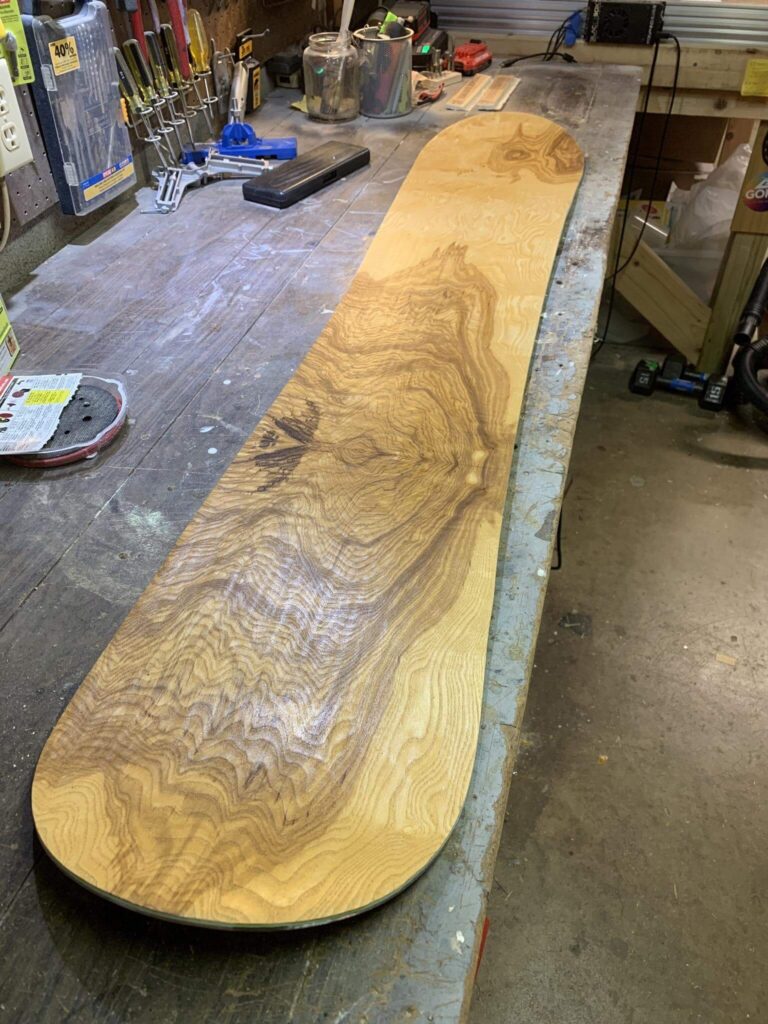
Topsheet Finishing
The epoxy didn’t fully soak into the veneer, which left some dry patches. To recover, I applied multiple coats of teak oil which brought the grain back to life and gave the board a deep, rich color.
Before:
…and after:
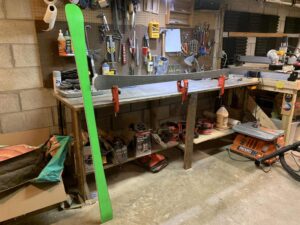
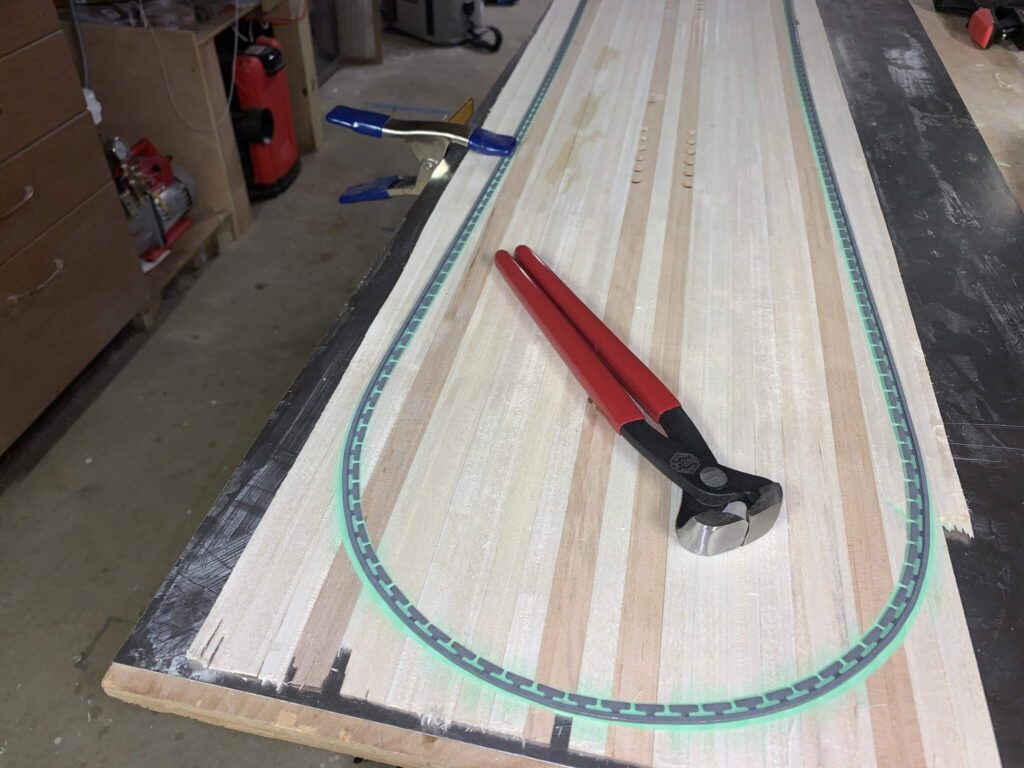
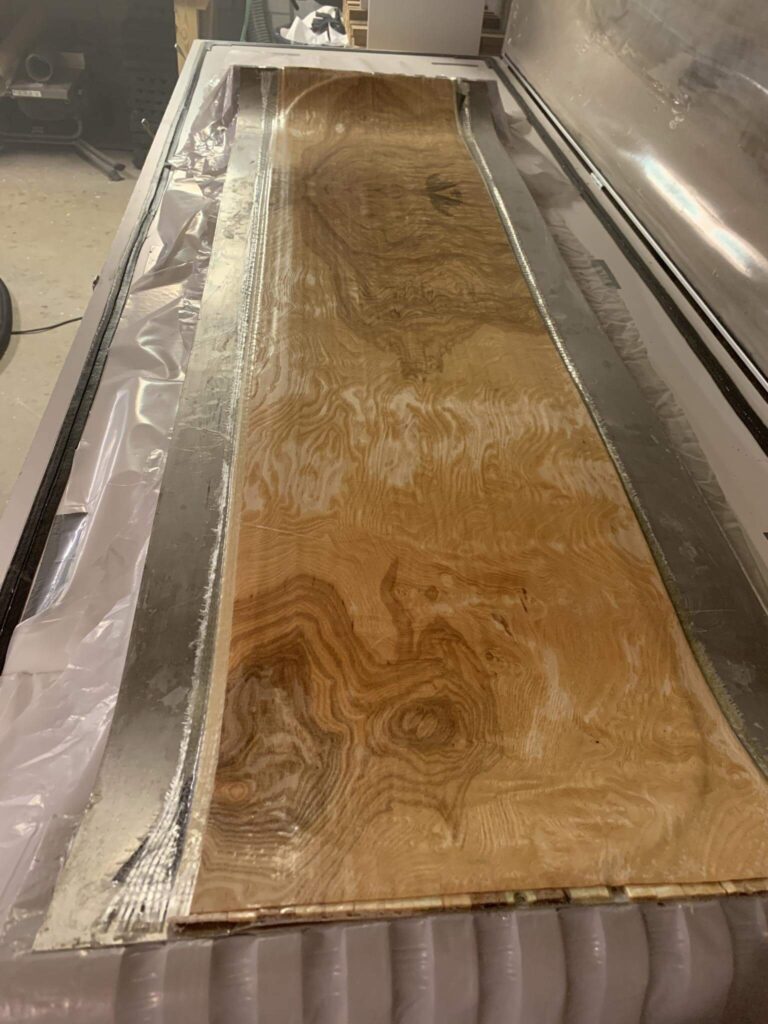
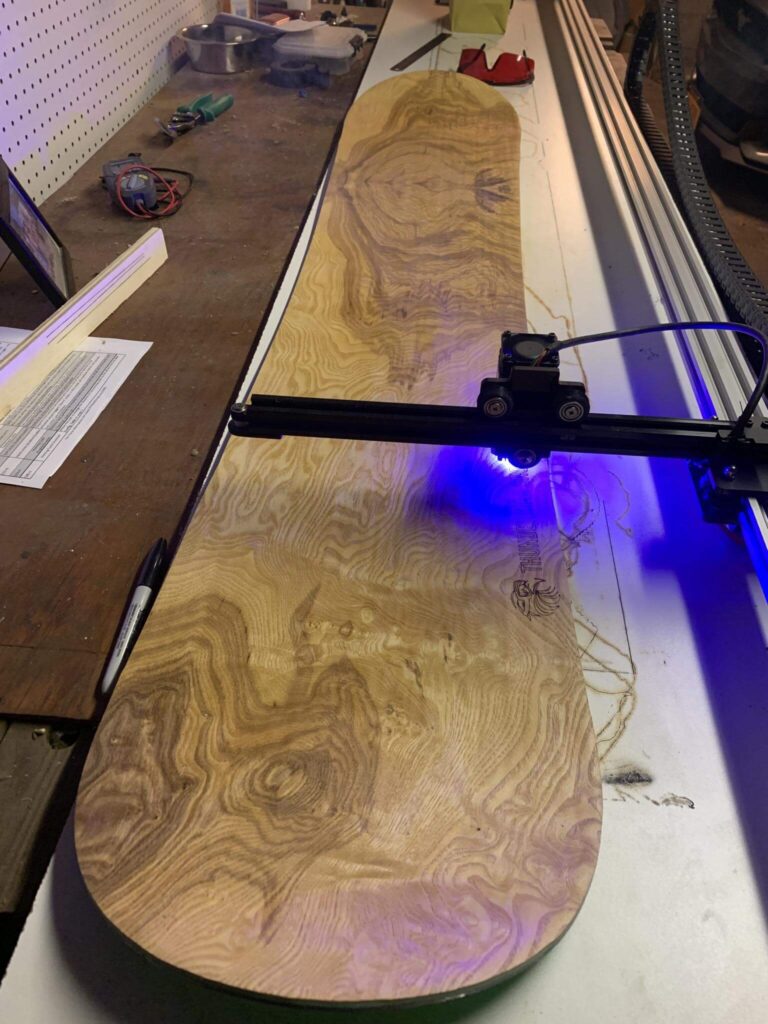
Shaping, Routing & Engraving
After cutting out the board, I used my router setup to bevel the sidewalls:
laser engraving my logo into this flawless build:
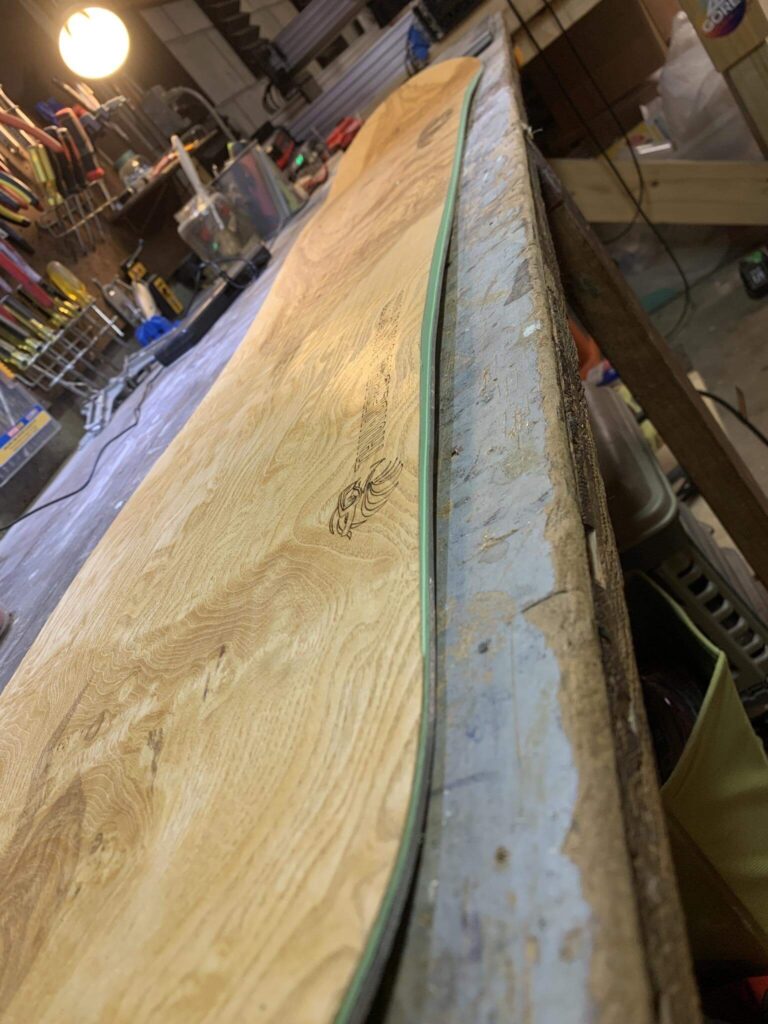
camber & sidewall shot: (I’m very happy with how the sidewalls came out this time! I finally routed them without accidentally gouging the board/ski!!!)
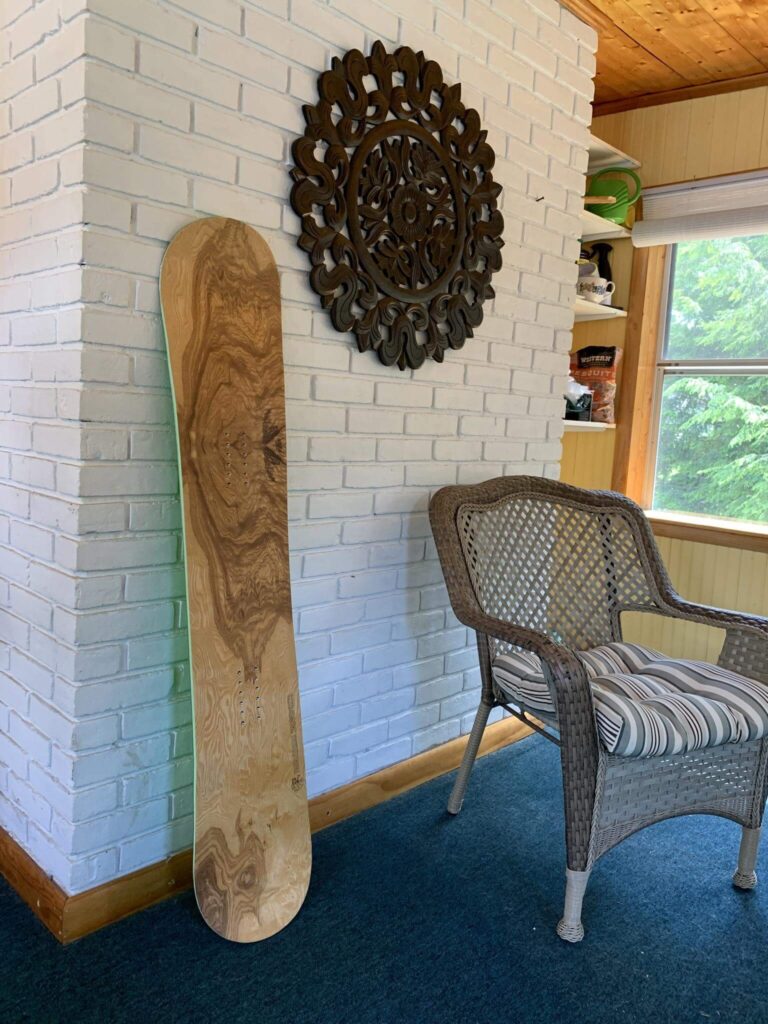
The Finished Board:
some finished pics. the only thing I’m not crazy about is how much of the insides you can see through the base.
Closing Thoughts
This snowboard is a huge leap forward from my earlier attempts with how perfect it came out. Between the camber, sharp sidewalls, and custom veneer finish, I’m proud of this one.