Ski #3 Build: Sidewall Jig, Flex Results & Veneer Details
A lot’s been happening in the shop lately including a new ski build, some experiments with sidewall jigs, and a bit of flex testing that gave me unexpected results. This build log covers ski #3, a 170cm all-mountain ski I built for a lighter-weight rider (around 155 lb), and includes lessons I learned along the way. Let’s get into it.
First off — I’ve started playing with a new laser cutter/engraver. Honestly, it’s a bit intimidating. I’ve been using the included glasses, and they seem to be doing the job. Once I get a little more comfortable with the workflow, I’m excited to incorporate some custom engraving or marquetry graphics into future builds.
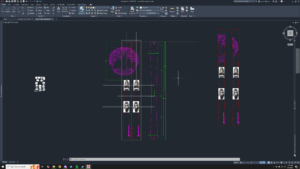
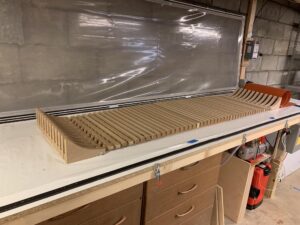
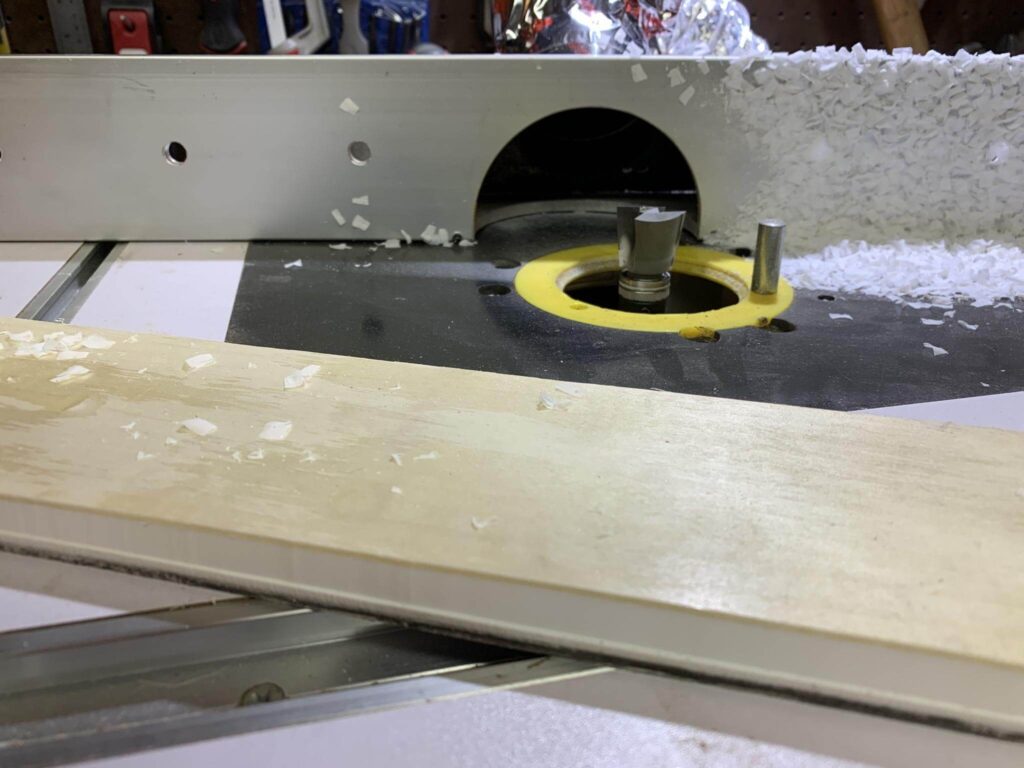
I built a new sidewall routing jig recently, and it’s been a pleasant surprise. I paired it with a specific bit combo that really nailed the trench geometry for my poured sidewalls. Clean, consistent sidewalls with a step in them to make sharpening the edges easier and give that polished professional look.
and here’s some progress pics from my latest ski build, it’s a 170 cm all mountain for someone who is on the lighter side (155 lb) –
- Length: 170 cm
- Shape: 130-95-121 mm
- Profile: 7 mm camber, tip rocker
- Core: 2/8/2 mm poplar with two 19 mm maple stringers
- Glass: 20 oz/yd² triaxial fiberglass
- Carbon: 1” carbon fiber tape under the lower fiberglass
- Sidewalls: Smooth-On 300, dyed black with PU pigment
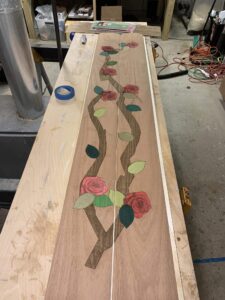
- Topsheet: Rosewood center with cherry veneer sides, joined with veneer tape
I used offcut base material and wooden dowels to align the core and base during layup — this worked way better than eyeballing or taping, and I’ll definitely keep doing it.
Mid-layup. The sidewalls are smooth-on 300 but I’ve died them black with PU pigment
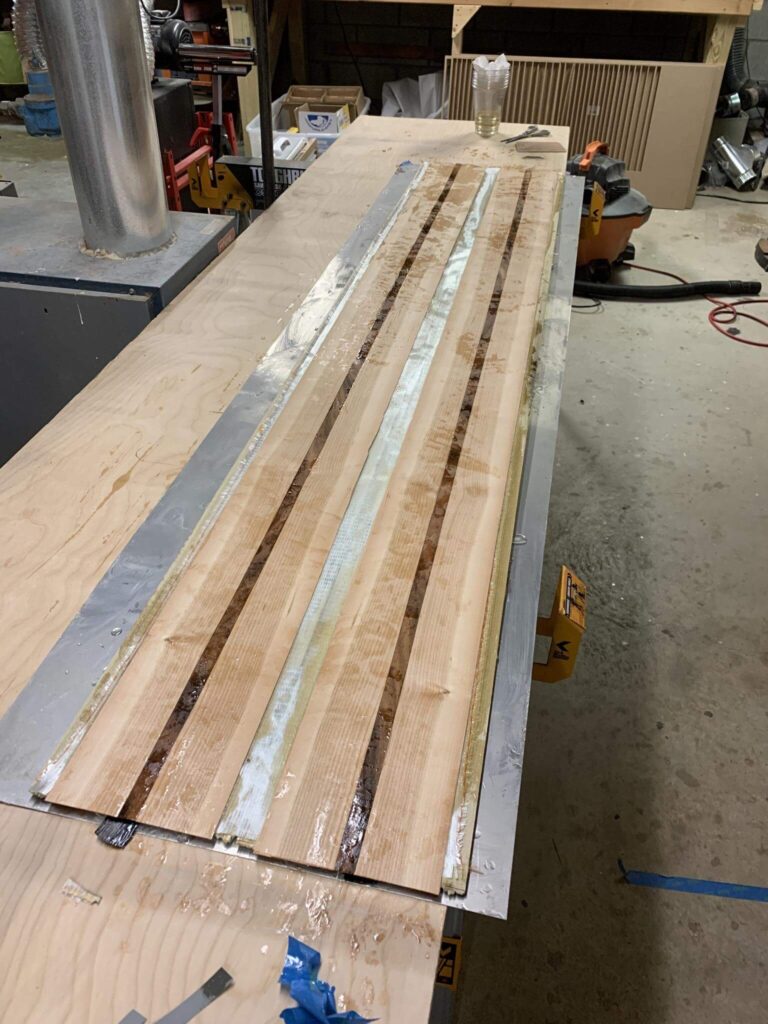
The topsheet has two cherry bands on the outside with a rosewood strip in the middle. Used some veneer tape underneath to joint it:
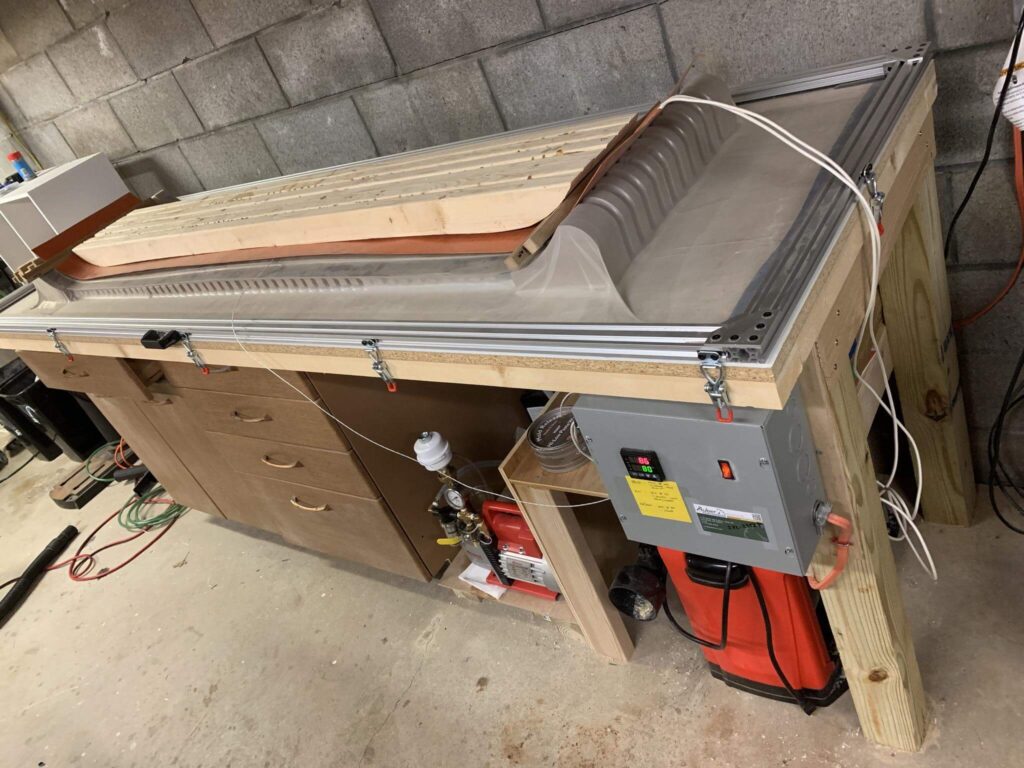
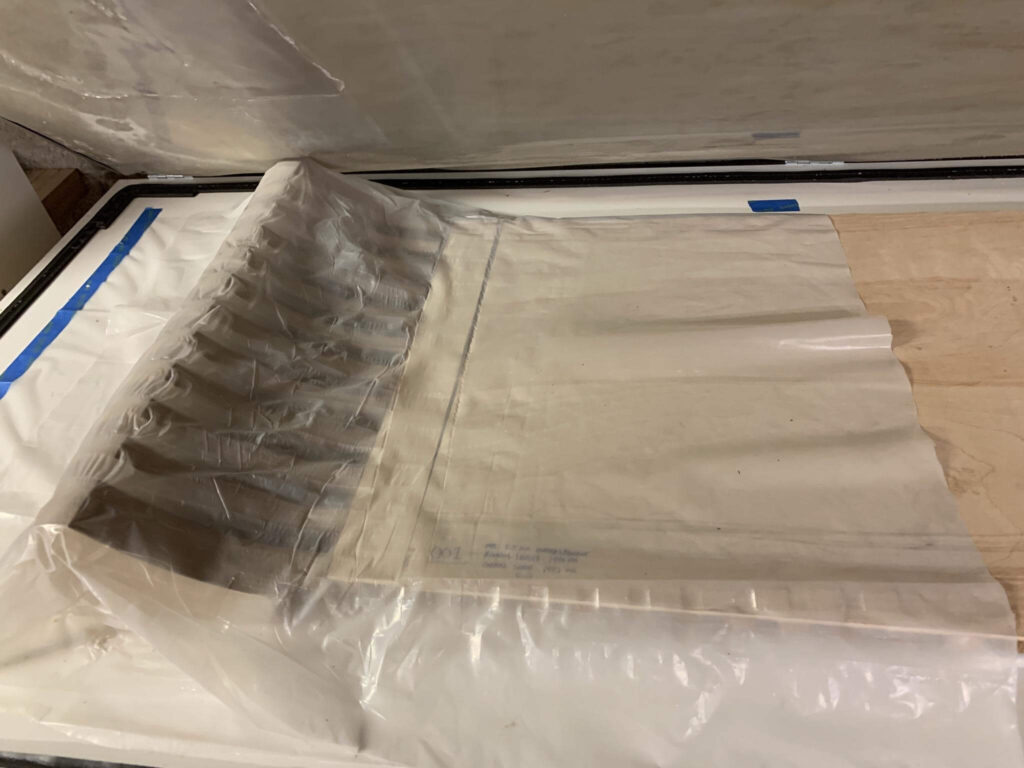
Into the oven:
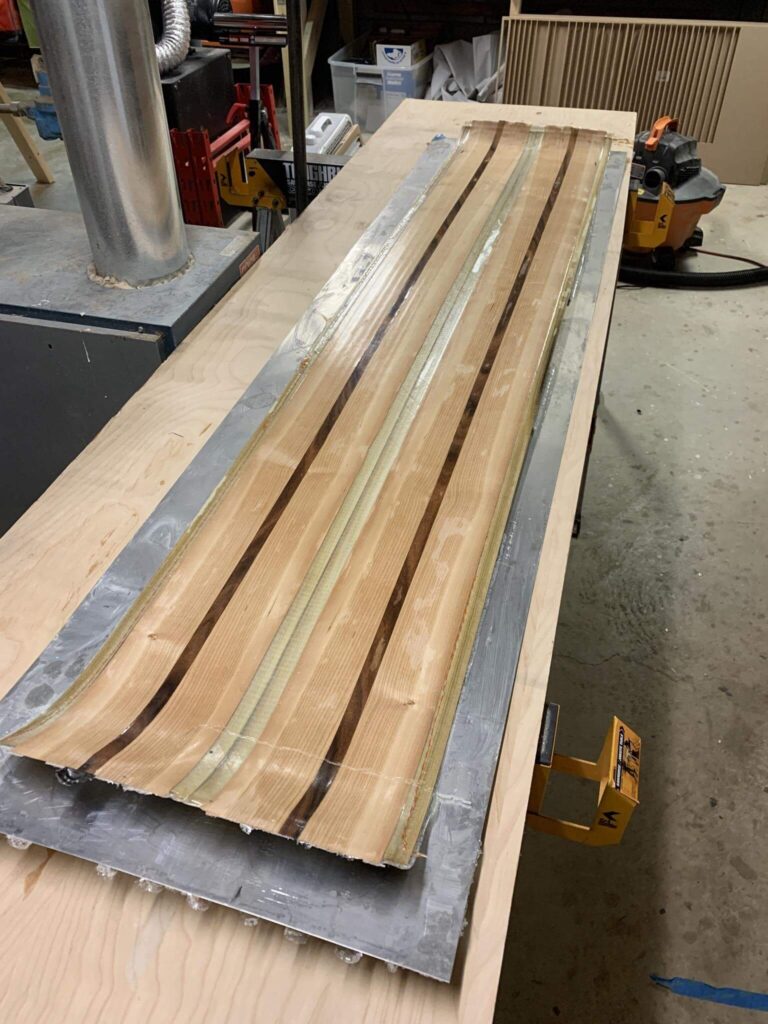
here’s the resulting plank ready to be cut out and cleaned up:
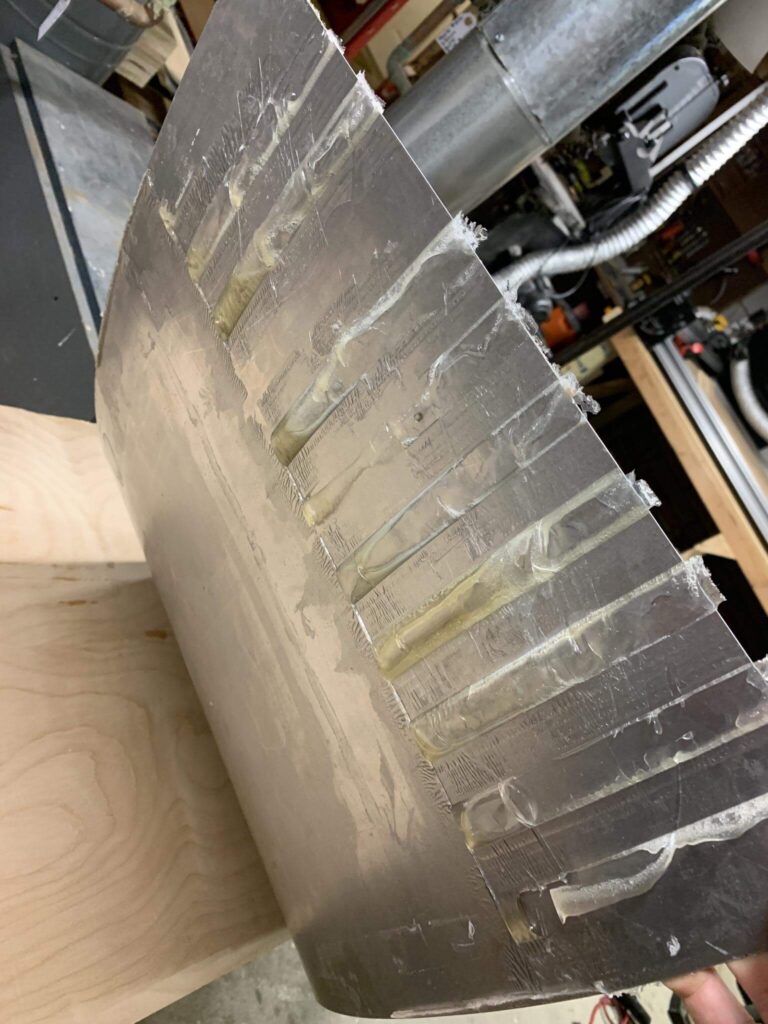
So regarding previous comments about not using bleeder – I’ve more or less been able to contain the epoxy squeezeout in the tip and tail areas of the press – it pretty much just makes its way over the cassette and gets trapped between a heavy plastic film and the metal. seems to be working out well – haven’t damaged the mold in the last couple presses (*knocks on wood):
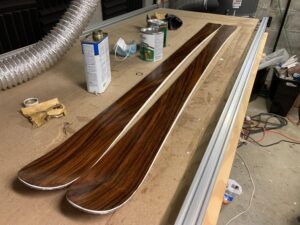
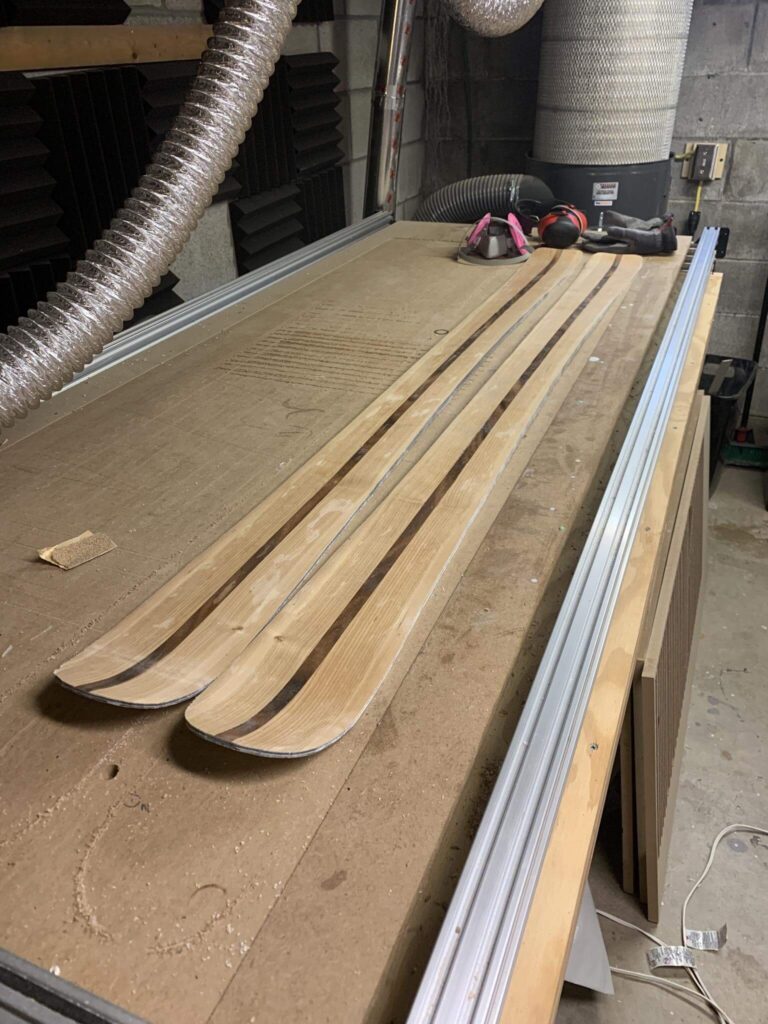
Here she is all cut out and sanded:
So here’s where things got interesting — the ski came out softer than I expected.
Based on my calculations using John Howe’s Skiing Mechanics textbook, I had targeted a typical “all-mountain” stiffness. But when I built a basic deflection rig, I measured 22 N/cm, which is on the soft side for a ski of this shape.
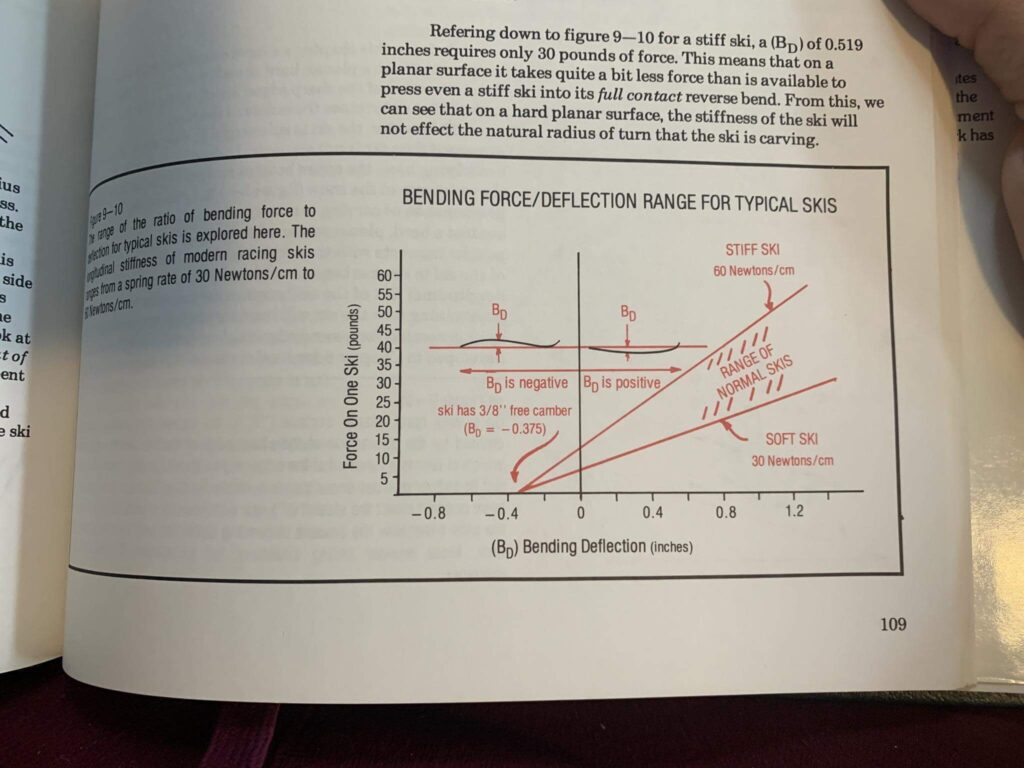
my testing apparatus is two ski clamps and some weight in the middle of the ski – I take two dimensions, the height of the center with no weight and the height of the center with the weight ontop and do some math to solve for the flex:
Either way, I’m curious how they’ll ski — they could be great for someone who wants a smooth-flexing, forgiving feel in soft snow or trees. Time (and my friend’s feedback) will tell.
I added some black paint lines using some outdoor latex paint:
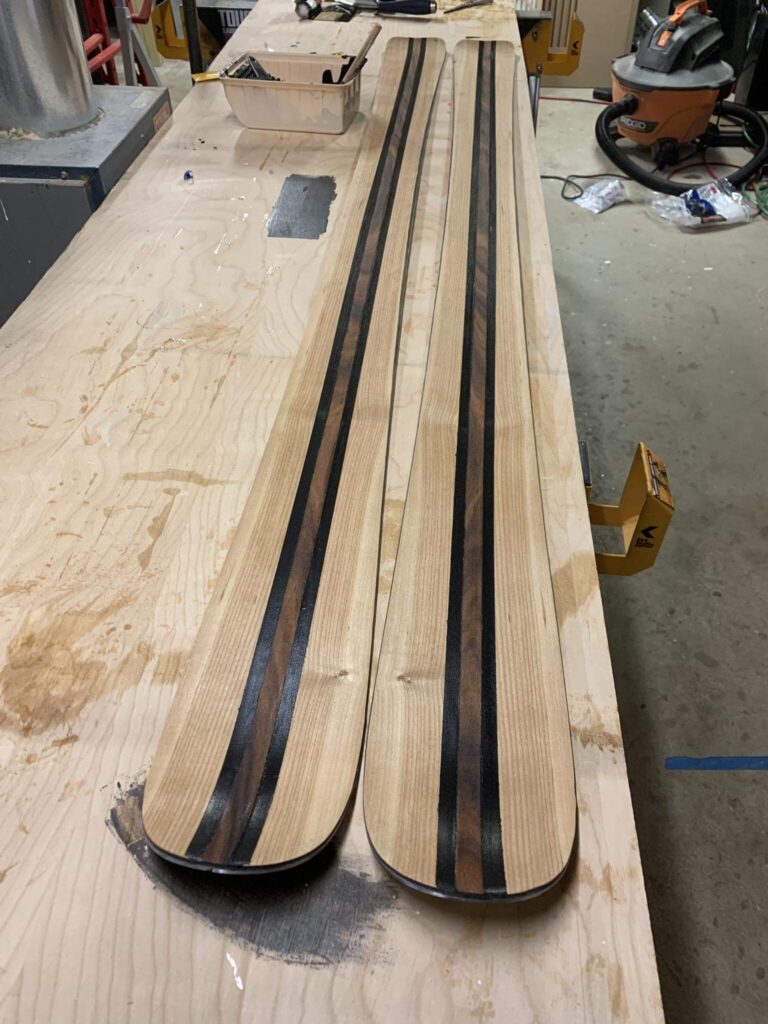
Finally I will protect it all with a few coats of finish – some spar urethane, polyurethane and wax to seal and finish off the toposheet.
Quick bonus: the rosewood skis (Ski #2) are finally mounted with bindings and tuned:
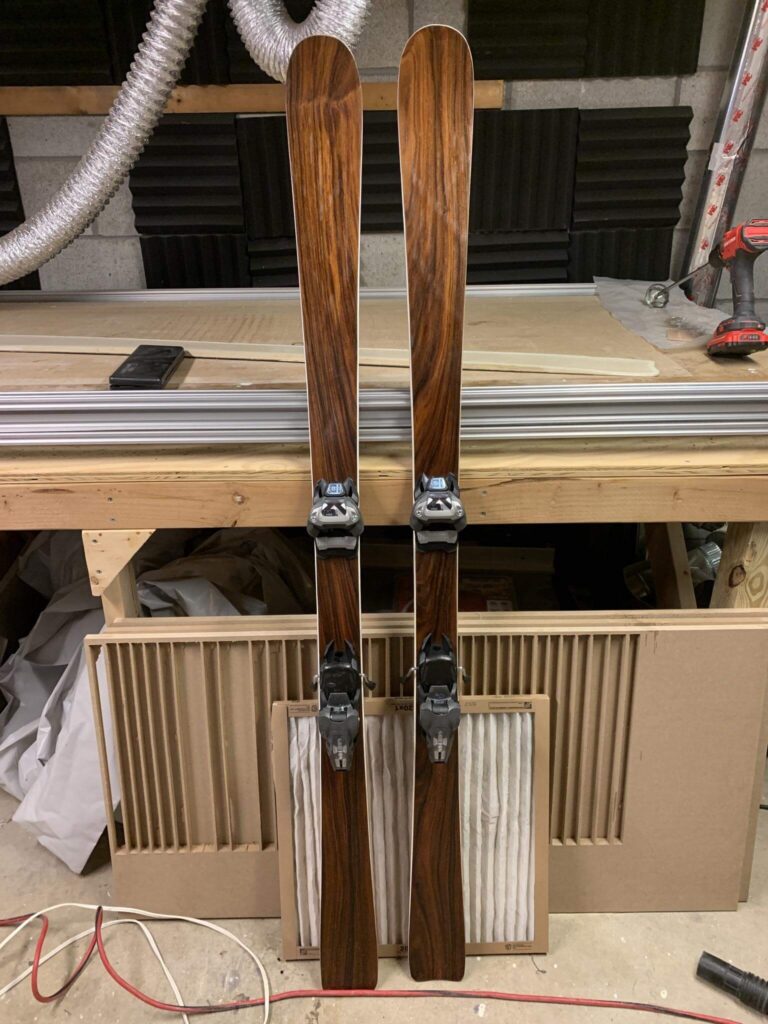
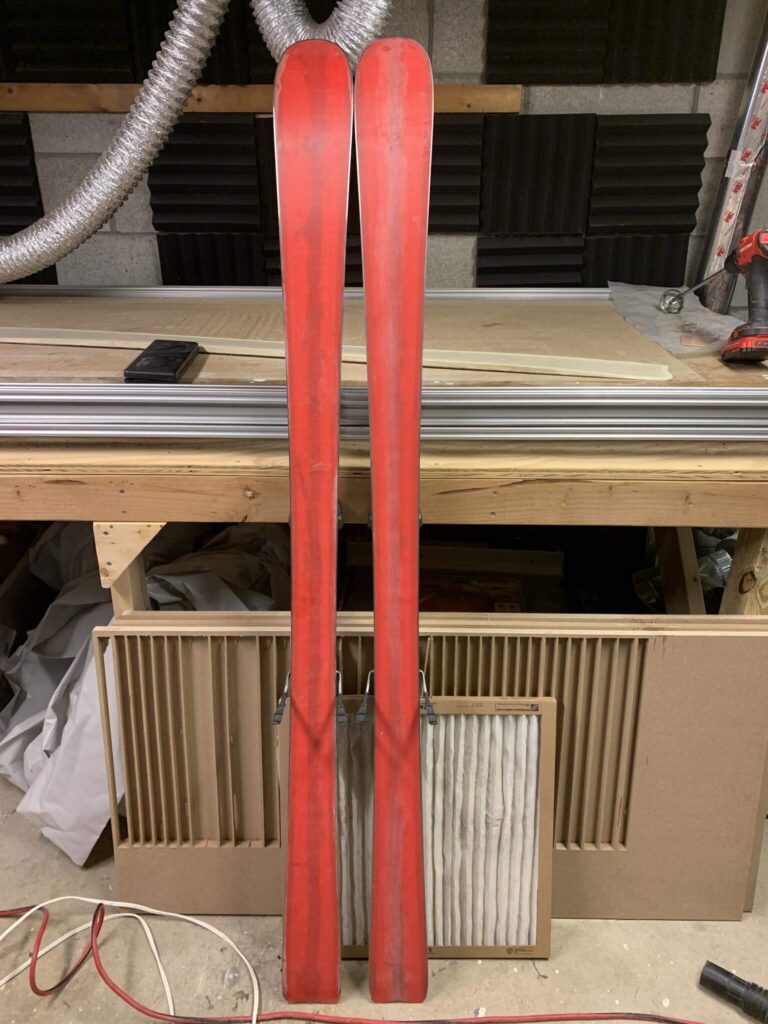
my favorite pair so far is that first one – I don’t really have anything bad to say about them other than maybe the binding placement needs some adjustment – I tried the second pair and it carves well but feels a bit noodly when going straight & fast – maybe because its too soft? I’m pretty sure I wouldn’t like the third pair because of how soft they are, but maybe my friend will, time will tell.