Sidewall Beveling Jig, Snowboard #2, and New Projects on Deck
It’s been a productive month in the shop, lots of improvements, a nearly flawless snowboard build, a new laser engraver setup, and a fresh approach to solving some of the trickier DIY ski build challenges like base/core alignment. Here’s the full rundown of what I’ve been up to.
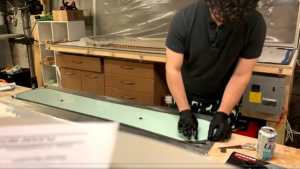
Sidewall Beveling Jig – Clean Edges Like the Pros
I’ve always admired the way production skis have a small “step” in the sidewall just above the steel edge. That little recess allows ski tuning tools to cleanly reach the edge without bumping into the sidewall — and makes sharpening a whole lot easier.
So, I’ve been working on a jig to replicate that geometry using a dovetail router bit and bearing mounted on a router table.
The Setup:
- Dovetail router bit
- Top-mounted bearings
- Wooden rail for the ski to ride along
This lets me cut a precise bevel a few millimeters above the edge, creating that inset “step” look and improving both form and function. Here’s a diagram showing what I want that step to look like:
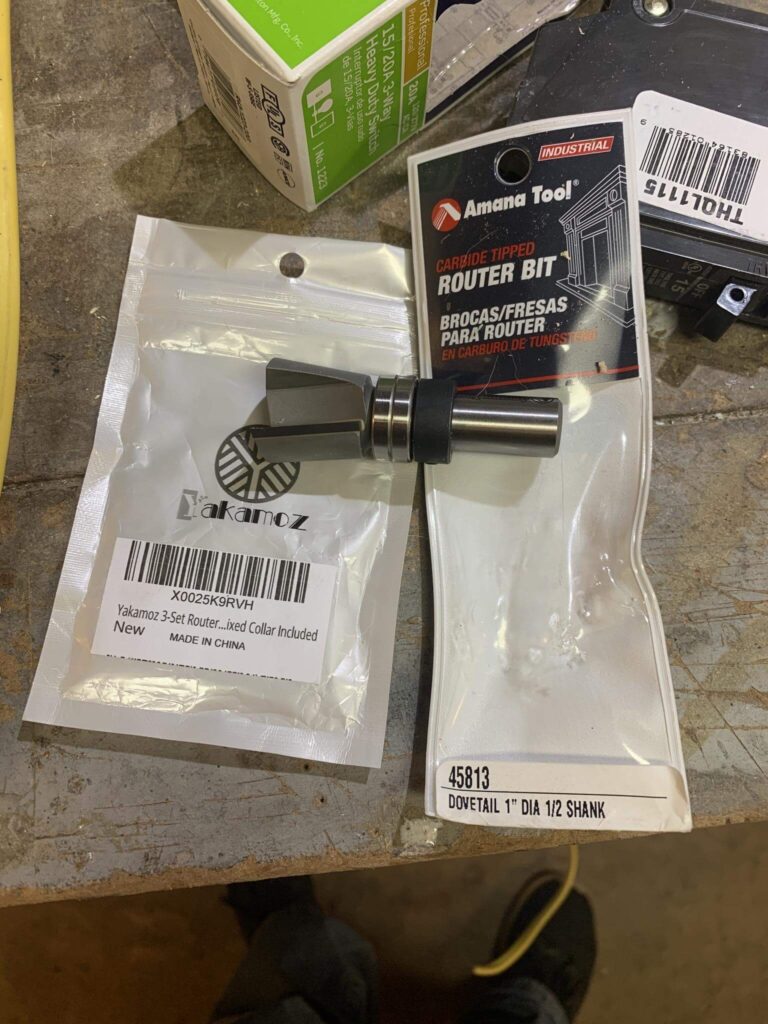
Here’s the router bits I used to achieve this. Using a handheld router works well too:
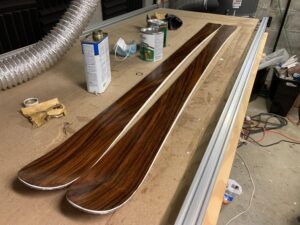
Snowboard Build #2 – My Best Yet
I just wrapped up my second custom snowboard, and it’s my cleanest build so far.
What’s new:
- No epoxy leaks
- Flat base and even pressure
- Clean routed sidewalls
- No visible defects
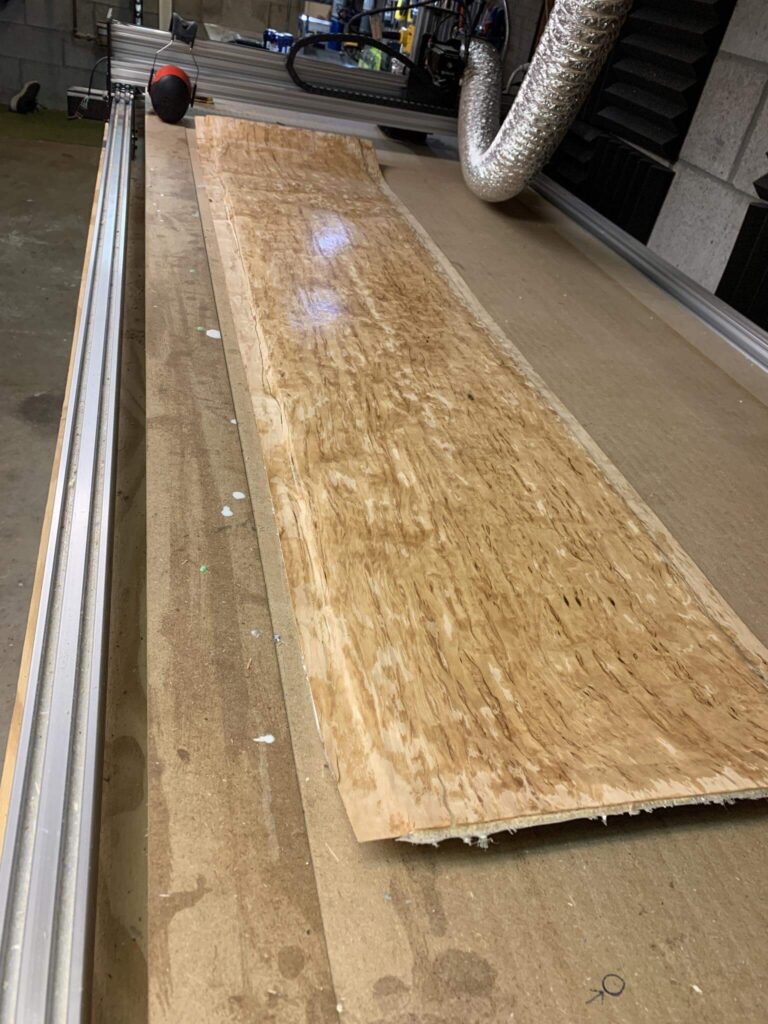
When I pull a board out of the press, I like to call it a “plank” — a big rectangle of compressed layers before cutting the shape out. This one looked great from the start.
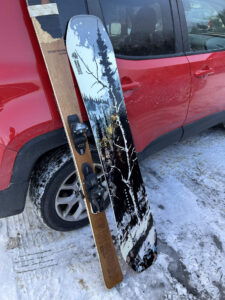
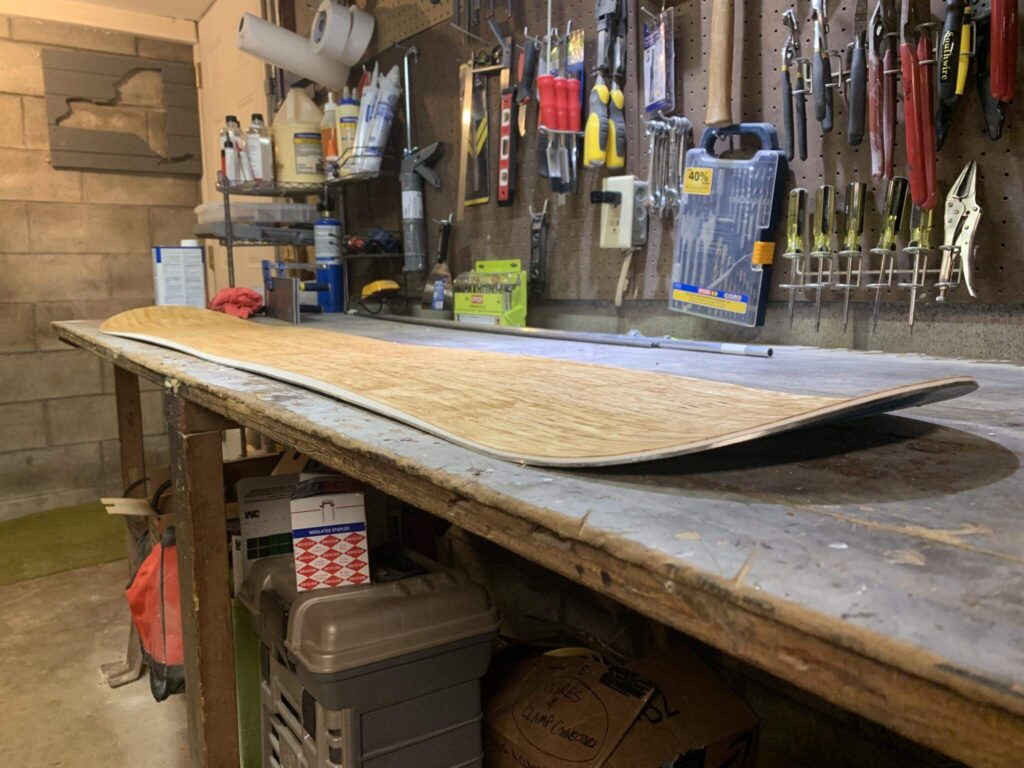
Here is after the snowboard has been cut out and cleaned up. you can see that it has a “M” style camber, which gives it good carving hold while still allowing the rocker sections to provide some playfulness:
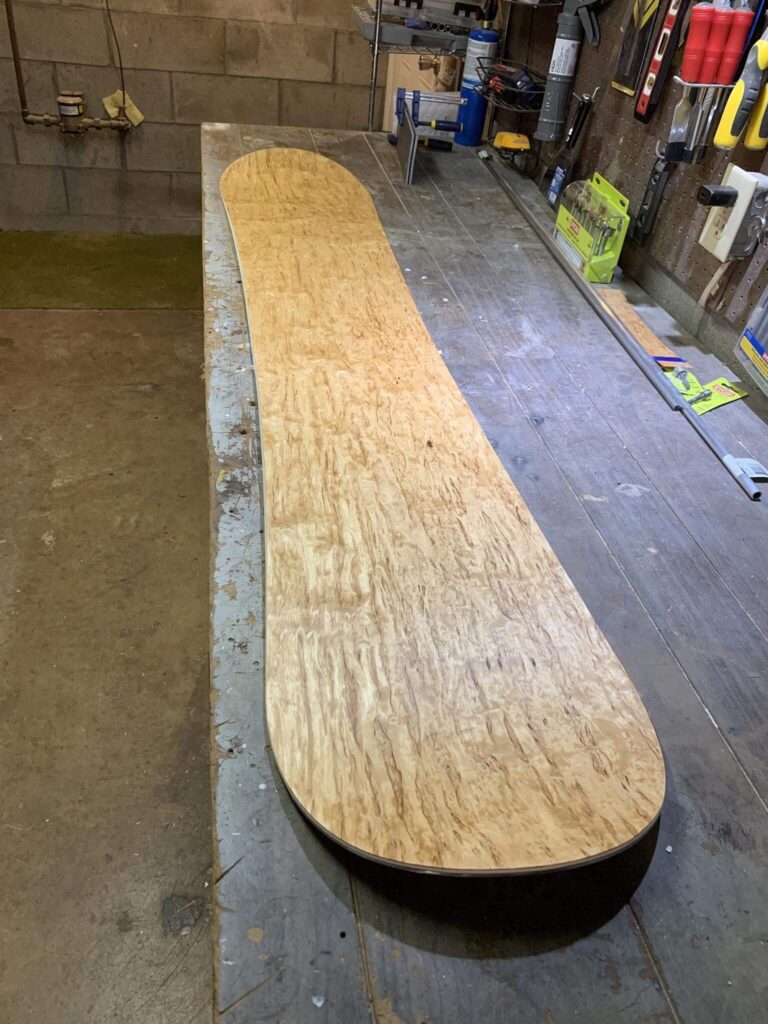
Another picture. So Pretty! Almost there, next I need to drill out the inserts, and I have an engraving in mind!
Setting up my new laser engraver
I got a laser engraver on aliexpress (neje master) and it’s been pretty simple to set up! I used the software it came with to control it, and made dxf files in autocad for the vector graphics:

Here’s an attempt at an inlay – different types of wood veneer cut out to fit together like a puzzle. I’m going to have a lot of fun with this!
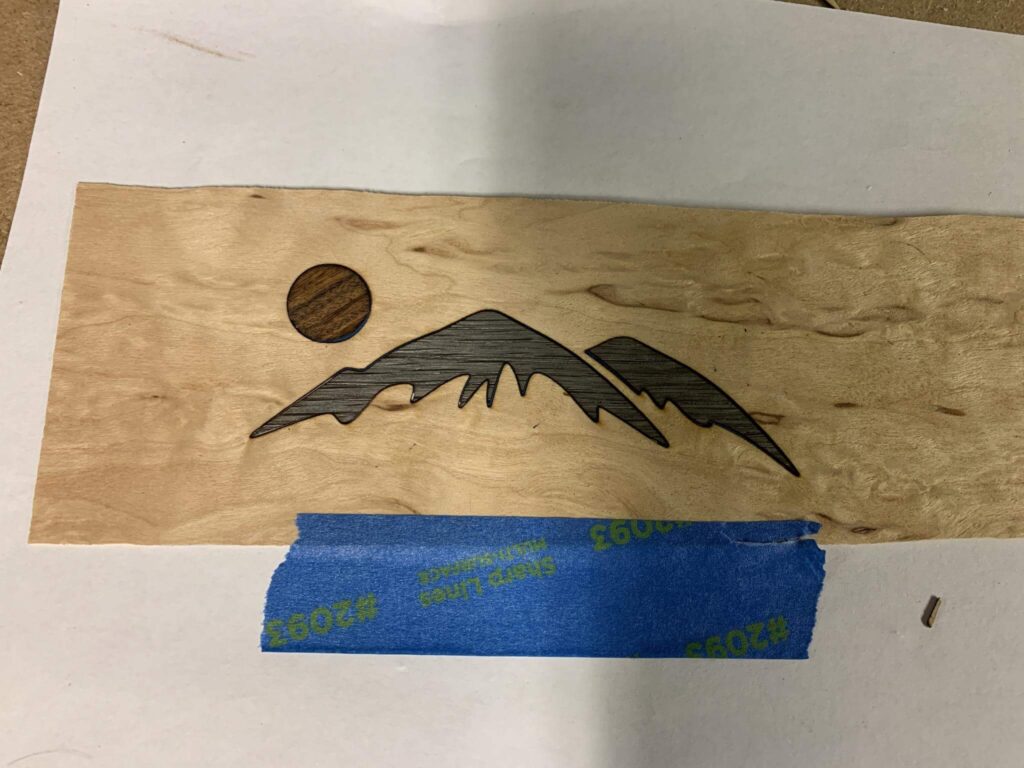
worked pretty well in scrapwood for the tests! I’m hoping to do more large and complex inlays for the the ski, and experiment with stripes as well (gonna try veneer tape and a veneer saw with a straight edge) for the actual build.
Next Build: Skis with Laser Inlays!
I’m heading back to skis next — and I’m excited to try laser engraving and inlay work for the topsheet design.
Specs:
- Length: 170 cm
- Waist: ~95 mm
- Sidecut radius: 17 meters
- Topsheet plan: Inlaid wood graphics
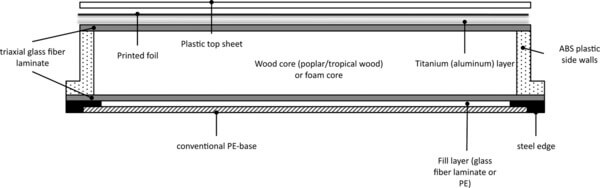
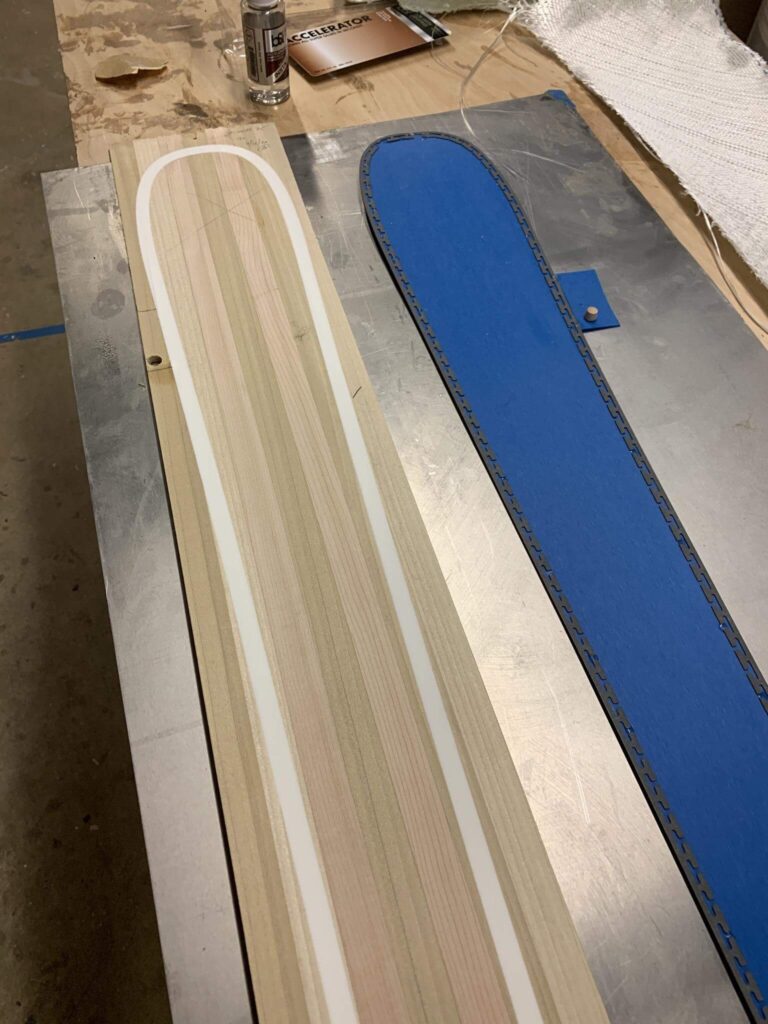
One nagging issue I’ve been trying to solve is how to keep the base and core layers perfectly aligned during layup and pressing.
My brilliant solution is simple: superglued dowel pins.
- I drilled matching holes into offcut base material and outside the ski outline.
- Slipped in standard dowel pins from the hardware store.
- Glued the pins into the P-Tex offcuts.
They act just like binding inserts during snowboard alignment and keep everything locked in place from start to finish.
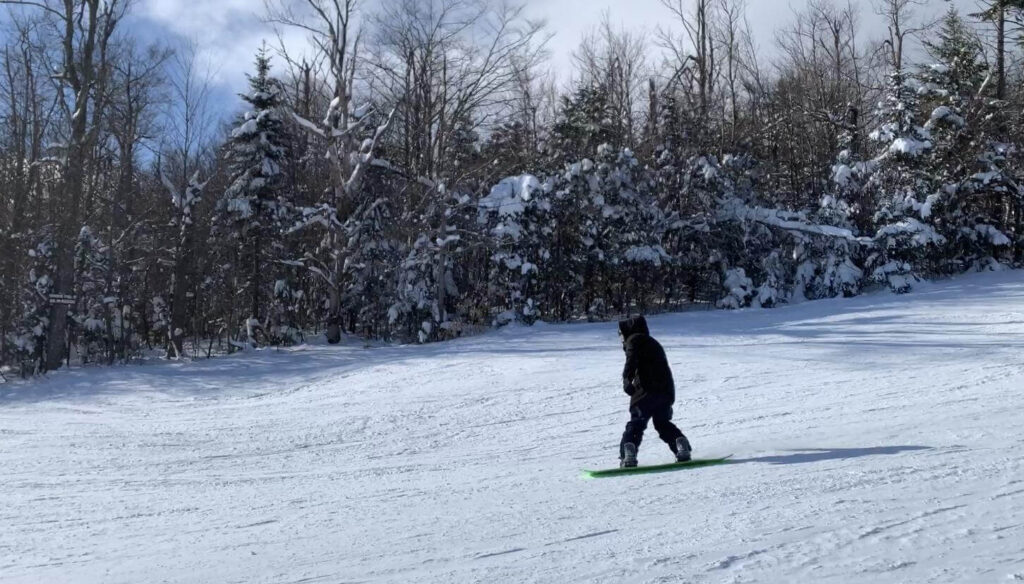
Field Test – Gore Mountain Success!
Last weekend, I took my friend and his new snowboard (from Build #001) to Gore Mountain for its first ride. He was stoked on how it performed — solid feel, good edge hold, and plenty of pop.
Nothing better than seeing your build on snow and holding up the way it should!

hope you all are having a great winter! Cheers!