Finishing the Second Skis and My First Snowboard!
It’s been a little while since my last update, but I’ve been busy in the shop working on my second pair of skis and the very first full custom snowboard build. A lot of lessons learned in this one, but I’m stoked to share how things turned out — both the wins and the mistakes.
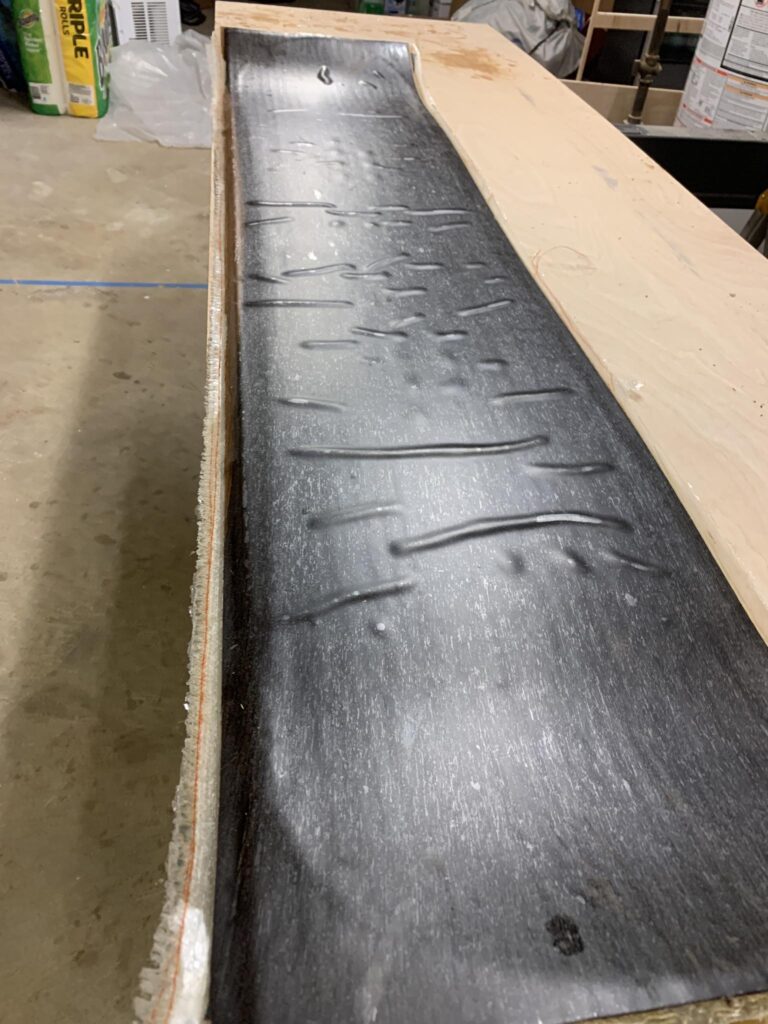
The snowboard from the time lapse came out with these crazy epoxy bulges!!! Oof! I must’ve used too much epoxy between the plastic topsheet and the veneer. Never again, I think for now on no plastic over veneer, oil based polyurethane finish instead. Another approach would be to use a j-roller to squeeze out extra epoxy before curing it.
Here’s a picture of the unfinished board right out of the press:
Rather than junking the board, I decided to salvage it as a test ride. I spent a full day sanding, carefully trying to remove the epoxy and get back to a smooth veneer surface without breaking through the wood.
Sanding off the plastic topsheet:
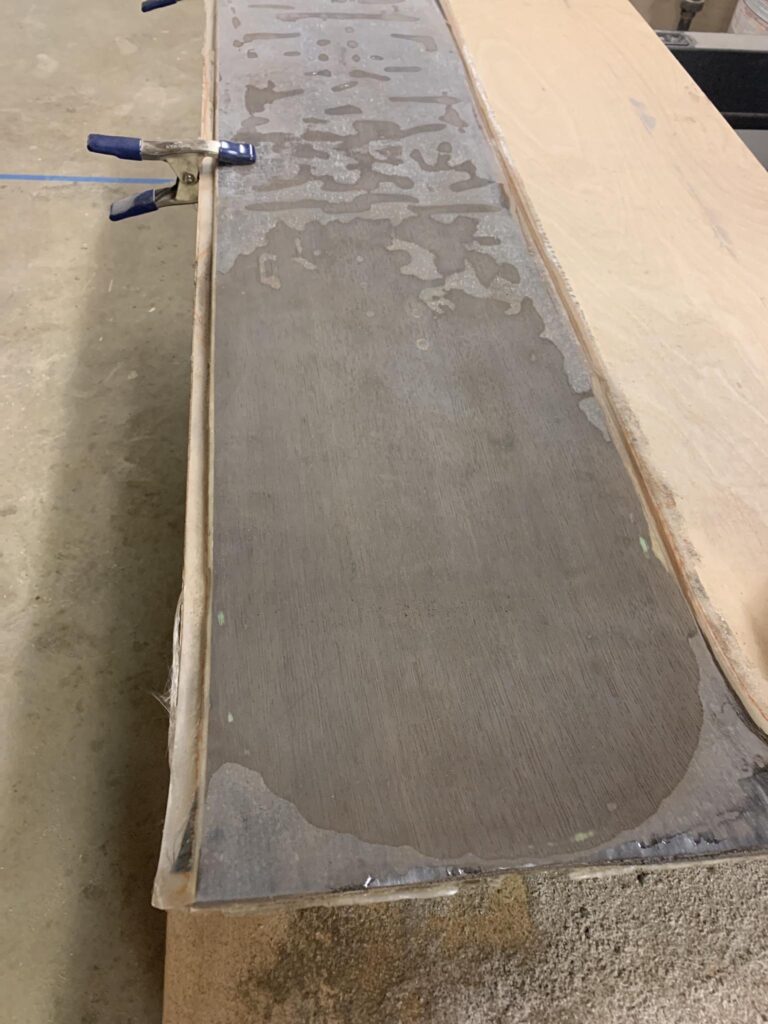
Took a whole day carefully sanding and trying my hardest not to breach the veneer. Unfortunately, there are a few spots I did despite my best efforts not to. The worst one is between the feet, and a couple smaller ones around the edge. I tried to hide it by blending with ebony stain, but it’s not going away.
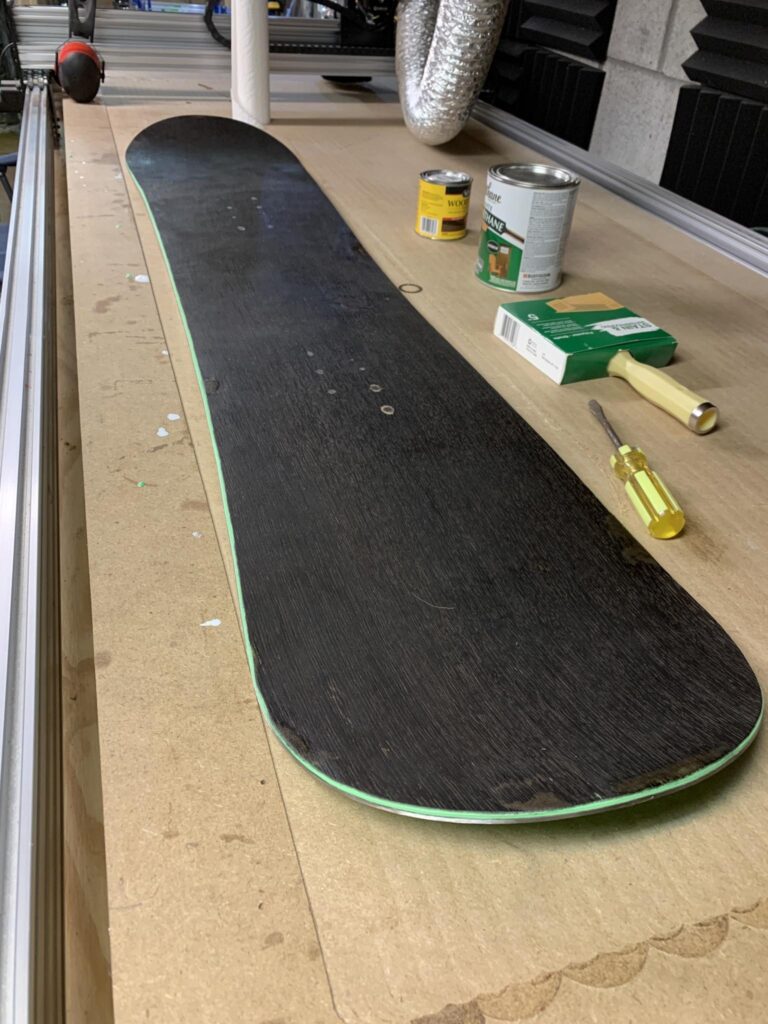
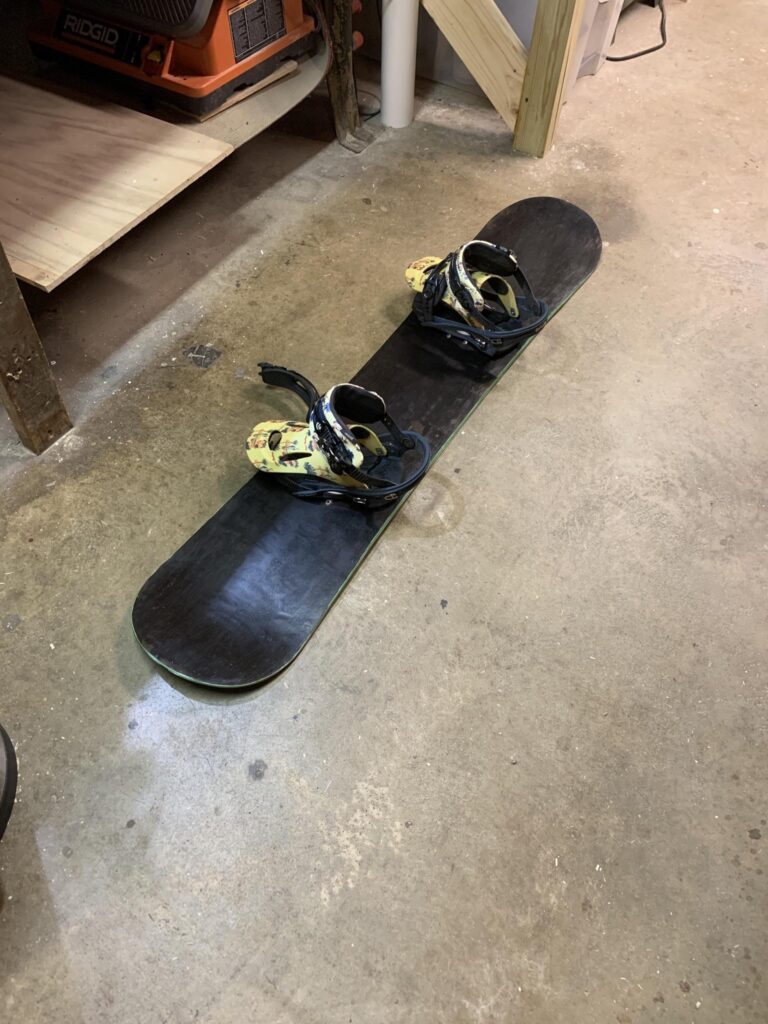
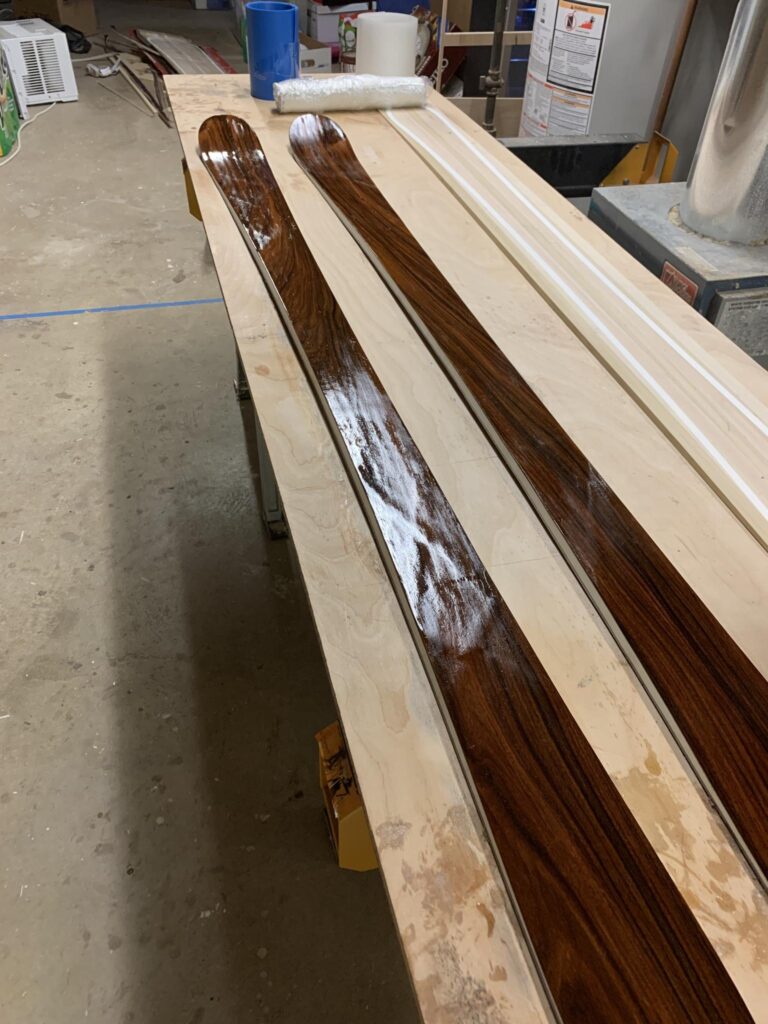
After cleanup, I gave it a few coats of oil-based polyurethane, and it turned out rough looking. I also mounted bindings and sent it out to the local tuning shop for a base grind and edge sharpen. It’s not perfect, but it should be totally rideable to test. Hopefully it rides well and gives me feedback for the next snowboard iteration.
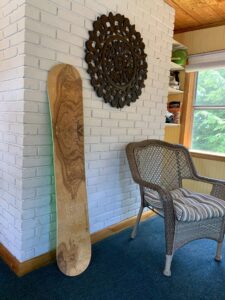
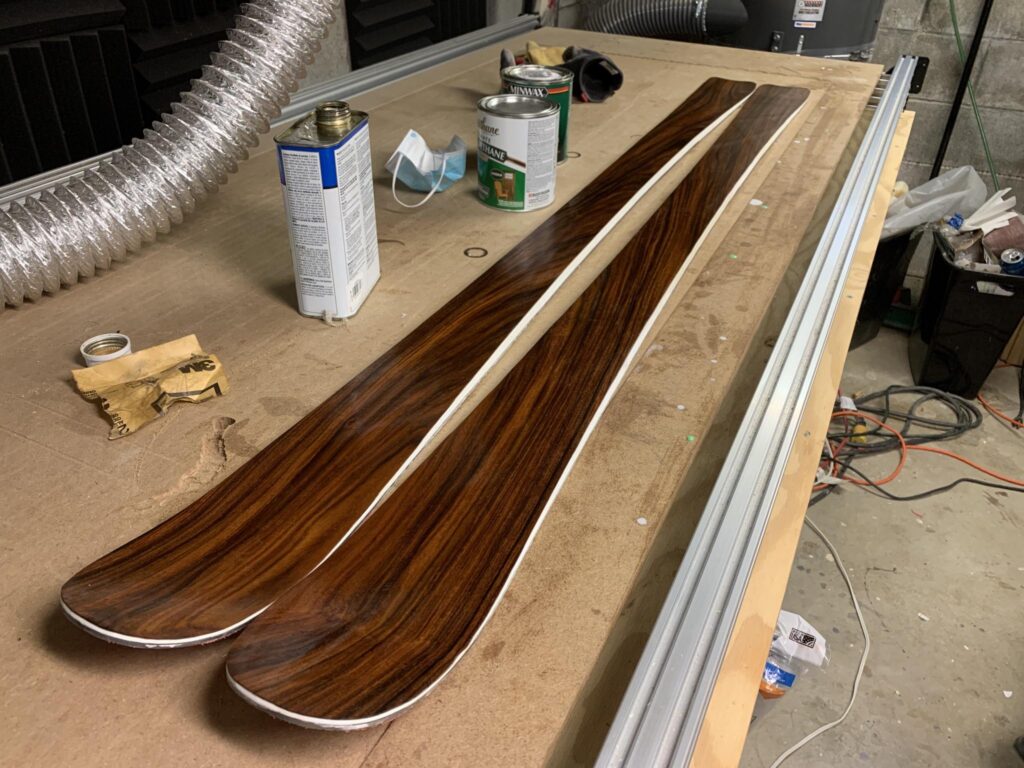
And now on a lighter note, the rosewood skis came out beautiful! Cant wait to see how my other friend likes them!!! Pics of course:
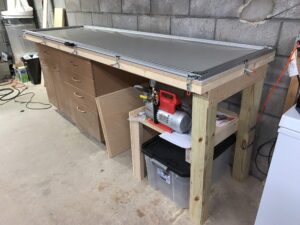
After finishing both builds, I took some time to upgrade the shop. Ski and snowboard building creates a ton of dust and shavings, and it was time to deal with it properly. Here’s what’s new:
- Installed new shelving for materials and jigs
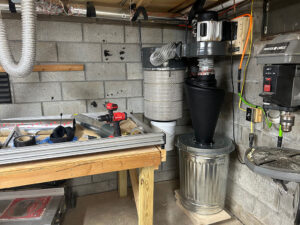
- Installed a HEPA filter mod on the dust collection system
- Added metal blast gates to improve dust collector airflow control
- Ran new outlets and power lines to organize power chords
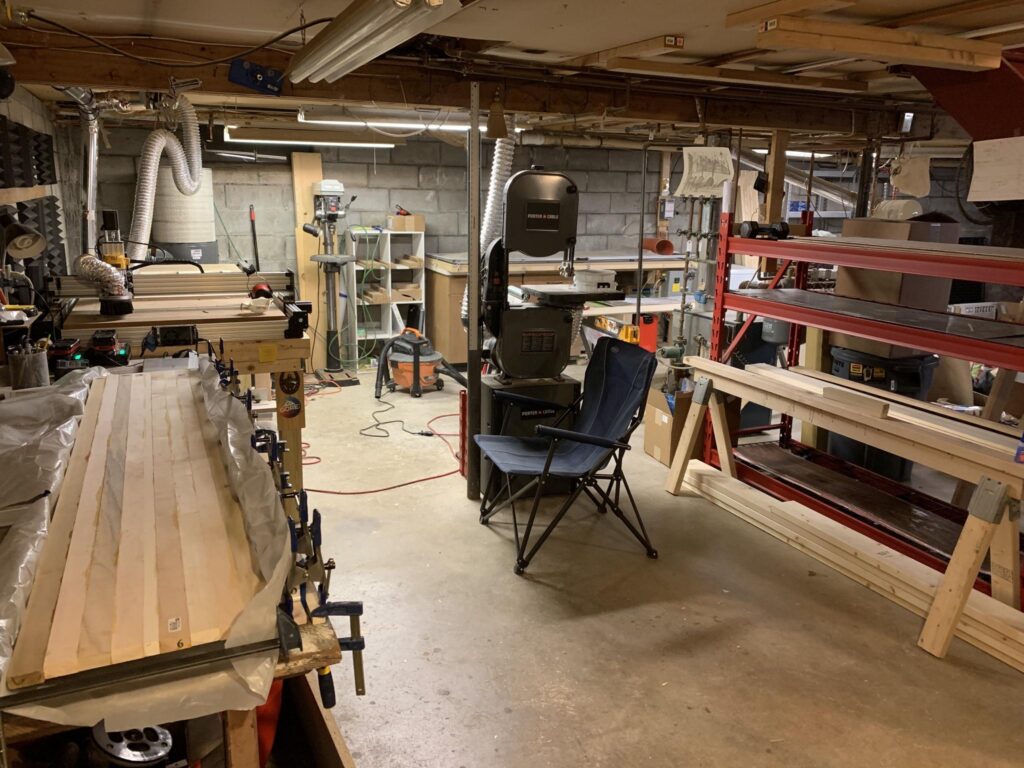
Every time I improve the space, I get a little more efficient — and a little more addicted to this hobby. It’s become one of my favorite things to work on after hours.
Here are a few takeaways from the last couple weeks:
- No plastic top sheets over veneer again — going forward, I’ll stick to oil-based poly finishes for that clean wood grain look.
- Less epoxy on top layers — especially under the topsheet where heat and pressure can create unwanted bubbles.
- Edge wrap takes time — and patience, and maybe an actual edge bending jig instead of pliers.