First Snowboard Build: Poured Sidewalls, CNC Core Profiling & Insert Planning
This week’s update is short but exciting: I’ve kicked off my first full custom snowboard build! After dialing in my process for skis, I’m putting it to work for snowboards too.
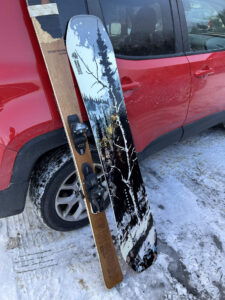
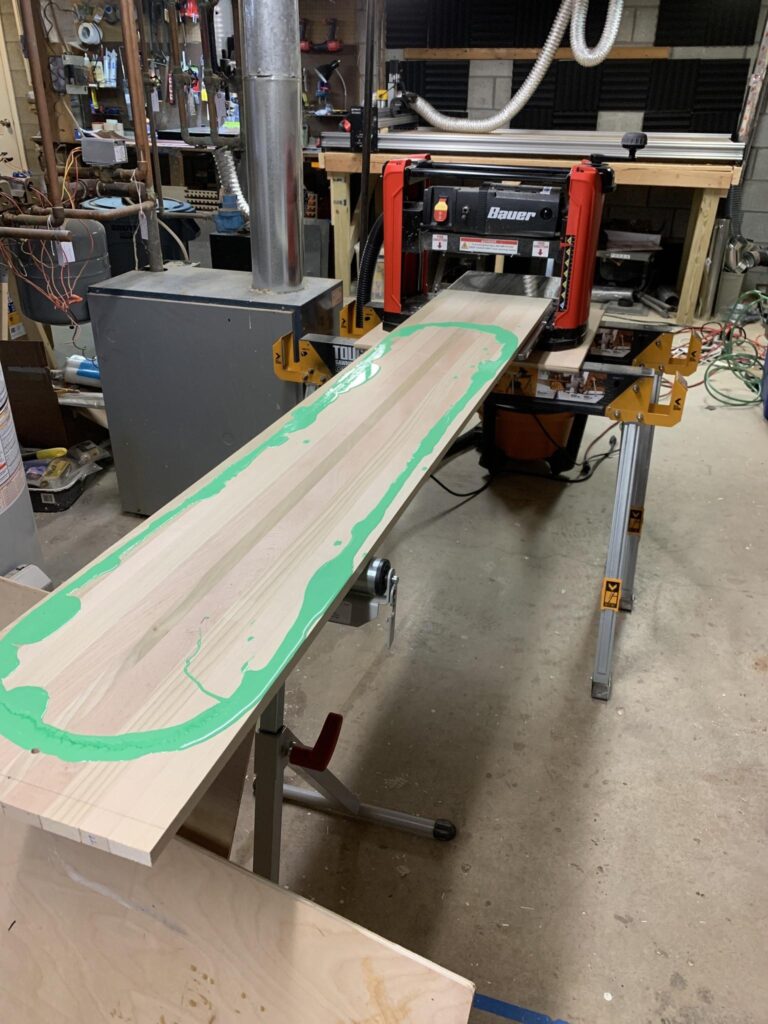
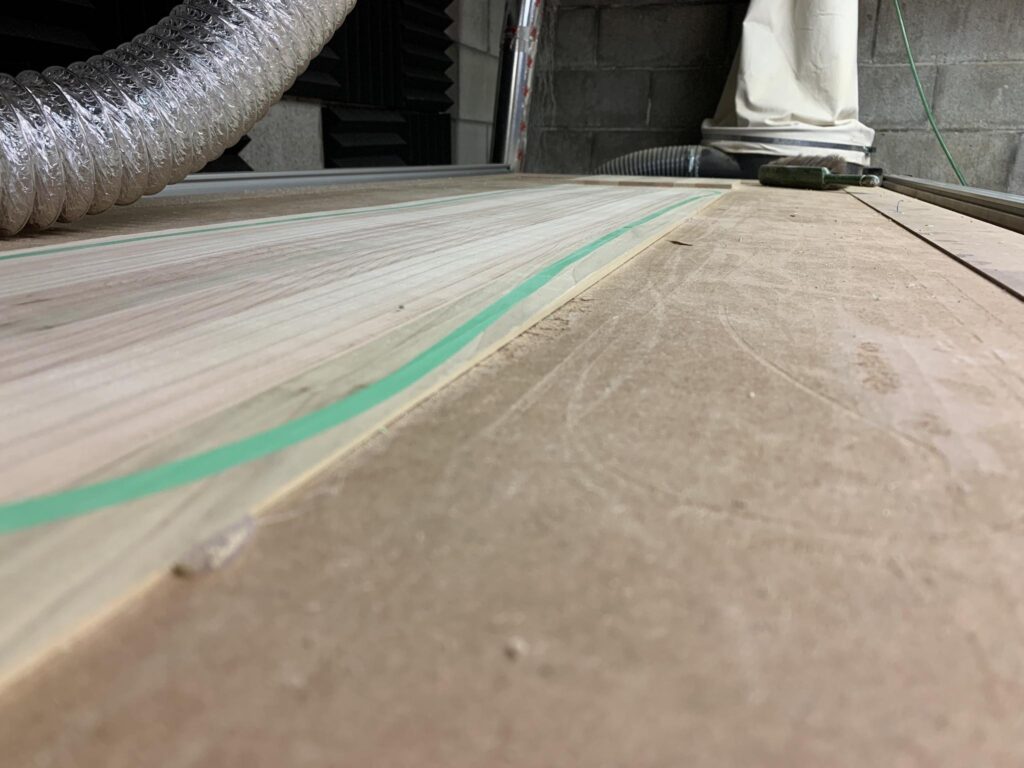
I started with the sidewall pour using colored urethane. This step seals the the snowboard and creates a durable barrier between the moisture of the snow and the wood core once the board is pressed.
I shot a quick timelapse of the pour — pretty satisfying to see the trenches fill and level out!
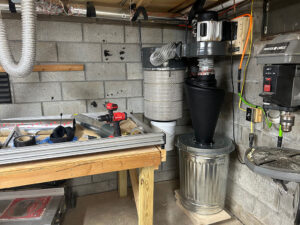
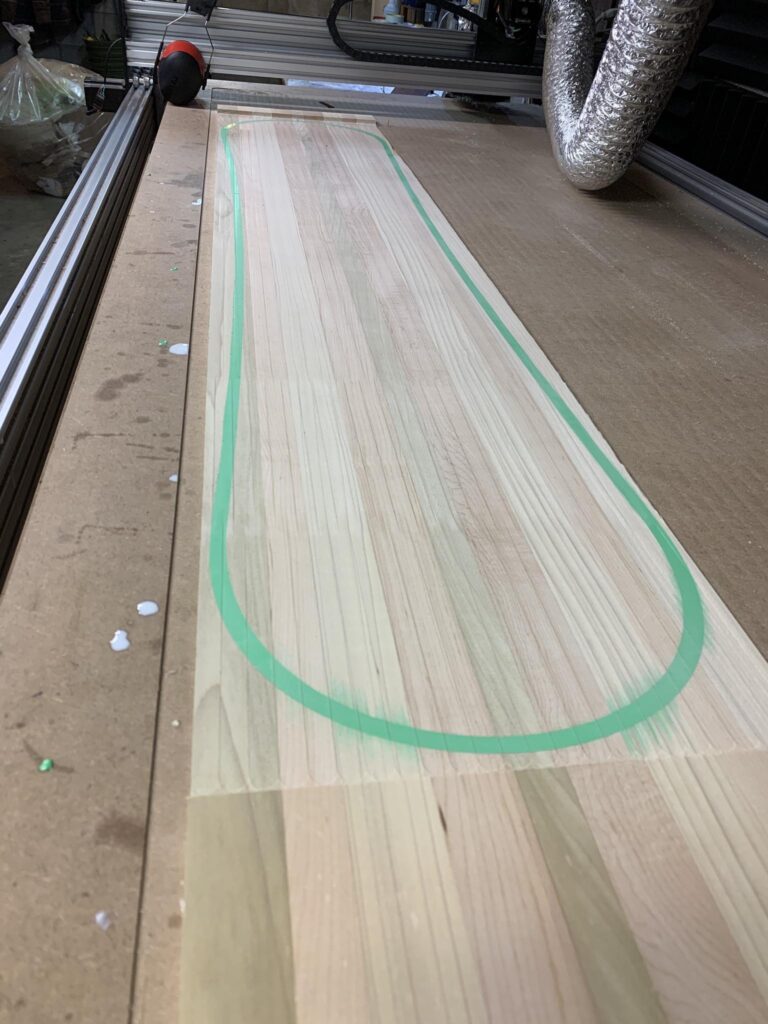
Next step was profiling the core on the CNC. Before cutting the camber and taper, I planed the blank down to rough thickness so the router bit didn’t have to hog off too much material. The dust collector was clogged during this run so I had to manually vacuum it a few times during the operation.
Here’s some pictures:
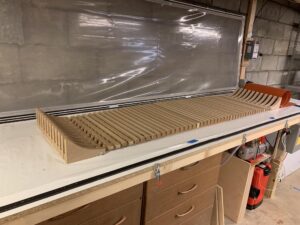
Planing the core down before CNC profiling to remove the overflow from pouring the sidewalls:
Here’s the core after the CNC operation to give the core it’s flex profile. I milled it to about 2 mm thick at the tip and tail and about 7mm thick underfoot.
Next up: inserts! I ordered a fresh set of forstner bits for drilling clean holes for the insert packs. Haven’t decided yet if I’ll:
- Print a paper template to align the hole grid, or
- Measure and mark manually with a square and ruler.
Either way, I’ll share a couple more photos and maybe a drilling jig if I build one for repeat snowboard insert packs.
Cheers!
Jon