Camber Mold Tip and Tail Redo
I’ve been waiting for some new materials to come in, bases, edges, top sheet etc. so I decided to redo my tip and tail blocks as suggested in the meantime, as well as made them sit taller to allow a piece of 5.5mm underlayment go between them, on which the aluminum cassette will sit. I realize that I will need to replace the underlayment for various mold lengths but it’s cheap material and easy to work with, I think it’ll help smooth out the aluminum a lot under pressure.
Another lesson learned: epoxy likes to creep anywhere it can. I had a drip run under the cassette on my last press, and it glued part of the topsheet to the tip block — not fun to chip off later.
This time, I’m planning to wrap the new tip and tail blocks with a scrap of thin aluminum or maybe even just plastic flashing, that way, any stray epoxy that runs past the layup can’t glue the blocks to the ski — it’ll hit a non-stick surface instead.
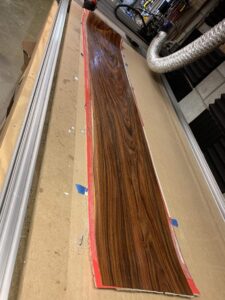
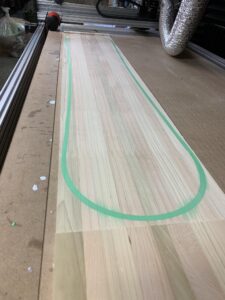
I got my veneer layer in, went with some gray dyed oak veneer. Might try to do some type of graphic too, undecided there on how to approach that. Gonna be a green base so maybe some green stripes or lettering/clip art on rice paper? Anyway, here’s some pics:
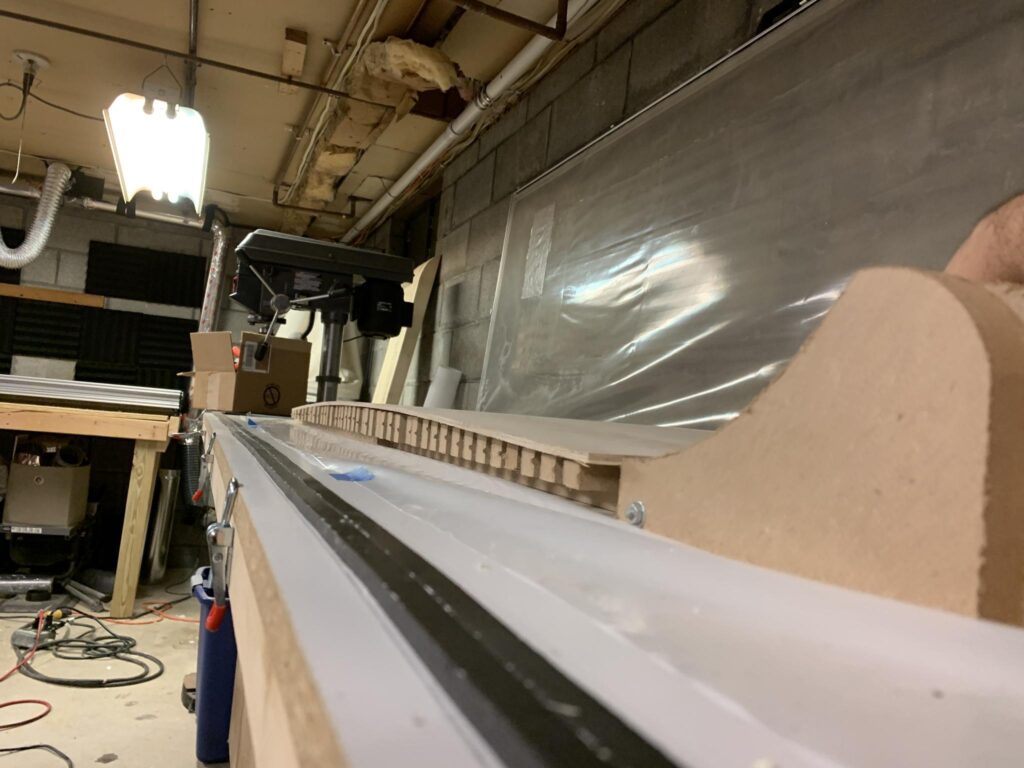
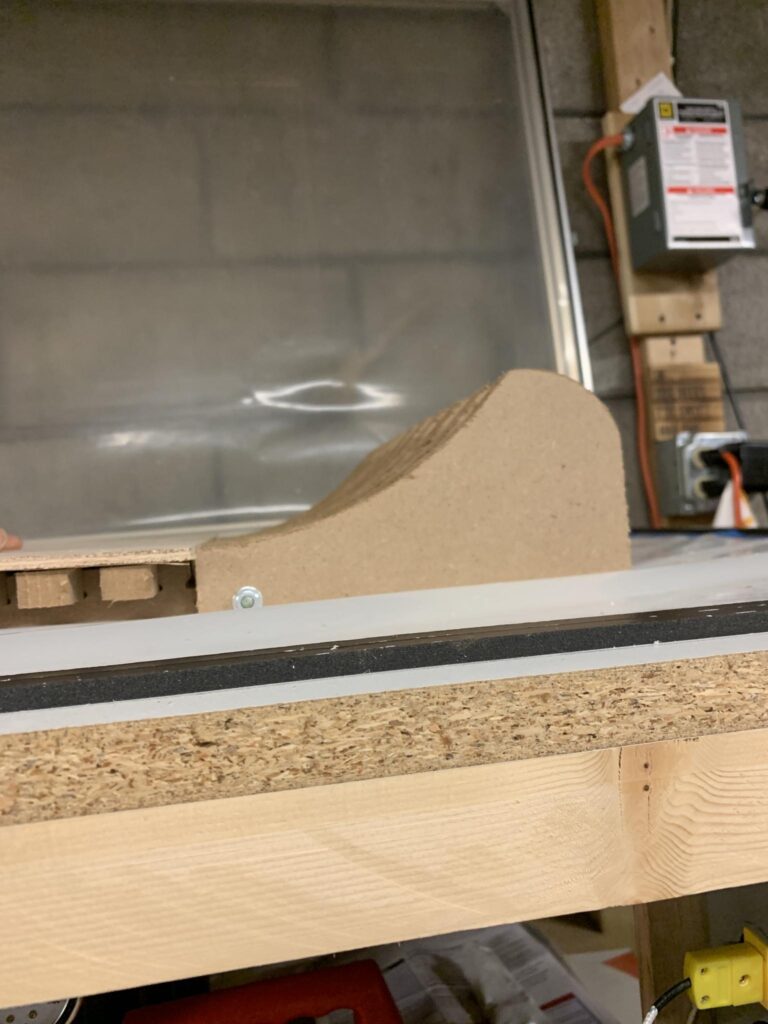
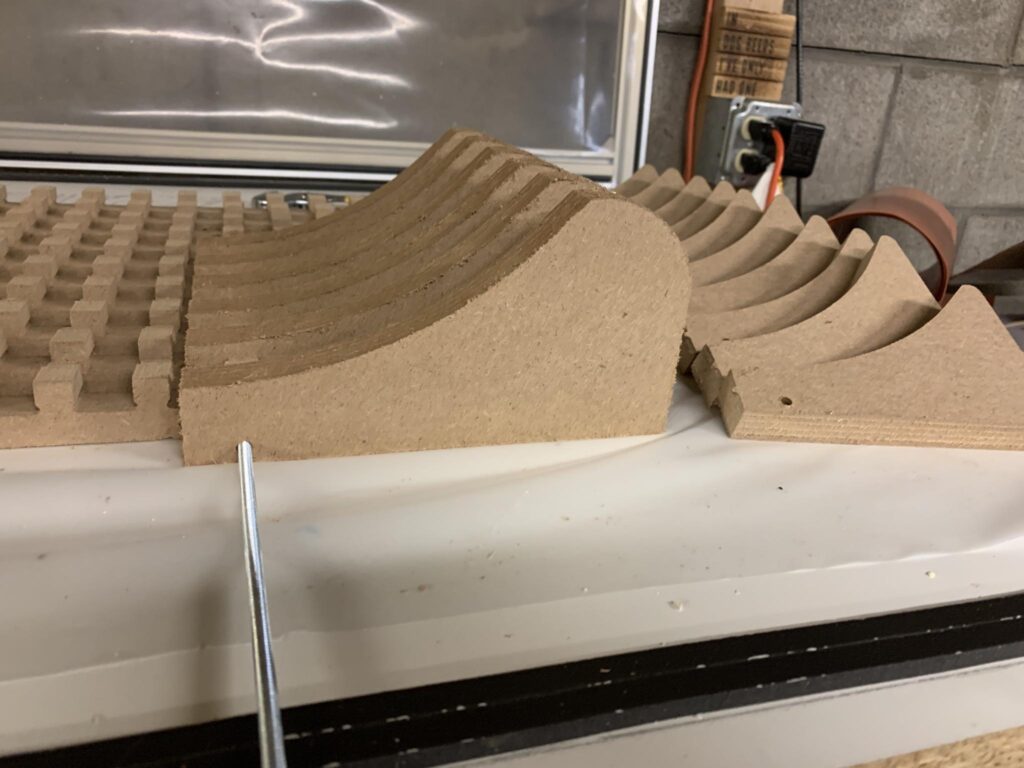
The redone tip/tail mold shape:
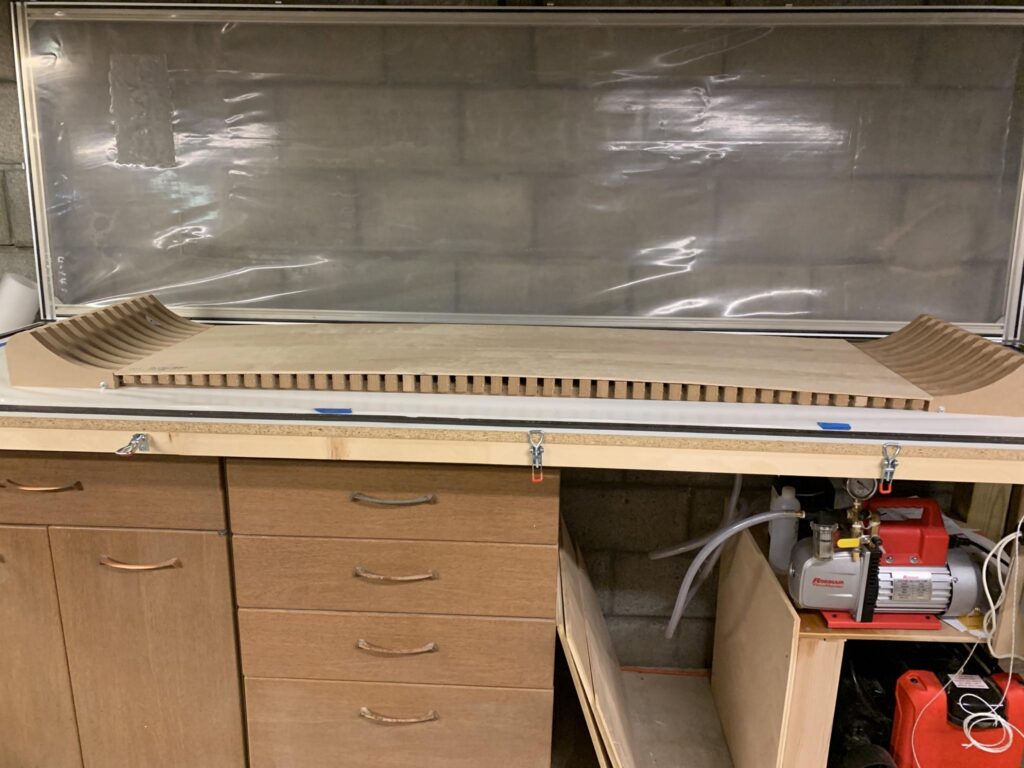
The 5.5mm wood sitting on the mold: