First Heated Vacuum Ski Press Test: Lessons Learned & Next Steps
After getting power back on Saturday (thanks to a big storm knocking out the line) I jumped straight into a real test run on Sunday. The goal was to press one simple ski layup to see how the vacuum table, heating system, and materials hold up in a real full-length cycle.
Here’s what worked, what went wrong, and what I’m fixing for round two.
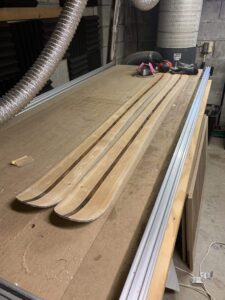
For this test, I used an older, slightly messed-up core instead of wasting a good one on my very first heated run. The layup was:
- 22 oz fiberglass top and bottom
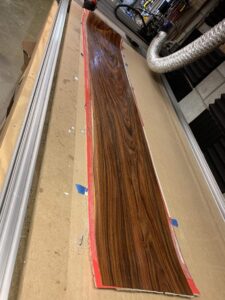
- A clear nylon topsheet (no graphics, so I could inspect for voids)
- Poured sidewalls around the wood core
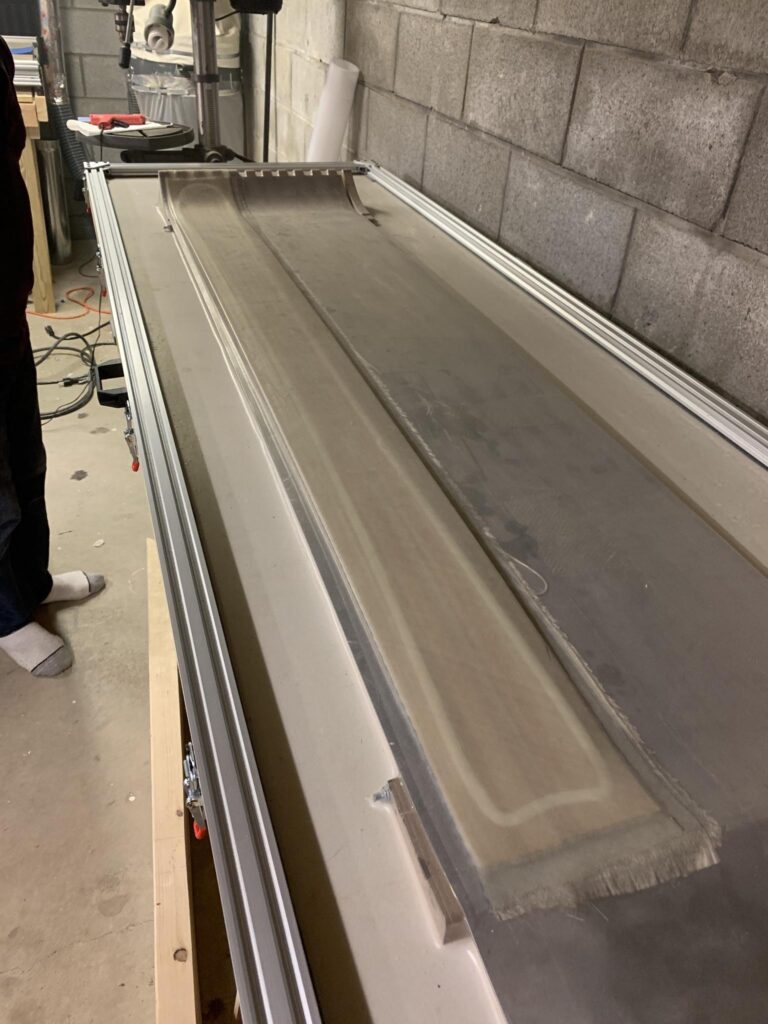
We stuck with double-sided tape plus mold release wax around the tape to hold the base tight to the aluminum cassette.

I snapped an action shot while the ski was pressing — and quickly learned one thing:
Ventilation matters.
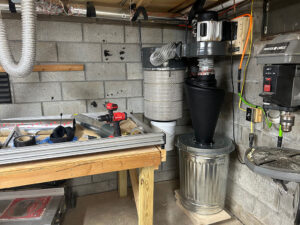
The vacuum pump’s oil vent puts out a surprising amount of smoke under heavy draw. It even set off the basement smoke alarm!
Planned Fix
I’ll add a 50–100 CFM exhaust fan near the pump and vent it out the basement window. If I can catch the oil vent output directly, the whole basement stays clearer.
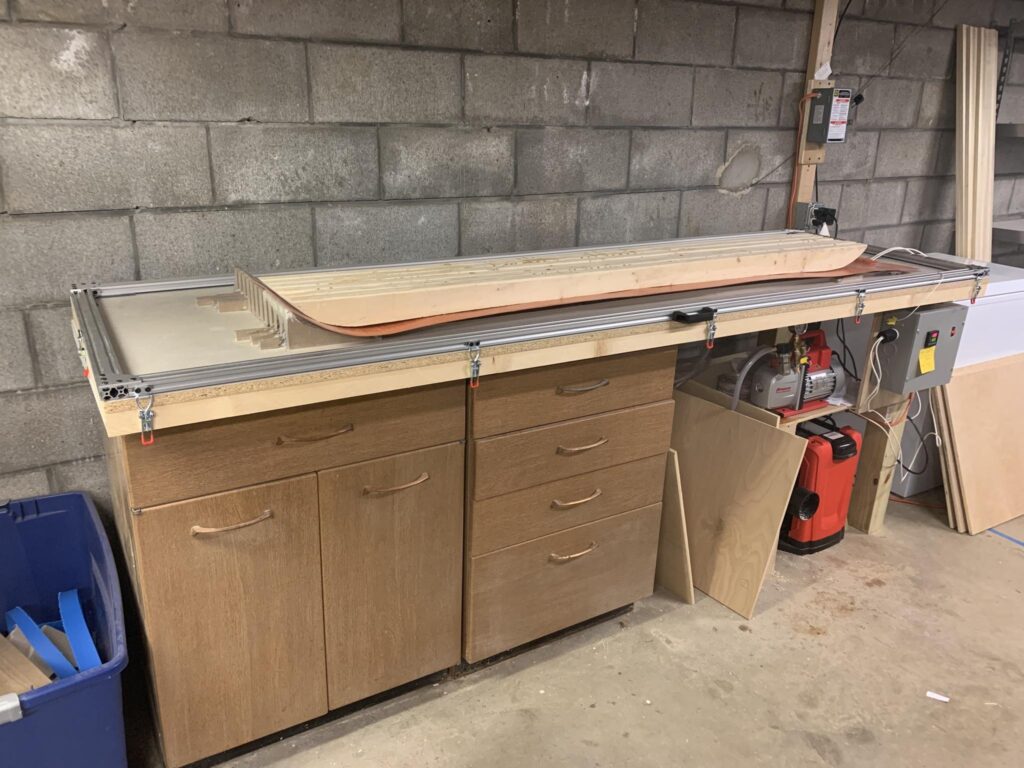
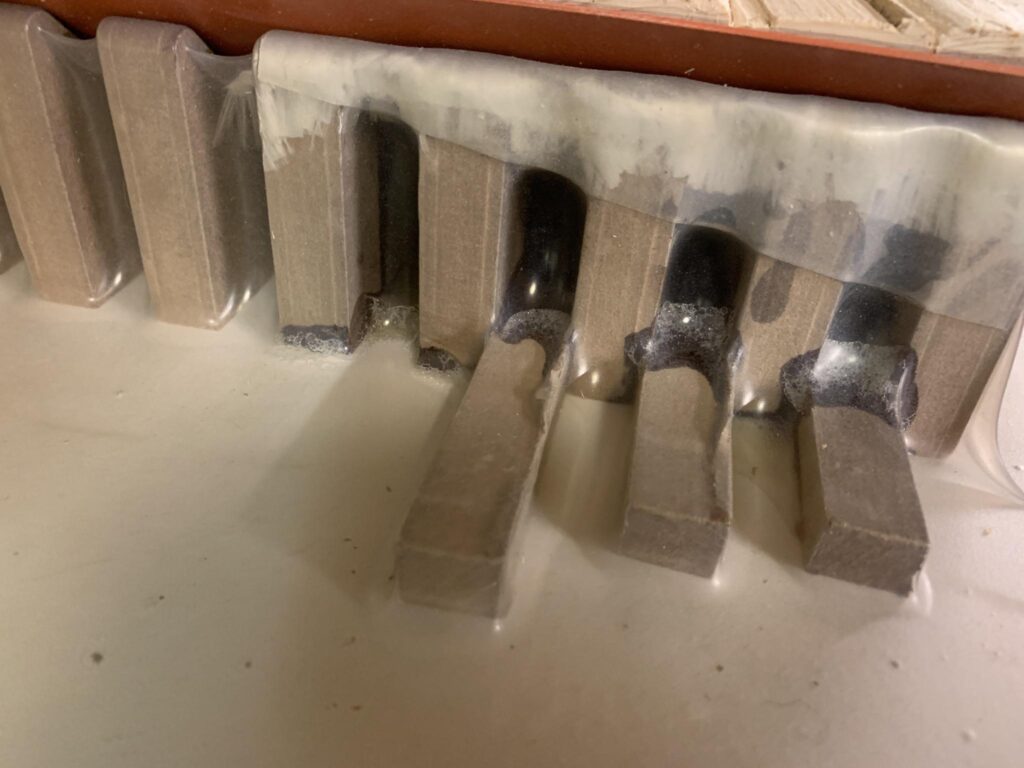
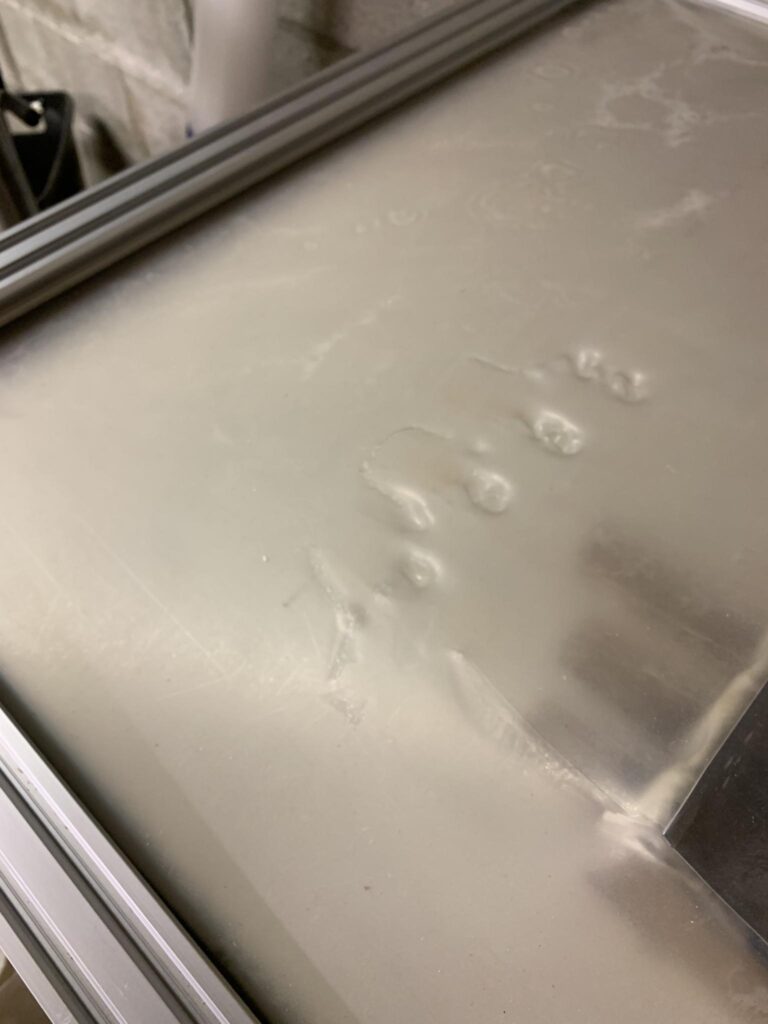
The biggest learning moment came when I checked the mold cavity after the press cycle. The epoxy had flowed under the mold and pooled up at the low point, right in contact with the silicone membrane.
That heat + liquid resin combo deformed the silicone in spots. It didn’t tear — but the surface is permanently dented and looks stressed. It might spring back a little over time, but I ordered a spare silicone sheet just in case this one can’t be saved.
Layup & Heat Cycle
The total cycle was:
- 1 hour ramp from 80°F to 180°F
- 2 hours hold at 180°F
- 30 minutes ramp down to about 140°F
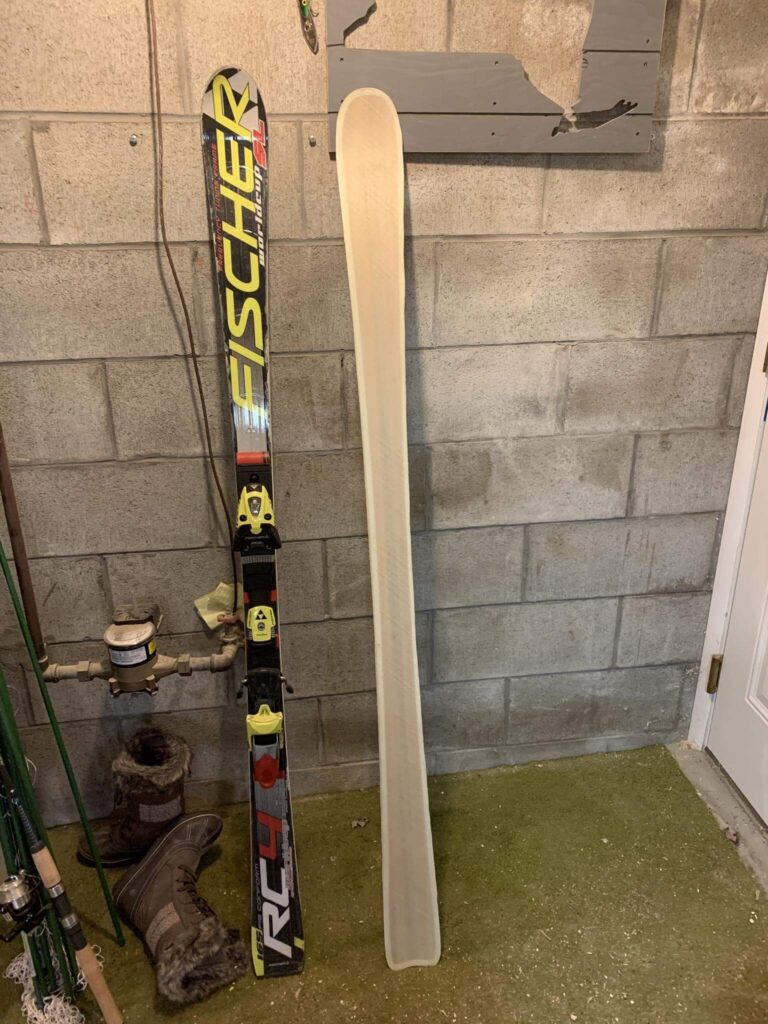
After that, I pulled the ski out of the mold for trimming.
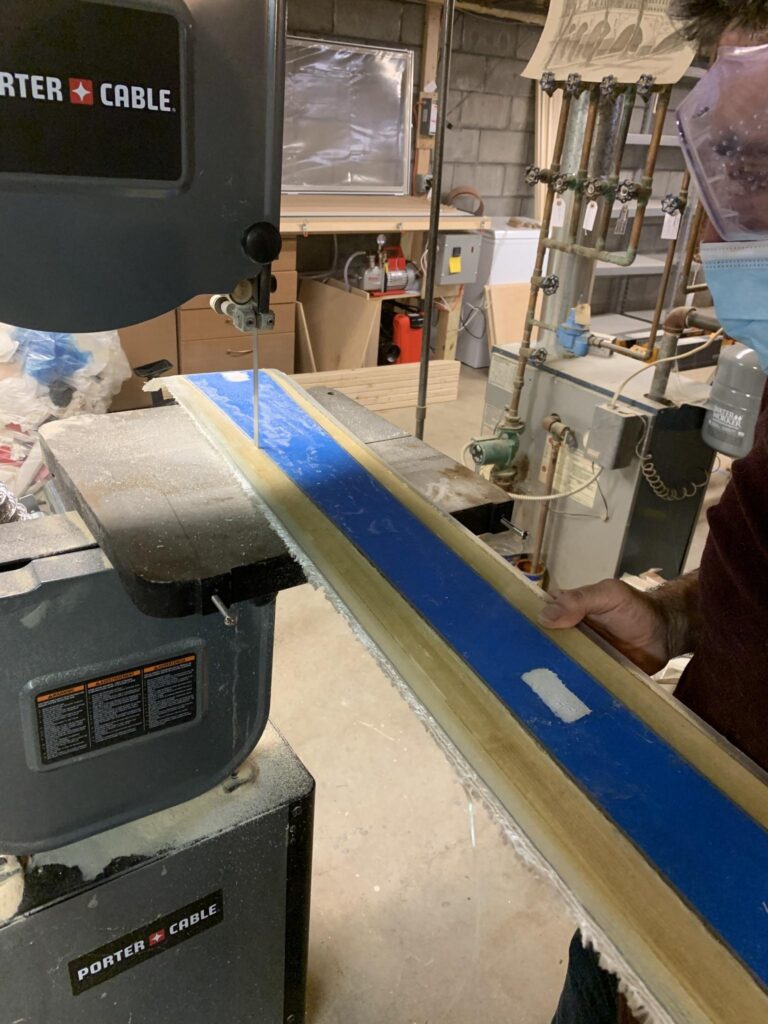
I trimmed the shape with a bandsaw for the sidecut, then used a jigsaw and belt sander for the tip and tail curves.
One thing I’m watching: camber loss.
This mold had about 9 mm camber built in, but the finished ski only has about 3–4 mm unweighted, dropping to about 5 mm unweighted camber off the press. So next time, I’ll exaggerate mold camber to hit the final shape I want.
One issue I knew might bite me: the base warped during edge gluing.
Previously, I glued edges on with the base loose on the bench, flipping it around to do both sides. The guess is that the flex and flipping warped the base when the edges were clamped in. That warp telegraphed through the layup.
Planned Fix
Next time, I’ll tape the base down firmly and glue the edges without removing it. That way it stays flat and clamped the whole time.
Here’s the aftermath of the pooled epoxy. Not only did it dent the silicone — it glued the overhanging fiberglass to the mold. Next time, I’ll trim the fiberglass flush to avoid extra mess.
I’m not sure if there’s a reliable way to patch a warped silicone membrane where it was heat-damaged. Leaning toward swapping it out entirely to be safe for the next few runs.
What Went Right
- Fiberglass Wet-Out: The laminates are clean with no dry spots.
- Bonding: Core, base, fiberglass all pressed tight.
- Heating: The PID heat controller held temp within ~5°F.